
Grow vegetables at home – imagine stepping into your backyard and picking fresh, juicy tomatoes still warm from the sun, or snipping fragrant herbs to season your dinner. Sounds idyllic, right? Well, it’s more achievable than you might think! For centuries, people have cultivated their own food, from the ancient Egyptians with their meticulously planned gardens along the Nile, to the “Victory Gardens” that sprung up during wartime, providing sustenance and a sense of community.
But let’s be honest, the idea of starting a garden can feel overwhelming. Where do you even begin? That’s where this DIY guide comes in! I’m here to share some simple, effective tricks and hacks that will help you grow vegetables at home, even if you have limited space, time, or experience. We’ll break down the process into manageable steps, covering everything from choosing the right plants to dealing with common pests.
Why is this so important? Because growing your own food isn’t just a fun hobby; it’s a way to connect with nature, eat healthier, save money, and reduce your environmental impact. Plus, there’s nothing quite like the satisfaction of nurturing a tiny seed into a bountiful harvest. So, grab your gardening gloves, and let’s get started on this exciting journey together!
Gemüseanbau zu Hause: Dein umfassender DIY-Leitfaden
Hallo Gartenfreunde! Habt ihr jemals davon geträumt, frisches, knackiges Gemüse direkt vor eurer Haustür zu ernten? Ich kann euch sagen, es ist ein unglaublich befriedigendes Gefühl! Und das Beste daran: Es ist gar nicht so schwer, wie man vielleicht denkt. In diesem Artikel zeige ich euch, wie ihr ganz einfach euer eigenes Gemüsebeet anlegen und pflegen könnt – egal, ob ihr einen großen Garten, einen kleinen Balkon oder nur ein sonniges Fensterbrett habt. Los geht’s!
Die Grundlagen: Was du brauchst
Bevor wir loslegen, lass uns sicherstellen, dass wir alles Nötige zusammen haben. Keine Sorge, die meisten Dinge habt ihr wahrscheinlich schon zu Hause oder könnt sie günstig im Baumarkt besorgen.
* Samen oder Jungpflanzen: Wähle Gemüsesorten, die dir schmecken und die in deinem Klima gut wachsen. Anfängerfreundliche Optionen sind Salat, Radieschen, Zucchini, Tomaten (im Topf) und Kräuter.
* Erde: Verwende hochwertige Pflanzerde oder mische deine eigene Mischung aus Gartenerde, Kompost und Sand.
* Behälter (optional): Wenn du keinen Garten hast, brauchst du Töpfe, Kästen oder andere Behälter mit Abzugslöchern.
* Gießkanne oder Schlauch: Zum Bewässern deiner Pflanzen.
* Gartengeräte: Eine kleine Schaufel, eine Harke und eventuell eine Pflanzkelle sind hilfreich.
* Dünger: Organischer Dünger wie Kompost oder Hornspäne versorgt deine Pflanzen mit Nährstoffen.
* Sonnenlicht: Die meisten Gemüsesorten brauchen mindestens 6 Stunden Sonnenlicht pro Tag.
* Geduld: Gemüseanbau braucht Zeit und Pflege. Sei geduldig und lass dich nicht entmutigen, wenn nicht alles sofort perfekt klappt.
Schritt-für-Schritt-Anleitung: Dein eigenes Gemüsebeet anlegen
Hier ist eine detaillierte Anleitung, wie du dein eigenes Gemüsebeet anlegen kannst. Ich habe versucht, alle wichtigen Schritte so klar und verständlich wie möglich zu erklären.
1. Den richtigen Standort wählen:
* Sonne: Suche einen Platz, der mindestens 6 Stunden Sonnenlicht pro Tag bekommt. Das ist entscheidend für das Wachstum der meisten Gemüsesorten.
* Wasser: Stelle sicher, dass du Zugang zu einer Wasserquelle hast, damit du deine Pflanzen leicht gießen kannst.
* Boden: Der Boden sollte gut durchlässig sein und nicht zu lehmig. Wenn du schlechten Boden hast, kannst du ihn mit Kompost und Sand verbessern.
* Windschutz: Ein windgeschützter Standort ist ideal, um deine Pflanzen vor starken Böen zu schützen.
2. Den Boden vorbereiten:
* Unkraut entfernen: Entferne alle Unkräuter, Steine und Wurzeln aus dem Beet.
* Auflockern: Lockere den Boden mit einer Harke oder einem Spaten auf. Das erleichtert das Wurzelwachstum.
* Verbessern: Mische Kompost oder andere organische Materialien in den Boden, um ihn mit Nährstoffen anzureichern.
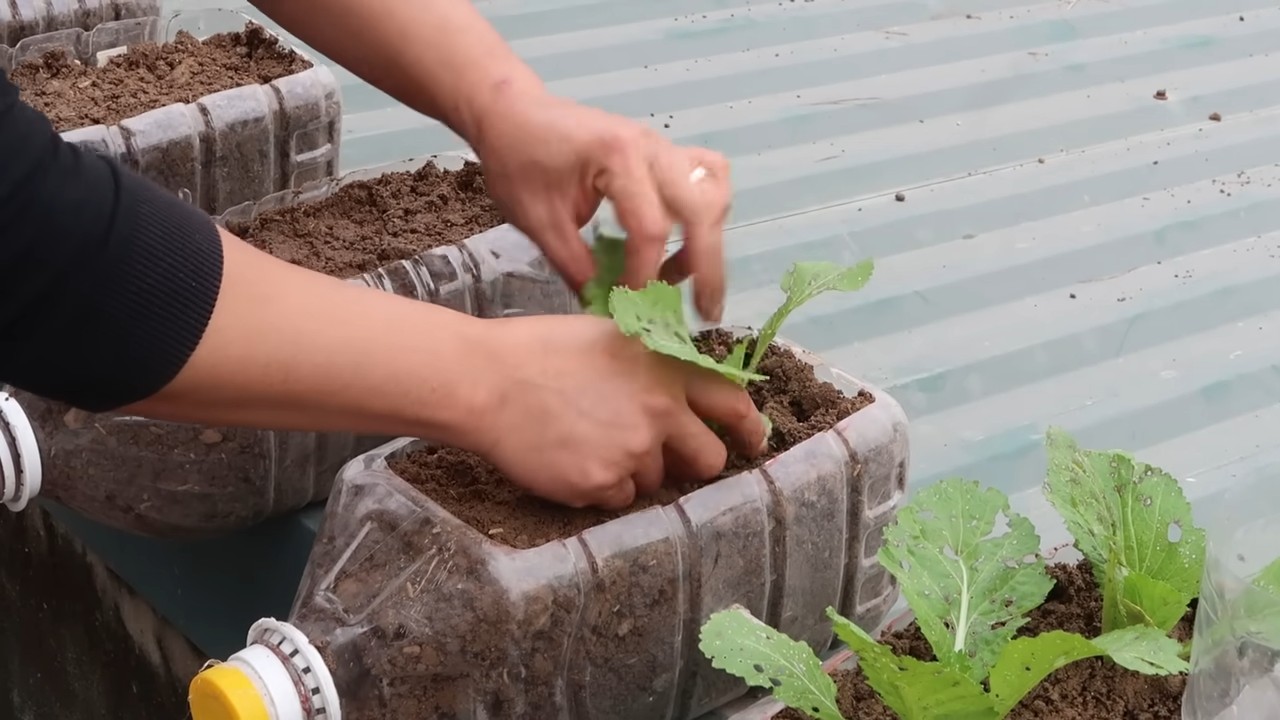
3. Samen säen oder Jungpflanzen pflanzen:
* Samen: Befolge die Anweisungen auf der Samenpackung, um die Samen in der richtigen Tiefe und im richtigen Abstand zu säen.
* Jungpflanzen: Grabe ein Loch, das groß genug für den Wurzelballen ist. Setze die Pflanze ein und fülle das Loch mit Erde auf. Drücke die Erde leicht an.
* Abstand: Achte auf den richtigen Abstand zwischen den Pflanzen, damit sie genügend Platz zum Wachsen haben.
4. Gießen:
* Regelmäßig: Gieße deine Pflanzen regelmäßig, besonders in trockenen Perioden.
* Morgens: Gieße am besten morgens, damit die Blätter vor der Nacht abtrocknen können. Das hilft, Pilzkrankheiten vorzubeugen.
* Nicht über die Blätter: Vermeide es, die Blätter zu gießen, da dies ebenfalls Pilzkrankheiten fördern kann.
5. Düngen:
* Regelmäßig: Dünge deine Pflanzen regelmäßig mit organischem Dünger, um sie mit Nährstoffen zu versorgen.
* Anleitung beachten: Befolge die Anweisungen auf der Düngerpackung, um eine Überdüngung zu vermeiden.
6. Unkraut jäten:
* Regelmäßig: Jäte regelmäßig Unkraut, damit es deinen Pflanzen keine Nährstoffe und kein Licht wegnimmt.
* Mulchen: Mulche dein Beet mit Stroh oder Holzhackschnitzeln, um das Unkrautwachstum zu reduzieren.
7. Schädlinge und Krankheiten bekämpfen:
* Beobachten: Beobachte deine Pflanzen regelmäßig auf Schädlinge und Krankheiten.
* Natürliche Mittel: Verwende natürliche Mittel wie Brennnesseljauche oder Knoblauchsud, um Schädlinge zu bekämpfen.
* Biologische Schädlingsbekämpfung: Setze Nützlinge wie Marienkäfer oder Florfliegen ein, um Schädlinge zu bekämpfen.
8. Ernten:
* Rechtzeitig: Ernte dein Gemüse, wenn es reif ist. Das fördert die weitere Produktion.
* Genießen: Genieße dein selbst angebautes Gemüse!
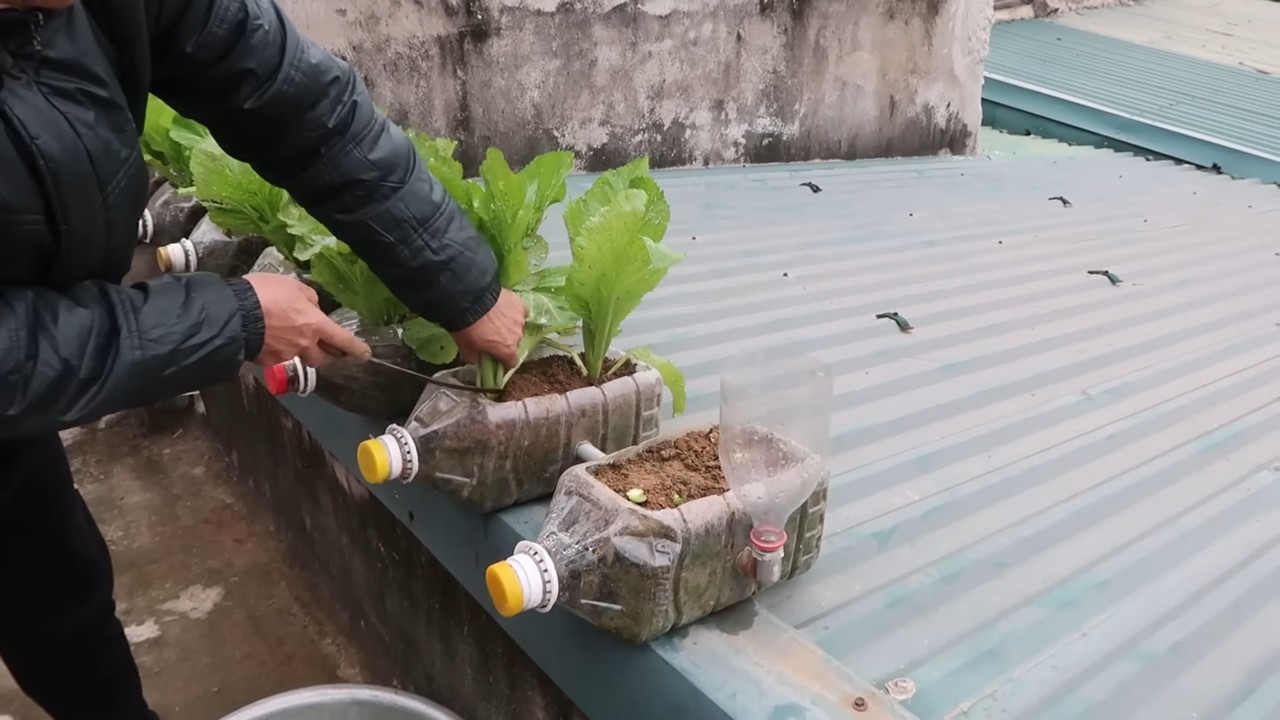
Gemüseanbau im Topf: Dein Balkongarten
Kein Garten? Kein Problem! Viele Gemüsesorten lassen sich auch wunderbar im Topf anbauen. Hier sind ein paar Tipps für den Gemüseanbau im Topf:
1. Die richtigen Töpfe wählen:
* Größe: Wähle Töpfe, die groß genug für die jeweilige Gemüsesorte sind. Tomaten und Zucchini brauchen größere Töpfe als Salat oder Kräuter.
* Abzugslöcher: Stelle sicher, dass die Töpfe Abzugslöcher haben, damit überschüssiges Wasser ablaufen kann.
* Material: Tontöpfe sind atmungsaktiv und verhindern Staunässe, während Plastiktöpfe leichter und günstiger sind.
2. Die richtige Erde verwenden:
* Pflanzerde: Verwende hochwertige Pflanzerde, die speziell für den Gemüseanbau geeignet ist.
* Drainage: Gib eine Schicht Kies oder Blähton auf den Boden des Topfes, um die Drainage zu verbessern.
3. Die Pflanzen richtig platzieren:
* Sonne: Stelle die Töpfe an einen sonnigen Standort, der mindestens 6 Stunden Sonnenlicht pro Tag bekommt.
* Windschutz: Schütze die Pflanzen vor starkem Wind.
4. Richtig gießen und düngen:
* Regelmäßig: Gieße die Pflanzen regelmäßig, besonders an heißen Tagen.
* Düngen: Dünge die Pflanzen regelmäßig mit Flüssigdünger oder Langzeitdünger.
5. Geeignete Gemüsesorten für den Topf:
* Tomaten: Buschtomaten eignen sich besonders gut für den Topf.
* Paprika: Auch Paprika lässt sich gut im Topf anbauen.
* Chili: Chili ist pflegeleicht und bringt eine schöne Ernte.
* Salat: Salat kann mehrmals geerntet werden.
* Radieschen: Radieschen wachsen schnell und sind ideal für den Topf.
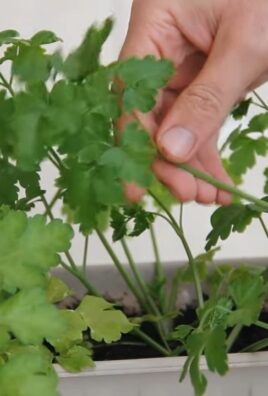
* Kräuter: Kräuter wie Basilikum, Petersilie und Schnittlauch sind perfekt für den Topf.
Häufige Fehler vermeiden: Tipps und Tricks
Auch wenn der Gemüseanbau nicht kompliziert ist, gibt es ein paar Fehler, die man vermeiden sollte. Hier sind meine besten Tipps und Tricks, um häufige Fehler zu vermeiden und eine reiche Ernte zu erzielen:
* Zu viel gießen: Staunässe ist einer der häufigsten Gründe für das Eingehen von Pflanzen. Achte darauf, dass das Wasser gut ablaufen kann und gieße nur, wenn die Erde trocken ist.
* Zu wenig gießen: Gerade an heißen Tagen brauchen deine Pflanzen ausreichend Wasser. Kont
Conclusion
So, there you have it! Taking the leap and deciding to grow vegetables at home is more than just a trend; it’s a rewarding journey that connects you to your food, saves you money, and enhances your well-being. We’ve explored a simple yet effective DIY trick that can significantly boost your success, even if you’re a complete beginner with limited space.
This isn’t just about saving a few dollars at the grocery store; it’s about experiencing the unparalleled flavor of freshly harvested produce, knowing exactly where your food comes from, and reducing your environmental footprint. Imagine biting into a sun-ripened tomato you nurtured from a tiny seed, or adding fragrant herbs to your dishes that you snipped just moments before. That’s the magic of home gardening.
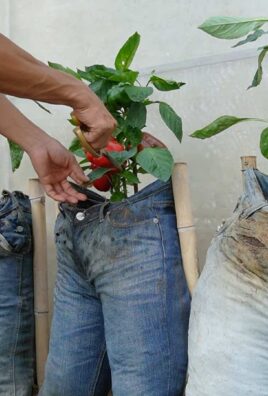
The DIY trick we’ve discussed – focusing on soil health and utilizing vertical gardening techniques – is a game-changer. By improving your soil with compost and other organic matter, you’re creating a thriving ecosystem that nourishes your plants from the roots up. And by embracing vertical gardening, you’re maximizing your space, making it possible to grow a surprising amount of food even on a small balcony or patio.
But don’t stop there! Experiment with different varieties of vegetables to find your favorites. Try growing herbs alongside your vegetables to deter pests and enhance flavor. Consider adding companion plants that benefit each other. The possibilities are endless!
For example, if you’re growing tomatoes, try planting basil nearby. Basil is said to improve the flavor of tomatoes and also helps to repel pests. If you’re growing carrots, plant rosemary nearby to deter the carrot rust fly.
And remember, gardening is a learning process. Don’t be discouraged if you encounter challenges along the way. Every mistake is an opportunity to learn and grow (pun intended!).
We encourage you to give this DIY trick a try and experience the joy of growing your own food. Start small, be patient, and most importantly, have fun! We’re confident that you’ll be amazed at what you can achieve.
Once you’ve tried it, we’d love to hear about your experience. Share your photos, tips, and challenges in the comments below. Let’s create a community of home gardeners who are passionate about growing their own food and sharing their knowledge with others. Together, we can inspire more people to embrace the joys and benefits of grow vegetables at home.
Now, let’s address some frequently asked questions to help you get started on your gardening adventure.
Frequently Asked Questions (FAQ)
What if I don’t have a lot of sunlight?
Sunlight is crucial for vegetable growth, but there are ways to work around limited sunlight. First, choose vegetables that tolerate partial shade, such as lettuce, spinach, kale, and radishes. These leafy greens can thrive with as little as 4-6 hours of sunlight per day. Second, consider using grow lights to supplement natural sunlight. LED grow lights are energy-efficient and can provide the necessary light spectrum for healthy plant growth. Position the grow lights close to your plants, but not so close that they burn the leaves. Finally, make sure your plants are not shaded by buildings or trees. Prune any branches that are blocking sunlight from reaching your garden.
How do I know what kind of soil I have?
Understanding your soil type is essential for successful gardening. There are three main types of soil: sandy, silty, and clay. Sandy soil is well-draining but doesn’t retain nutrients well. Clay soil is nutrient-rich but can be poorly draining. Silty soil is a good balance between the two. To determine your soil type, perform a simple soil test. Take a handful of moist soil and try to form a ball. If the soil crumbles easily, it’s likely sandy. If you can form a ball but it doesn’t hold its shape well, it’s likely silty. If you can form a ball that holds its shape and feels sticky, it’s likely clay. You can also send a soil sample to a lab for a more detailed analysis. Once you know your soil type, you can amend it with compost, manure, or other organic matter to improve its texture and fertility.
What are some easy vegetables to grow for beginners?
If you’re new to gardening, start with easy-to-grow vegetables that are relatively low-maintenance. Some great options include:
* **Lettuce:** Grows quickly and can be harvested multiple times.
* **Radishes:** Mature in just a few weeks and are perfect for adding a peppery kick to salads.
* **Spinach:** Another leafy green that’s easy to grow and packed with nutrients.
* **Green beans:** Prolific producers that are delicious steamed, sautéed, or added to soups.
* **Zucchini:** A fast-growing vegetable that can be harvested throughout the summer.
* **Tomatoes:** While they require a bit more care, tomatoes are a rewarding crop to grow at home. Choose determinate varieties, which are more compact and easier to manage.
* **Peppers:** Bell peppers and chili peppers are relatively easy to grow and add flavor to a variety of dishes.
How often should I water my vegetables?
Watering frequency depends on several factors, including the type of vegetable, the weather, and the soil type. As a general rule, water deeply and less frequently, rather than shallowly and more often. This encourages roots to grow deeper, making plants more drought-tolerant. Check the soil moisture before watering. If the top inch of soil feels dry, it’s time to water. Water early in the morning to allow the foliage to dry before nightfall, which helps prevent fungal diseases. Use a watering can or a soaker hose to water at the base of the plants, avoiding wetting the leaves.
How do I deal with pests and diseases?
Pests and diseases can be a challenge for any gardener, but there are many organic ways to manage them. Start by choosing disease-resistant varieties of vegetables. Practice crop rotation to prevent pests and diseases from building up in the soil. Encourage beneficial insects, such as ladybugs and lacewings, which prey on harmful pests. Handpick pests off plants whenever possible. Use insecticidal soap or neem oil to control aphids, whiteflies, and other common pests. Prevent fungal diseases by providing good air circulation and avoiding overhead watering. If you suspect a disease, remove the affected leaves or plants immediately to prevent it from spreading.
Can I grow vegetables in containers?
Absolutely! Container gardening is a great option for people with limited space. Choose containers that are at least 12 inches in diameter and have drainage holes. Use a high-quality potting mix that is specifically formulated for containers. Water containers more frequently than in-ground gardens, as they tend to dry out more quickly. Fertilize regularly with a balanced fertilizer. Some vegetables that thrive in containers include tomatoes, peppers, herbs, lettuce, and strawberries.
What is companion planting?
Companion planting is the practice of growing different plants together that benefit each other. Some plants can deter pests, attract pollinators, or improve soil health. For example, planting basil near tomatoes can help to repel pests and improve the flavor of the tomatoes. Planting marigolds near vegetables can help to deter nematodes. Planting legumes, such as beans and peas, can help to fix nitrogen in the soil, which benefits other plants. Research companion planting combinations to find the best pairings for your garden.
How do I harvest my vegetables?
Harvesting vegetables at the right time is crucial for optimal flavor and texture. Harvest leafy greens when they are young and tender. Harvest root vegetables when they reach the desired size. Harvest fruits and vegetables when they are fully ripe but not overripe. Use a sharp knife or scissors to harvest vegetables, being careful not to damage the plants. Harvest regularly to encourage continued production.
How do I store my harvested vegetables?
Proper storage can extend the shelf life of your harvested vegetables. Store leafy greens in the refrigerator in a plastic bag or container. Store root vegetables in a cool, dark, and dry place. Store tomatoes and peppers at room temperature. Freeze vegetables for longer-term storage. Blanch vegetables before freezing to preserve their color and flavor.
What if I have more questions?
We’re here to help! Feel free to leave your questions in the comments below, and we’ll do our best to answer them. You can also find a wealth of information online and in gardening books. Happy gardening! Remember, the journey to grow vegetables at home is a continuous learning experience, so embrace the challenges and celebrate the successes.
Leave a Comment