
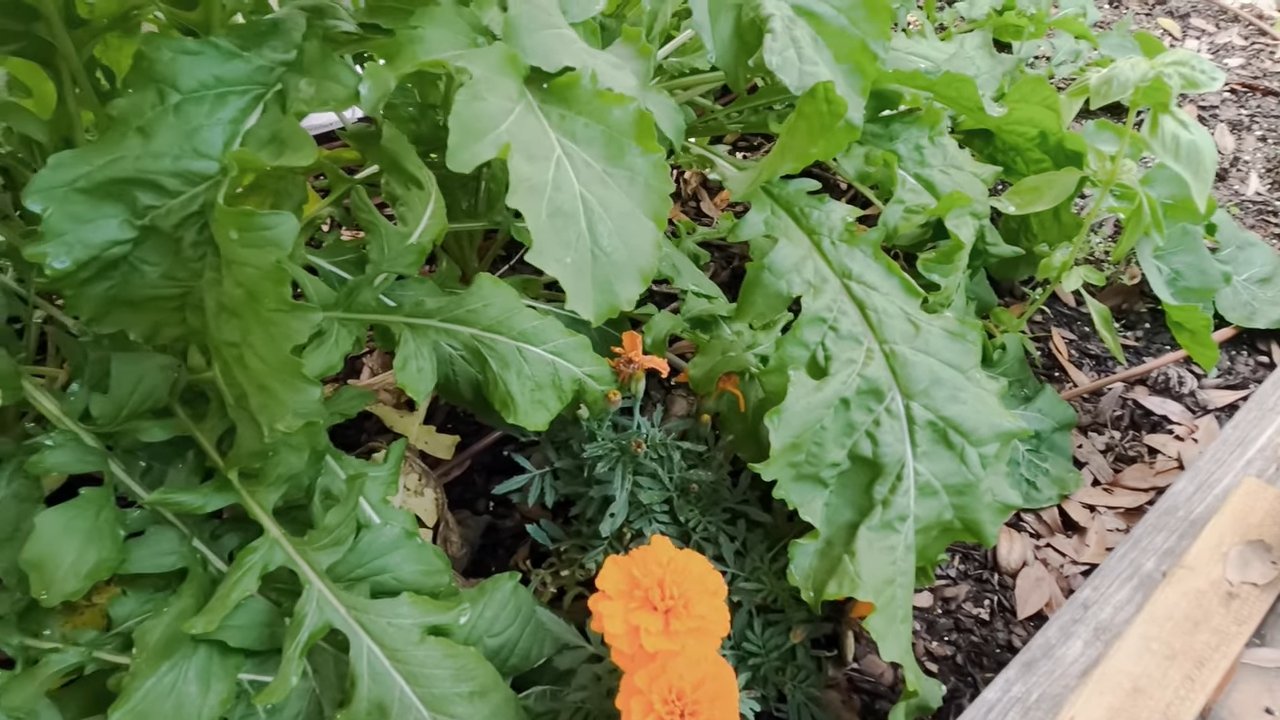
Growing Arugula Indoors: Craving that peppery, zesty bite of fresh arugula but don’t have a sprawling garden? Or maybe the weather outside is frightful? Don’t worry, I’ve got you covered! This guide will unlock the secrets to cultivating your own thriving arugula patch right on your windowsill.
For centuries, arugula (also known as rocket) has been a culinary staple, gracing the tables of ancient Romans and finding its way into salads and dishes across the globe. Its peppery flavor adds a unique dimension to any meal. But what if you could have that fresh, vibrant taste available year-round, without relying on grocery store produce that might be days old?
That’s where the magic of DIY comes in! Growing Arugula Indoors is not only incredibly rewarding but also surprisingly easy. Imagine snipping fresh leaves for your salad just moments before serving, knowing exactly where your food comes from and avoiding those pesky pesticides. This DIY trick will save you money, reduce your carbon footprint, and provide you with a constant supply of delicious, healthy greens. Plus, it’s a fantastic way to connect with nature, even when you’re stuck inside. So, let’s dive in and discover how to transform your home into a miniature arugula farm!
Sowing Arugula Indoors: Your Comprehensive DIY Guide
I love fresh arugula! Its peppery taste is simply unbeatable, especially in salads or on pizza. And the best part? You can easily grow it at home, even without a garden! In this article, I’ll show you how to successfully grow arugula indoors, step by step. Don’t worry, it’s easier than you think!
What You Need: The Checklist
Before we get started, make sure you have everything together. Here is a list of the things you’ll need for your indoor arugula project:
- Arugula seeds: It’s best to choose organic seeds to ensure they haven’t been treated with pesticides.
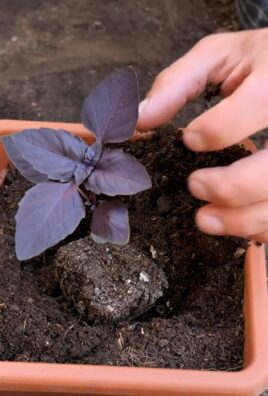
- Seedling pots or containers: Small pots or seedling trays are ideal to start with. You can also use recycled yogurt cups or similar items. Just make sure they have drainage holes.
- High-quality potting soil: Use a well-draining potting mix that is specifically suitable for growing vegetables. Avoid garden soil, as it is often too heavy and does not drain well.
- Spray bottle: For moistening the soil.
- Plant lamp (optional, but recommended): Arugula needs a lot of light, especially in winter. A plant lamp helps to promote growth.
- Saucers: To catch excess water.
- Labels: To mark your sowing (optional, but helpful).
Step-by-Step Guide: How to Succeed with Sowing
Now that we have everything, we can start sowing!
- Prepare the pots: Fill your seedling pots or containers with potting soil. Leave about 1-2 cm of space at the top. Press the soil down lightly, but not too firmly.
- Sow the seeds: Distribute the arugula seeds evenly on the surface of the soil. You can sow about 5-10 seeds per pot. Arugula is a light germinator, which means the seeds need light to germinate. Therefore, cover them only lightly with a thin layer of soil (approx. 0.5 cm).
- Watering: Moisten the soil carefully with a spray bottle. Make sure the soil is evenly moist, but not soaked.
- Location: Place the pots in a bright spot. A windowsill with direct sunlight is ideal. If you don’t have a sufficiently bright windowsill, use a plant lamp.
- Germination: Germination usually takes 5-10 days. Keep the soil moist during this time.
- Thinning (optional): If the seedlings are too close together, you can thin them out. Remove the weakest plants so that the remaining plants have enough space to grow.
The Care: How to Keep Your Arugula Happy
After sowing, proper care is crucial for a bountiful harvest.
- Watering: Arugula needs regular watering, but avoid waterlogging. The soil should always be slightly moist. Check the soil’s moisture daily and water when the top layer feels dry.
- Light: Arugula needs a lot of light, at least 6 hours per day. If you don’t have a sufficiently bright windowsill, use a plant lamp. Place the lamp about 15-20 cm above the plants.
- Temperature: Arugula prefers cool temperatures between 15 and 20 degrees Celsius (60-68°F). Avoid exposing the plants to direct heat.
- Fertilizing (optional): If you wish, you can fertilize your arugula plants every few weeks with an organic liquid fertilizer. Be sure to follow the instructions on the packaging.
- Ventilation: Ensure good ventilation to prevent mold. Open the window regularly or place a small fan near the plants.
The Harvest: Finally Enjoying Arugula!
After about 4-6 weeks, you can harvest your arugula for the first time!
- Harvest time: Harvest the leaves when they are about 5-10 cm long. You can either harvest the whole plants or just cut the outer leaves. If you only harvest the outer leaves, the plants can continue to grow and you can harvest multiple times.
- Harvesting method: Cut the leaves with scissors or a knife. Be careful not to damage the roots.
- Storage: Fresh arugula keeps in the refrigerator for about 3-5 days. Wrap it in a damp paper towel and place it in a plastic bag.
Common Problems and Solutions
Problems can also occur with indoor arugula cultivation. Here are some common problems and how you can solve them:
- Yellow leaves: Yellow leaves can be a sign of overwatering, nutrient deficiency, or too little light. Check your watering habits, fertilize the plants if necessary, and make sure they get enough light.
- Mold: Mold can be caused by too high humidity or poor ventilation. Ensure good ventilation and avoid overwatering.
- Pests: Aphids or other pests may appear. Spray the plants with a mild soap solution or use an organic pesticide.
Additional Tips for Success
Here are a few more tips to help you make your indoor arugula cultivation a success:
- Sow regularly: To ensure a continuous harvest, sow new seeds every few weeks.
- Use different arugula varieties: There are different arugula varieties with different flavors and leaf shapes. Try different varieties to find your favorite.
- Experiment with different growing methods: You can also grow arugula in hydroponics or in vertical gardens.
- Observe your plants: Pay attention to changes in the appearance of your plants and adjust your care accordingly.
Why Indoor Arugula Growing is So Great
I find that indoor arugula cultivation has many advantages:
- Fresh arugula all year round: You are no longer dependent on the season and can harvest fresh arugula at any time.
- Control over growing conditions: you can optimally control the light, temperature, and moisture conditions.
- No pesticides: You know exactly what’s in your arugula because you grow it yourself.
- Sustainability: You reduce your ecological footprint because you don’t need long transport routes.
- It’s fun! Indoor arugula cultivation is a great way to connect with nature and learn something new.
Conclusion
With this guide, you are well-equipped to grow your own arugula indoors. It is a simple and rewarding project that will provide you with fresh, peppery arugula all year round. So, what are you waiting for? Get started and become an indoor gardener! I wish you much success and a bountiful harvest

Conclusion
So, there you have it! Growing arugula indoors is not only achievable but also incredibly rewarding. Imagine having a constant supply of fresh, peppery greens right at your fingertips, ready to elevate your salads, sandwiches, and pizzas. Forget those wilted, overpriced bags from the grocery store – with a little effort and this simple DIY trick, you can enjoy vibrant, flavorful arugula year-round.
What makes this method a must-try? It’s the combination of convenience, cost-effectiveness, and superior flavor. You control the growing environment, ensuring optimal conditions for your arugula to thrive. Plus, you’ll be amazed at how much money you save compared to buying pre-packaged greens. And let’s not forget the satisfaction of harvesting your own homegrown produce!
But don’t stop there! Feel free to experiment with different varieties of arugula. ‘Rocket’ is a classic choice, known for its intense peppery bite, while ‘Sylvetta’ offers a slightly milder flavor. You can also try growing other leafy greens alongside your arugula, such as spinach, lettuce, or even herbs like basil and parsley, creating a mini indoor salad garden. Consider using different types of containers, from repurposed yogurt containers to stylish ceramic pots, to add a touch of personality to your indoor garden.
For an extra boost, try adding a diluted liquid fertilizer specifically formulated for leafy greens every couple of weeks. This will provide your arugula with the nutrients it needs to grow strong and healthy. You can also experiment with different lighting setups. While a sunny windowsill works well, you might find that using a grow light enhances growth, especially during the darker winter months.
Ready to ditch the store-bought arugula and embrace the joy of homegrown goodness? We encourage you to give this DIY trick a try. It’s easier than you think, and the results are well worth the effort. Once you’ve harvested your first batch of fresh, peppery arugula, you’ll be hooked!
We’re confident that you’ll love growing arugula indoors. Don’t be afraid to get your hands dirty and experiment. Every gardener has their own unique style and preferences, so find what works best for you and your growing environment.
And most importantly, we want to hear about your experience! Share your tips, tricks, and photos with us in the comments below. Let us know what varieties of arugula you’re growing, what challenges you’ve faced, and what successes you’ve celebrated. Together, we can create a community of indoor gardeners who are passionate about growing their own fresh, delicious food. So, grab your seeds, potting mix, and containers, and let’s get growing! Your taste buds (and your wallet) will thank you.
Frequently Asked Questions (FAQ)
What kind of soil should I use for growing arugula indoors?
A well-draining potting mix is essential for growing arugula indoors. Avoid using garden soil, as it can be too heavy and compact, leading to drainage problems and root rot. Look for a potting mix that contains ingredients like peat moss, perlite, and vermiculite, which will provide good aeration and drainage. You can also create your own potting mix by combining equal parts of peat moss, perlite, and compost. The compost will provide essential nutrients for your arugula plants.
How much light does arugula need when grown indoors?
Arugula thrives in bright light, so aim to provide at least 6 hours of direct sunlight per day. A south-facing windowsill is ideal, but if you don’t have access to one, you can supplement with a grow light. Fluorescent or LED grow lights are both good options. Position the grow light a few inches above the arugula plants and keep it on for 12-14 hours per day. Insufficient light can lead to leggy growth and a less flavorful harvest.
How often should I water my indoor arugula plants?
Water your arugula plants regularly, keeping the soil consistently moist but not waterlogged. Check the soil moisture by sticking your finger about an inch into the soil. If it feels dry, it’s time to water. Water deeply, allowing the excess water to drain out of the bottom of the container. Avoid overwatering, as this can lead to root rot. During warmer months, you may need to water more frequently.
How long does it take for arugula to grow indoors?
Arugula is a fast-growing crop, and you can typically start harvesting leaves within 3-4 weeks of planting. The exact time will depend on the variety of arugula, the growing conditions, and the amount of light it receives. Harvest the outer leaves when they are about 2-3 inches long, leaving the inner leaves to continue growing. This cut-and-come-again method allows you to harvest arugula continuously for several weeks.
What are some common problems when growing arugula indoors, and how can I fix them?
Some common problems include aphids, whiteflies, and fungal diseases. Aphids and whiteflies can be controlled with insecticidal soap or neem oil. Fungal diseases are often caused by overwatering or poor air circulation. Ensure good drainage and air circulation, and avoid watering the leaves directly. If you notice any signs of disease, remove the affected leaves immediately.
Can I grow arugula indoors year-round?
Yes, you can grow arugula indoors year-round, as long as you provide adequate light and temperature. During the winter months, you may need to supplement with a grow light to ensure that your arugula receives enough light. Keep the temperature between 60-70°F (15-21°C) for optimal growth.
How do I harvest arugula leaves?
Harvest arugula leaves when they are about 2-3 inches long. Use scissors or your fingers to snip off the outer leaves, leaving the inner leaves to continue growing. This cut-and-come-again method allows you to harvest arugula continuously for several weeks. Harvest in the morning for the best flavor.
Does arugula need fertilizer when grown indoors?
While arugula can grow without fertilizer, providing it with a diluted liquid fertilizer every couple of weeks will help it grow stronger and produce more flavorful leaves. Use a fertilizer specifically formulated for leafy greens, and follow the instructions on the label. Avoid over-fertilizing, as this can lead to leggy growth and a bitter taste.
What are some creative ways to use my homegrown arugula?
Arugula is a versatile green that can be used in a variety of dishes. Add it to salads, sandwiches, pizzas, and pasta dishes. You can also use it to make pesto or add it to soups and stews. Arugula pairs well with flavors like lemon, parmesan cheese, and balsamic vinegar. Get creative and experiment with different ways to incorporate your homegrown arugula into your meals.
How do I prevent my arugula from bolting (going to seed)?
Bolting is a common problem with arugula, especially during hot weather. To prevent bolting, keep the soil consistently moist, provide shade during the hottest part of the day, and harvest the leaves regularly. If your arugula starts to bolt, you can still eat the leaves, but they may have a more bitter taste.

Leave a Comment