
Potato storage trick: Ever find yourself tossing out sprouted, soft, or otherwise sad-looking potatoes? I know I have! It’s frustrating to waste food and money, especially when a simple trick can prevent it. For centuries, cultures around the world have relied on root cellars and clever techniques to preserve their harvests, ensuring a steady food supply throughout the year. While we might not all have root cellars these days, we can still learn from those time-tested methods.
This DIY guide is your answer to keeping your potatoes fresh and usable for weeks, even months, longer. Imagine perfectly firm, sprout-free potatoes ready whenever you need them for mashed potatoes, fries, or a hearty stew. No more last-minute grocery runs or disappointing dinners! We’ll delve into a simple yet effective potato storage trick that will transform how you manage your spuds. This isn’t just about saving food; it’s about saving time, money, and reducing waste. Let’s get started and unlock the secrets to long-lasting potato perfection!
DIY Potato Storage: Keep Your Spuds Fresh for Months!
Hey there, fellow food-loving DIYers! Are you tired of your potatoes sprouting eyes faster than you can say “mashed potatoes”? I know I was! That’s why I’m so excited to share this simple, yet incredibly effective, DIY potato storage hack that will keep your potatoes fresh and delicious for months. Trust me, this is a game-changer!
Why Potatoes Go Bad (and How to Stop It)
Before we dive into the how-to, let’s quickly understand why potatoes tend to spoil so quickly. The main culprits are:
* Light: Exposure to light triggers the production of chlorophyll, which turns potatoes green and produces solanine, a toxic alkaloid that can cause illness.
* Warmth: High temperatures encourage sprouting and decay.
* Moisture: Dampness promotes mold and rot.
* Poor Ventilation: Lack of airflow traps moisture and speeds up spoilage.
Our DIY storage solution addresses all these issues, creating the perfect environment for long-term potato preservation.
The DIY Potato Storage Solution: The Dark, Cool, and Ventilated Method
This method focuses on creating a dark, cool, and well-ventilated environment for your potatoes. We’ll be using a combination of materials to achieve this.
Materials You’ll Need:
* A sturdy container: This could be a wooden crate, a plastic bin (opaque is best), a large basket, or even a repurposed drawer. I personally prefer a wooden crate because it looks nice and provides good ventilation.
* Burlap sacks or breathable fabric: These will act as liners to further block light and absorb excess moisture. Old pillowcases work great too!
* Newspaper or cardboard: To create layers and further absorb moisture.
* Apples (yes, apples!): This is the secret ingredient! Apples release ethylene gas, which inhibits sprouting in potatoes.
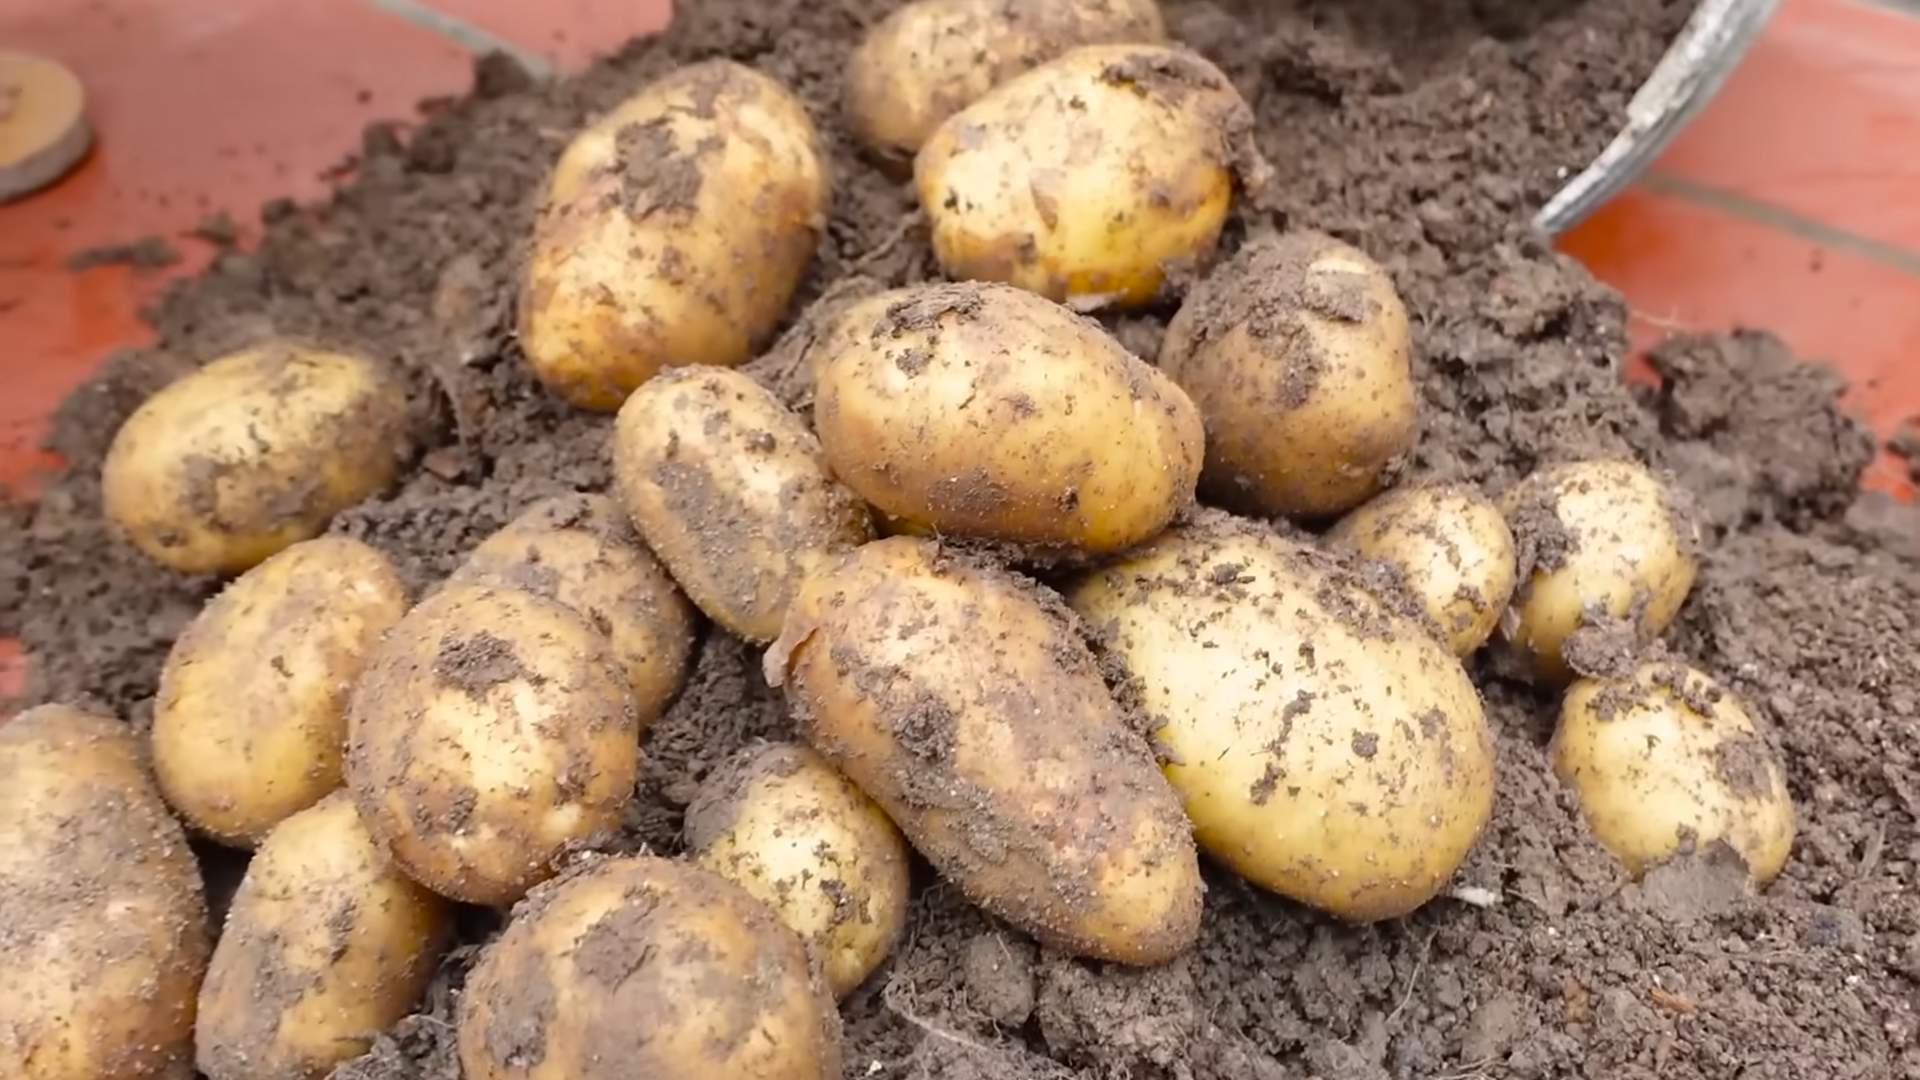
* Potatoes: Obviously! Choose potatoes that are firm, unblemished, and free from sprouts.
* Optional: A thermometer and hygrometer to monitor temperature and humidity.
Tools You Might Need:
* Scissors or a knife (for cutting burlap or newspaper)
* Gloves (optional, for handling potatoes)
Step-by-Step Instructions: Building Your Potato Paradise
Okay, let’s get started! Follow these steps to create your own potato storage haven.
1. Prepare Your Container:
* First, make sure your chosen container is clean and dry. If you’re using a wooden crate, check for any splinters or sharp edges that could damage the potatoes.
* If you’re using a plastic bin, ensure it’s opaque or dark-colored to block out light. If it’s transparent, you’ll need to cover it completely with a dark cloth or blanket.
* If you’re using a basket, make sure the weave is tight enough to prevent light from penetrating.
2. Line the Container:
* Cut your burlap sack or breathable fabric to fit the inside of the container, leaving some overhang. This will allow you to fold the fabric over the top of the potatoes later.
* Place the fabric inside the container, ensuring it covers the bottom and sides completely.
* The fabric will help absorb any excess moisture and prevent the potatoes from coming into direct contact with the container, which can sometimes lead to condensation.
3. Create a Newspaper/Cardboard Layer:
* Cut sheets of newspaper or cardboard to fit the bottom of the container.
* Place a layer of newspaper or cardboard on top of the burlap or fabric lining. This will provide an extra layer of moisture absorption and insulation.
* I like to use a combination of newspaper and cardboard for added protection.
4. Add Your First Layer of Potatoes:
* Carefully place a single layer of potatoes on top of the newspaper or cardboard.
* Make sure the potatoes are not touching each other to allow for good air circulation.
* Choose your best looking potatoes for this layer. Any potatoes with blemishes should be used first.
5. The Apple Secret:
* Place 1-2 apples among the potatoes in the first layer. The number of apples you need will depend on the size of your container and the amount of potatoes you’re storing.
* The apples will release ethylene gas, which naturally inhibits sprouting.
Hey there, fellow food-loving DIYers! Are you tired of your potatoes sprouting eyes faster than you can say “mashed potatoes”? I know I was! That’s why I’m so excited to share this simple, yet incredibly effective, DIY potato storage hack that will keep your potatoes fresh and delicious for months. Trust me, this is a game-changer!
Why Potatoes Go Bad (and How to Stop It)
Before we dive into the how-to, let’s quickly understand why potatoes tend to spoil so quickly. The main culprits are:
* Light: Exposure to light triggers the production of chlorophyll, which turns potatoes green and produces solanine, a toxic alkaloid that can cause illness.
* Warmth: High temperatures encourage sprouting and decay.
* Moisture: Dampness promotes mold and rot.
* Poor Ventilation: Lack of airflow traps moisture and speeds up spoilage.
Our DIY storage solution addresses all these issues, creating the perfect environment for long-term potato preservation.
The DIY Potato Storage Solution: The Dark, Cool, and Ventilated Method
This method focuses on creating a dark, cool, and well-ventilated environment for your potatoes. We’ll be using a combination of materials to achieve this.
Materials You’ll Need:
* A sturdy container: This could be a wooden crate, a plastic bin (opaque is best), a large basket, or even a repurposed drawer. I personally prefer a wooden crate because it looks nice and provides good ventilation.
* Burlap sacks or breathable fabric: These will act as liners to further block light and absorb excess moisture. Old pillowcases work great too!
* Newspaper or cardboard: To create layers and further absorb moisture.
* Apples (yes, apples!): This is the secret ingredient! Apples release ethylene gas, which inhibits sprouting in potatoes.
* Potatoes: Obviously! Choose potatoes that are firm, unblemished, and free from sprouts.
* Optional: A thermometer and hygrometer to monitor temperature and humidity.
Tools You Might Need:
* Scissors or a knife (for cutting burlap or newspaper)
* Gloves (optional, for handling potatoes)
Step-by-Step Instructions: Building Your Potato Paradise
Okay, let’s get started! Follow these steps to create your own potato storage haven.
1. Prepare Your Container:
* First, make sure your chosen container is clean and dry. If you’re using a wooden crate, check for any splinters or sharp edges that could damage the potatoes.
* If you’re using a plastic bin, ensure it’s opaque or dark-colored to block out light. If it’s transparent, you’ll need to cover it completely with a dark cloth or blanket.
* If you’re using a basket, make sure the weave is tight enough to prevent light from penetrating.
2. Line the Container:
* Cut your burlap sack or breathable fabric to fit the inside of the container, leaving some overhang. This will allow you to fold the fabric over the top of the potatoes later.
* Place the fabric inside the container, ensuring it covers the bottom and sides completely.
* The fabric will help absorb any excess moisture and prevent the potatoes from coming into direct contact with the container, which can sometimes lead to condensation.
3. Create a Newspaper/Cardboard Layer:
* Cut sheets of newspaper or cardboard to fit the bottom of the container.
* Place a layer of newspaper or cardboard on top of the burlap or fabric lining. This will provide an extra layer of moisture absorption and insulation.
* I like to use a combination of newspaper and cardboard for added protection.
4. Add Your First Layer of Potatoes:
* Carefully place a single layer of potatoes on top of the newspaper or cardboard.
* Make sure the potatoes are not touching each other to allow for good air circulation.
* Choose your best looking potatoes for this layer. Any potatoes with blemishes should be used first.
5. The Apple Secret:
* Place 1-2 apples among the potatoes in the first layer. The number of apples you need will depend on the size of your container and the amount of potatoes you’re storing.
* The apples will release ethylene gas, which naturally inhibits sprouting.
* Don’t worry, the apples won’t affect the taste of your potatoes!
6. Repeat Layers:
* Repeat steps 3-5, creating alternating layers of newspaper/cardboard, potatoes, and apples.
* Be sure to leave some space at the top of the container for air circulation.
* I usually do about 3-4 layers, depending on the size of my container.
7. Top It Off:
* Once you’ve added all your layers, fold the overhanging burlap or fabric over the top of the potatoes.
* This will provide an extra layer of darkness and protection.
* You can also add a final layer of newspaper or cardboard on top of the fabric for added insulation.
8. Find the Perfect Spot:
* Now, the most crucial step: finding the right location for your potato storage container.
* The ideal spot is a cool, dark, and well-ventilated area.
* A root cellar is perfect, but a cool basement, garage, or even a pantry shelf will work.
* The temperature should ideally be between 40-50°F (4-10°C).
* Avoid storing potatoes near onions or other fruits that release ethylene gas, as this can counteract the effect of the apples.
9. Monitor and Maintain:
* Check your potatoes regularly (every few weeks) for any signs of spoilage.
* Remove any potatoes that are starting to sprout or rot to prevent them from affecting the other potatoes.
* Replace the apples every month or two, as they will eventually stop producing ethylene gas.
* If you notice any condensation inside the container, add more newspaper or cardboard to absorb the moisture.
* If you’re using a thermometer and hygrometer, monitor the temperature and humidity to ensure they stay within the ideal range.
Troubleshooting: Common Potato Storage Problems and Solutions
Even with the best storage methods, you might encounter some issues. Here’s how to deal with them:
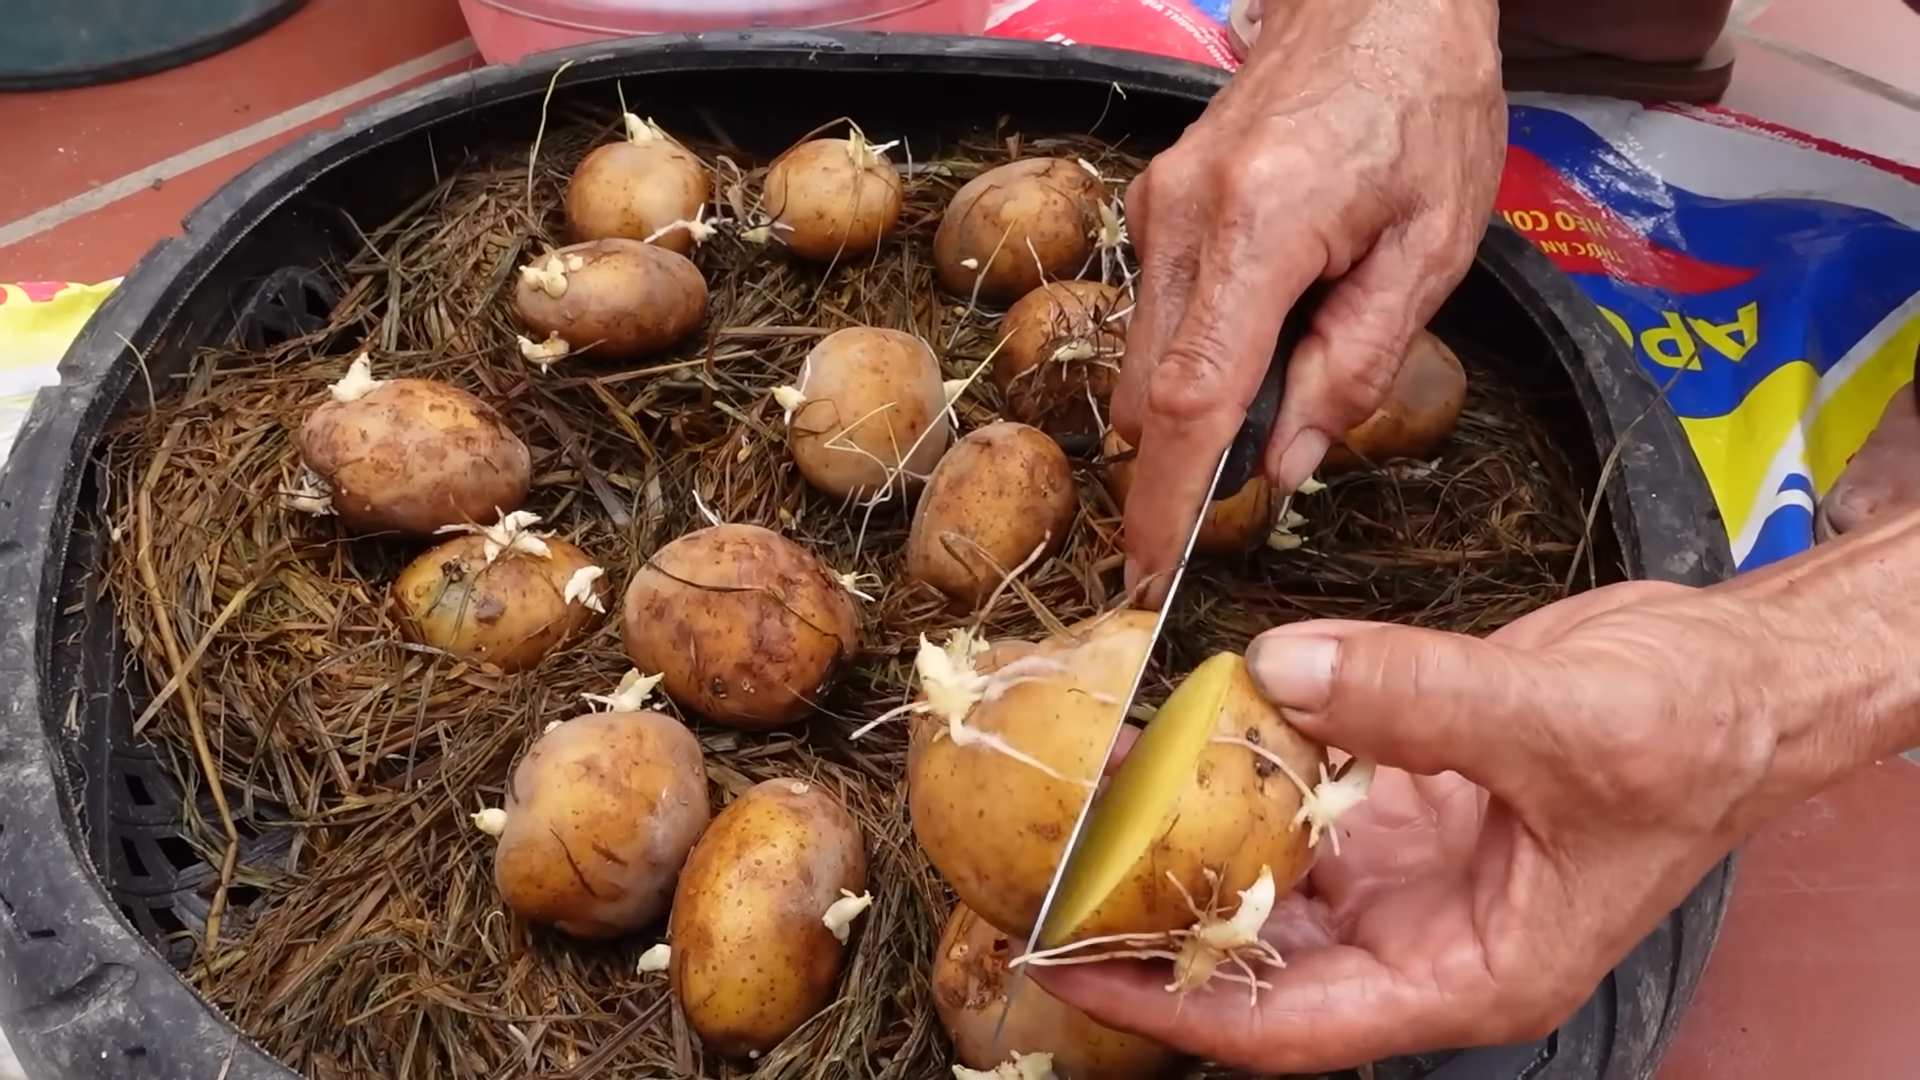
* Sprouting: If your potatoes are sprouting despite your best efforts, it could be due to insufficient darkness or warmth. Try moving the container to a darker, cooler location. You can also remove the sprouts before cooking the potatoes.
* Rotting: Rotting is usually caused by excessive moisture. Make sure your container is well-ventilated and add more absorbent materials like newspaper or cardboard. Remove any rotten potatoes immediately to prevent the spread of decay.
* Green Skin: Green skin indicates the presence of solanine, a toxic alkaloid. This is caused by exposure to light. Discard any potatoes with green skin.
* Shriveling: Shriveling is a sign of dehydration. This can be caused by low humidity. Try adding a damp cloth to the container to increase humidity.
Extra Tips for Potato Storage Success
Here are a few extra tips to help you achieve potato storage perfection:
* Choose the Right Potatoes: Some potato varieties store better than others. Russet potatoes and Yukon Gold potatoes are known for their good storage qualities.
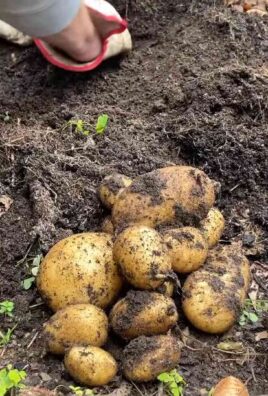
* Don’t Wash Before Storing: Washing potatoes before storing them can introduce moisture and promote rot. Store them unwashed and brush off any excess dirt before cooking.
* Handle with Care: Avoid bruising or damaging the potatoes during handling, as this can create entry points for bacteria and fungi.
* Use Older Potatoes First: If you have a mix of older and newer potatoes, use the older ones first, as they are more likely to spoil.
* Consider a Root Cellar (If You Have One!): If you’re lucky enough to have a root cellar, it’s the ideal place to store potatoes. The cool, dark, and humid environment is perfect for long-term preservation.
Enjoy Your Fresh Potatoes!
And there you have it! With this simple DIY potato storage hack, you can keep your potatoes fresh and delicious for months, saving you money and reducing food waste. I hope you found this guide helpful. Happy storing!
Conclusion
So, there you have it! This simple, yet incredibly effective, potato storage trick is a game-changer for anyone who loves potatoes but hates watching them sprout and soften before their time. We’ve all been there – reaching for a potato only to find it’s developed eyes or turned unpleasantly mushy. This method, using just an apple, combats those common potato storage problems and extends the shelf life of your spuds significantly.
Why is this a must-try? Because it saves you money by reducing food waste. Think about it: how many times have you had to throw away potatoes that have gone bad? This trick minimizes that waste, allowing you to enjoy your potatoes for longer. It also saves you time and effort. No more frequent trips to the grocery store just to replenish your potato supply. You can buy in bulk, knowing that your potatoes will stay fresh and usable for weeks.
Beyond the basic apple trick, feel free to experiment with variations. Some people swear by storing potatoes in a cool, dark place like a pantry or basement, inside a burlap sack or paper bag. Combining this storage environment with the apple trick can further enhance the preservation process. You could also try different types of apples. While any apple will work, some believe that varieties with a stronger ethylene production, like Red Delicious or Gala, might be even more effective.
Another variation to consider is the quantity of apples used. For a large bag of potatoes, you might want to use two or even three apples to ensure adequate ethylene exposure. Just remember to check the apples periodically and replace them if they start to rot, as a rotting apple will defeat the purpose of the trick.
This potato storage trick isn’t just about preserving potatoes; it’s about embracing a more sustainable and efficient way of managing your food. It’s a small change that can have a big impact on your wallet and the environment.
We wholeheartedly encourage you to try this DIY trick. It’s easy, inexpensive, and incredibly effective. Once you experience the difference it makes, you’ll wonder why you didn’t start doing it sooner.
But don’t just take our word for it! We want to hear about your experiences. Did this trick work for you? Did you try any variations? What kind of potatoes did you store? Share your stories, tips, and photos in the comments below. Let’s build a community of potato-loving, food-waste-fighting enthusiasts! Your feedback will not only help other readers but also contribute to refining and improving this simple yet powerful technique. Let us know if you have any questions, and we’ll do our best to answer them. Happy potato storing!
Frequently Asked Questions (FAQs)
Why does putting an apple with potatoes prevent sprouting?
The secret lies in ethylene gas. Apples naturally produce ethylene gas, a plant hormone that, in most cases, promotes ripening. However, in the case of potatoes, ethylene acts as a sprout inhibitor. It slows down the metabolic processes that lead to sprouting, effectively extending the dormancy period of the potatoes. This means your potatoes will stay fresher for longer, without developing those unwanted eyes.
How many apples do I need per bag of potatoes?
A general rule of thumb is one apple for a standard 5-10 pound bag of potatoes. If you have a larger quantity of potatoes, consider using two or three apples to ensure sufficient ethylene exposure. It’s always better to err on the side of caution, especially if you’re storing potatoes for an extended period. Monitor the potatoes regularly and add another apple if you notice any signs of sprouting.
What kind of apples work best for this trick?
Any type of apple will work, as all apples produce ethylene gas. However, some varieties are known to produce more ethylene than others. Apples like Red Delicious, Gala, and Fuji are generally considered to be high ethylene producers. If you have access to these varieties, they might offer a slight advantage. But don’t feel limited to these; any apple you have on hand will be beneficial. The key is to use a fresh, unbruised apple.
Where is the best place to store potatoes with an apple?
The ideal storage environment for potatoes is a cool, dark, and well-ventilated place. A pantry, basement, or even a cool cupboard can work well. Avoid storing potatoes in direct sunlight or near heat sources, as this can accelerate sprouting and spoilage. The combination of the apple trick and the proper storage environment will maximize the shelf life of your potatoes.
How long will potatoes last with this trick?
The length of time potatoes will last with this trick depends on several factors, including the initial freshness of the potatoes, the storage environment, and the type of potatoes. However, in general, you can expect this trick to extend the shelf life of your potatoes by several weeks, or even a month or two, compared to storing them without an apple. Regularly check your potatoes for any signs of spoilage, such as soft spots or a strong odor.
Can I use other fruits besides apples?
While apples are the most commonly recommended fruit for this trick, other fruits that produce ethylene gas, such as bananas and pears, might also work. However, apples are generally preferred because they tend to last longer and don’t ripen as quickly as bananas or pears. This means you won’t have to replace them as frequently. If you’re experimenting with other fruits, be sure to monitor them closely and replace them as needed.
What if the apple starts to rot?
If the apple starts to rot, it’s important to remove it immediately and replace it with a fresh one. A rotting apple can actually promote spoilage in the potatoes, defeating the purpose of the trick. Regularly check the apple for any signs of decay, such as soft spots, mold, or a foul odor. Replacing the apple as needed will ensure that your potatoes stay fresh for as long as possible.
Does this trick work for all types of potatoes?
Yes, this trick should work for all types of potatoes, including russet, Yukon gold, red potatoes, and fingerling potatoes. However, some varieties might naturally have a longer shelf life than others. Regardless of the type of potato, using this trick will help to extend its freshness and prevent sprouting.
Is it safe to eat potatoes that have sprouted?
While small sprouts are generally safe to remove and eat the potato, large sprouts indicate that the potato has converted starches to sugars and may contain higher levels of solanine, a naturally occurring toxin. It’s best to discard potatoes with extensive sprouting or those that have turned green. The apple trick helps prevent this from happening in the first place, ensuring that your potatoes remain safe and delicious to eat.
Can I store potatoes and onions together if I use this trick?
It’s generally not recommended to store potatoes and onions together, even with the apple trick. Onions release moisture and gases that can accelerate spoilage in potatoes. It’s best to store them separately in cool, dark, and well-ventilated places.

Leave a Comment