
Growing Lemons Indoors Guide: Your Path to a Zesty Oasis!
Imagine plucking a sun-kissed lemon, bursting with flavor, right from your own living room! Sounds like a dream? It doesn’t have to be. This Growing Lemons Indoors Guide is your passport to transforming your home into a citrus paradise, no matter where you live. For centuries, citrus fruits have been symbols of prosperity and good health, gracing tables and gardens across the Mediterranean and beyond. Now, you can bring that same vibrant energy into your own space.
Let’s face it, not everyone has the luxury of a sprawling backyard bathed in sunshine. But that shouldn’t stop you from enjoying the tangy delight of homegrown lemons. This DIY guide is packed with simple, effective tricks and hacks to help you successfully cultivate lemon trees indoors. From choosing the right variety to mastering the art of indoor pollination, I’ll walk you through every step of the process.
Why do you need this guide? Because store-bought lemons simply can’t compare to the taste and satisfaction of harvesting your own. Plus, growing lemons indoors is a rewarding hobby that connects you with nature, purifies your air, and adds a touch of Mediterranean charm to your home. So, grab your gardening gloves, and let’s embark on this exciting citrus adventure together!
Growing Lemons Indoors: Your Comprehensive DIY Guide
Hello fellow plant lovers! Have you ever dreamed of growing your own lemons at home? Me too! And I can tell you, it’s absolutely doable and incredibly satisfying. In this article, I’ll show you step-by-step how to bring your own little lemon grove into your home. Don’t worry, it’s easier than you think!
What You Need: The Right Equipment
Before we get started, let’s make sure we have everything we need. Here is a list of the things you’ll need:
- Lemon seeds: You can either get them from a store-bought lemon or buy special lemon seeds online or at a garden center. I recommend using organic lemons to ensure the seeds have not been treated.
- Seed starting pots: Small pots or seed trays are perfect for the beginning.
- Seed starting mix: This is specially formulated for seed germination and provides the best conditions.
- A larger pot: Once your lemon plant gets bigger, you’ll need a larger pot with good drainage.
- Citrus potting soil: This soil is tailored to the needs of citrus plants and contains the right nutrients.
- Spray bottle: For moistening the soil.
- Watering can: For watering the plant.
- Grow light (optional): If you don’t have enough sunlight, a grow light can help.
- Fertilizer for citrus plants: To supply your plant with the necessary nutrients.
- Patience: Lemon trees take time to grow and bear fruit.
Phase 1: Bringing the Seeds to Life – Germination
Germination is the first and perhaps most exciting step. This is where we awaken the little seeds to life!
- Prepare the seeds: If you are using seeds from a store-bought lemon, rinse them thoroughly to remove any pulp. The pulp can cause mold. Then, wrap the seeds in a damp paper towel and place them in a resealable plastic bag. Put the bag in a warm place (e.g., on top of the refrigerator) and check it daily. The seeds should germinate within a few days to a week.
- Sowing: Fill your seed starting pots with seed starting mix. Make a small hole in the soil with your finger (about 1 cm or 0.4 inches deep). Gently place the germinated seed inside and cover it with soil.
- Watering: Moisten the soil with a spray bottle. The soil should be damp, but not wet.
- Location: Place the seed pots in a warm, bright spot. Direct sunlight can burn the young seedlings, so choose a location with indirect light.
- Be patient: It can take several weeks for the seedlings to emerge from the soil. Keep the soil moist and don’t give up!
Phase 2: Caring for the Little Seedlings – The Upbringing
Once your lemon seedlings sprout from the soil, the real work begins. Now it’s about making them healthy and strong.
- Light: Lemon plants need a lot of light. Place them in a sunny location, ideally with at least 6 hours of direct sunlight per day. If you don’t have enough sunlight, use a grow light.
- Watering: Water your lemon plants regularly, but avoid waterlogging. The soil should always be slightly moist. Check the soil before you water. If the top layer feels dry, it’s time to water.
- Humidity: Lemon plants love high humidity. You can increase the humidity by regularly spraying the plant with water or placing a humidifier nearby. Another option is to place the pot on a tray with pebbles and water. Make sure the pot is not sitting directly in the water.
- Fertilizing: Start fertilizing about a month after the seedlings emerge. Use a special fertilizer for citrus plants and follow the instructions on the packaging. Fertilize your plant every two weeks during the growing season (spring and summer). In fall and winter, you can reduce or stop fertilizing altogether.
- Repotting: Once your lemon plant is large enough (about 15-20 cm or 6-8 inches tall), you can transplant it into a larger pot. Use citrus potting soil and make sure the pot has good drainage.
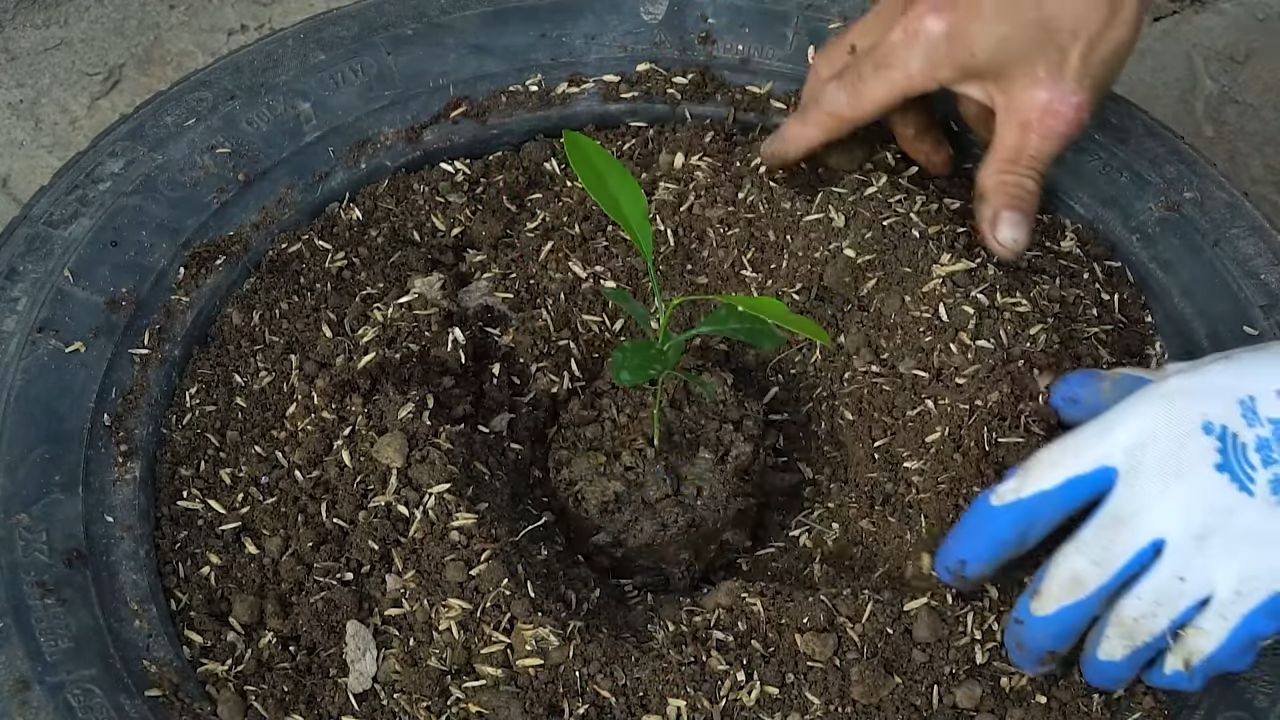
Phase 3: Moving to a New Home – Repotting
Your little plant is growing and thriving! Now it’s time for a bigger home so it can really flourish.
- Choose the right pot: Select a pot that is slightly larger than the previous one. Make sure the pot has drainage holes so excess water can escape.
- Prepare the new pot: Fill the new pot with citrus potting soil. Make a hole in the middle large enough to accommodate the lemon plant’s root ball.
- Carefully remove the plant: Gently take the lemon plant out of the old pot. Loosen the soil around the root ball and carefully pull the plant out. If the roots are tightly bound, you can gently tease them apart a bit.
- Planting: Place the lemon plant in the hole in the new pot. Fill the pot with soil and press it down lightly.
- Watering: Water the plant thoroughly after repotting. Place the plant in a bright location, but avoid direct sunlight for the first few days after transplanting.
Phase 4: Caring for the Young Lemon Tree – Long-Term Care
Now you have a young lemon tree! Long-term care is crucial for it to stay healthy and perhaps even bear fruit.
Pests and Diseases: Watch out for pests like aphids, spider mites, and mealybugs. If you discover pests, treat them with a suitable insecticide or with natural methods like neem oil. Lemon trees can also be affected by fungal diseases. Look for signs of disease such as yellow leaves or spots on the leaves. Treat diseases with a fungicide.
Light: As mentioned, lemon plants need a lot of light. Make sure your lemon tree gets at least 6 hours of direct sunlight per day. If you don’t have enough sunlight, use a grow light.
Watering: Water your lemon tree regularly, but avoid waterlogging. The soil should always be slightly moist. Check the soil before you water. If the top layer feels dry, it’s time to water. You will need to water less in the winter.
Fertilizing: Fertilize your lemon tree every two weeks during the growing season (spring and summer) with a special fertilizer for citrus plants. In fall and winter, you can reduce or stop fertilizing.
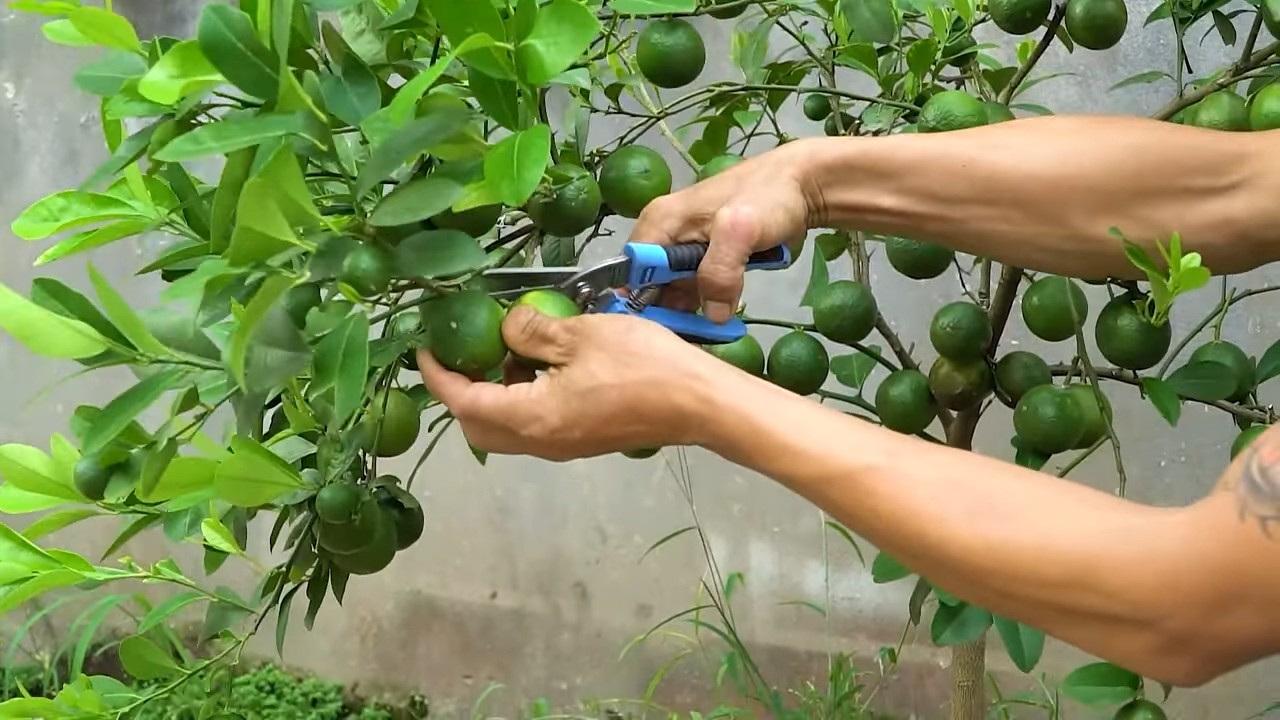
Pruning: Prune your lemon tree regularly to maintain its shape and encourage the growth of new shoots. Remove any dead or diseased branches. The best time to prune is in the spring, before new growth begins.
Conclusion
So, there you have it! Growing lemons indoors might seem like a daunting task, but with the right knowledge and a little dedication, you can enjoy the vibrant aroma and tangy zest of homegrown lemons right from your own home. This isn’t just about having a pretty plant; it’s about experiencing the satisfaction of nurturing something from seed (or sapling) to fruit, and adding a touch of sunshine to your indoor environment, especially during those long winter months.
Why is this DIY trick a must-try? Because it empowers you to control the entire growing process, ensuring your lemons are free from harmful pesticides and bursting with natural flavor. Imagine the possibilities: freshly squeezed lemonade made with lemons you grew yourself, zesty additions to your favorite recipes, or even thoughtful, homegrown gifts for friends and family. Plus, the lemon tree itself becomes a beautiful and fragrant focal point in your home, a constant reminder of the beauty and bounty of nature.
Don’t be afraid to experiment! Consider these variations to personalize your indoor lemon-growing journey:
* Meyer Lemon Magic: Meyer lemons are known for their sweeter, less acidic flavor and are particularly well-suited for indoor growing due to their smaller size and tolerance for slightly less-than-perfect conditions. They are a great choice for beginners.
* Grafted Goodness: Opt for a grafted lemon tree from a reputable nursery. Grafted trees tend to fruit earlier and are often more resistant to diseases.
* Citrus Cocktail: Why stop at lemons? Explore growing other citrus fruits indoors, such as limes, oranges, or even kumquats, to create your own miniature indoor citrus grove. Just be sure to research the specific needs of each variety.
* Hydroponic Happiness: For the tech-savvy gardener, consider growing your lemons hydroponically. This method can provide precise control over nutrients and water, potentially leading to faster growth and higher yields.
Ultimately, the key to success is patience and observation. Pay close attention to your lemon tree’s needs, adjust your care routine as necessary, and don’t be discouraged by occasional setbacks. Growing lemons indoors is a learning process, and every challenge is an opportunity to refine your skills and deepen your connection with nature.
We wholeheartedly encourage you to embark on this rewarding adventure. Try growing lemons indoors and discover the joy of harvesting your own citrus fruit. And most importantly, we want to hear about your experiences! Share your tips, triumphs, and tribulations in the comments below. Let’s create a community of indoor lemon growers and learn from each other’s successes. Your insights could be invaluable to someone just starting out. So, grab a pot, some soil, and a lemon tree, and let the growing begin!
Frequently Asked Questions (FAQ)
What is the best type of lemon tree to grow indoors?
The Meyer lemon is generally considered the best choice for indoor growing. It’s a smaller tree, more tolerant of indoor conditions, and produces sweeter, less acidic fruit. Other good options include dwarf varieties of Eureka or Lisbon lemons, but Meyer lemons are often the most readily available and easiest to care for. Consider also the space you have available; even dwarf varieties will need room to grow.
How much sunlight does my indoor lemon tree need?
Lemon trees need a significant amount of sunlight to thrive, ideally 8-12 hours per day. A south-facing window is usually the best option, but if you don’t have one, you can supplement with grow lights. Position the grow lights about 6-12 inches above the tree and use a full-spectrum bulb. Rotate the tree regularly to ensure all sides receive adequate light. Without sufficient light, your tree may not flower or produce fruit.
What kind of soil should I use for my indoor lemon tree?
Use a well-draining potting mix specifically formulated for citrus trees. These mixes typically contain a blend of peat moss, perlite, and vermiculite, which provide good drainage and aeration. Avoid using garden soil, as it can become compacted and waterlogged in a pot. Good drainage is crucial to prevent root rot, a common problem with indoor lemon trees.
How often should I water my indoor lemon tree?
Water your lemon tree when the top inch of soil feels dry to the touch. Water thoroughly until water drains out of the bottom of the pot. Avoid overwatering, as this can lead to root rot. During the winter months, when the tree is not actively growing, you may need to water less frequently. Check the soil moisture regularly and adjust your watering schedule accordingly.
How often should I fertilize my indoor lemon tree?
Fertilize your lemon tree regularly during the growing season (spring and summer) with a citrus-specific fertilizer. Follow the instructions on the fertilizer label for application rates. Reduce or stop fertilizing during the winter months when the tree is dormant. Over-fertilizing can damage the tree, so it’s always better to err on the side of caution.
How do I pollinate my indoor lemon tree?
Indoor lemon trees may need help with pollination, as there are no bees or other insects to do the job. You can hand-pollinate your tree by using a small paintbrush to transfer pollen from one flower to another. Gently brush the pollen from the stamen (the male part of the flower) onto the pistil (the female part of the flower). Repeat this process for all the flowers on your tree.
Why are the leaves on my lemon tree turning yellow?
Yellowing leaves can be a sign of several problems, including overwatering, underwatering, nutrient deficiencies, or pest infestations. Check the soil moisture to determine if you are watering correctly. If the soil is consistently wet, you may be overwatering. If the soil is dry, you may be underwatering. If you suspect a nutrient deficiency, fertilize your tree with a citrus-specific fertilizer. Inspect the leaves for signs of pests, such as spider mites or aphids.
How do I deal with pests on my indoor lemon tree?
Common pests that can affect indoor lemon trees include spider mites, aphids, and scale. You can control these pests by spraying the tree with insecticidal soap or neem oil. Be sure to follow the instructions on the product label carefully. You can also try wiping the leaves with a damp cloth to remove pests manually. Regularly inspect your tree for signs of pests and take action promptly to prevent infestations from becoming severe.
How do I prune my indoor lemon tree?
Prune your lemon tree in late winter or early spring to remove dead, damaged, or crossing branches. Pruning helps to improve air circulation and light penetration, which can promote fruit production. You can also prune to shape the tree and control its size. Use clean, sharp pruning shears to make clean cuts.
How long does it take for an indoor lemon tree to produce fruit?
The time it takes for an indoor lemon tree to produce fruit depends on several factors, including the variety of lemon, the age of the tree, and the growing conditions. Grafted trees typically fruit sooner than trees grown from seed. Under ideal conditions, a grafted lemon tree may start producing fruit within 1-3 years. Be patient and continue to provide proper care, and you will eventually be rewarded with homegrown lemons.

Leave a Comment