
Growing Mint at Home doesn’t have to be a daunting task! Imagine stepping outside your door and snipping fresh, fragrant mint leaves to add to your morning tea, a refreshing mojito, or even a flavorful addition to your favorite dishes. Sounds idyllic, right? Well, it’s more achievable than you think, and this DIY guide is here to show you how!
Mint, with its vibrant history stretching back to ancient civilizations, has been cherished for centuries for its medicinal properties and culinary versatility. From the Egyptians using it in embalming processes to the Romans flavoring their sauces and wines, mint has always held a special place in human culture. Today, we still appreciate its refreshing taste and aroma, but often rely on store-bought options that lack the vibrancy of freshly grown mint.
That’s where this DIY article comes in. Let’s be honest, buying mint from the grocery store can be expensive, and it often wilts before you even get a chance to use it all. Plus, growing mint at home is incredibly rewarding and surprisingly easy, even if you don’t have a green thumb! I’m going to share some simple yet effective tricks and hacks that will help you cultivate a thriving mint patch, regardless of your space or experience level. Get ready to unlock the secrets to a constant supply of fresh, flavorful mint, right at your fingertips!

Growing Mint at Home: A Comprehensive DIY Guide
Hello, fellow gardeners! I love the fresh scent and taste of mint, and nothing is better than harvesting it directly from your own garden. That’s why today I’m showing you how to easily grow mint at home – whether in the garden, on the balcony, or even on the windowsill. Let’s get started!
Why Grow Mint Yourself?
Before we begin, here are a few reasons why it’s worth growing mint yourself:
- Freshness: Nothing beats the taste of freshly harvested mint.
- Cost-effective: Once planted, mint will provide you with fresh leaves for years.
- Versatile: Mint is incredibly versatile – in teas, cocktails, salads, desserts, and much more.
- Easy to grow: Mint is relatively low-maintenance and grows almost anywhere.
- Aromatic: The scent of mint is simply wonderful and even repels insects!
- Control: You know exactly what’s in your mint – no pesticides or chemical fertilizers.
What You Need for Growing Mint
Here is a list of the things you’ll need for a successful mint-growing experience:
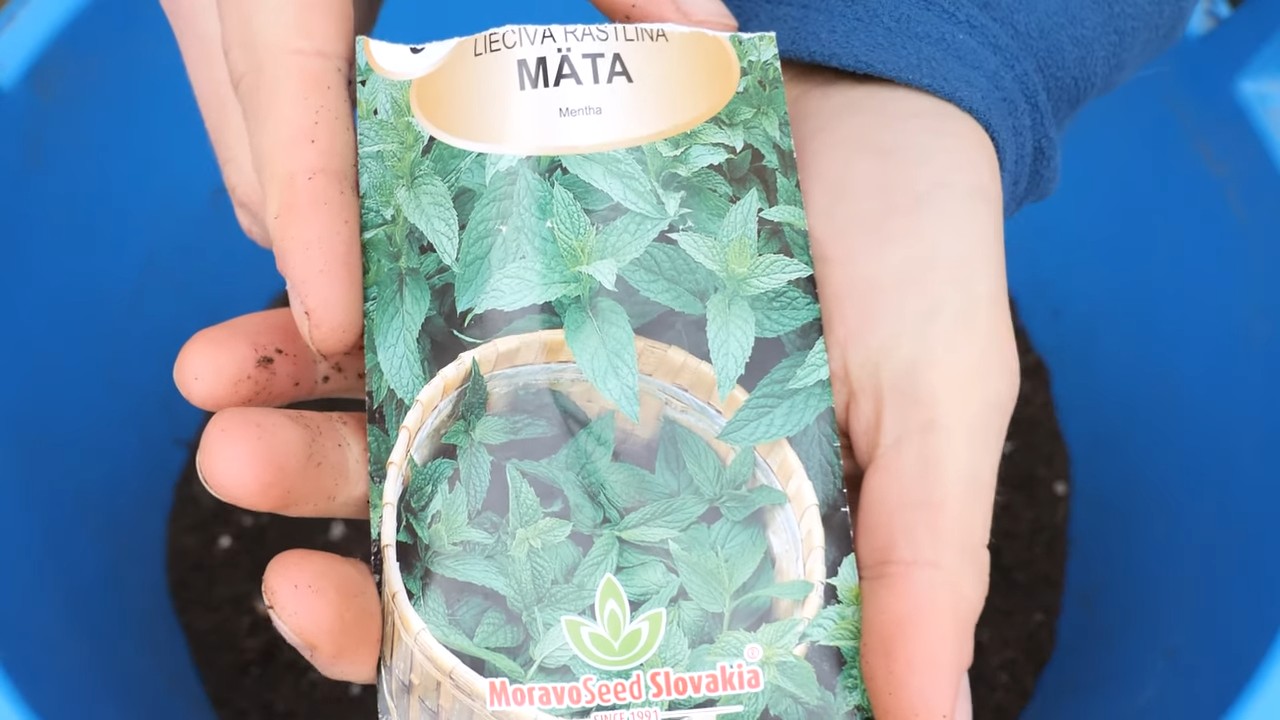
- Mint seedlings or seeds: You can either grow mint from seed or buy ready-made seedlings. I recommend seedlings because they grow faster and you can get started right away.
- Planter: Choose a pot or container with enough space for the roots. A diameter of at least 20 cm (8 inches) is ideal.
- Soil: Use high-quality potting soil or a special herb soil.
- Water: Mint needs regular watering.
- Fertilizer (optional): An organic fertilizer can promote growth.
- Sunny to partially shaded location: Mint prefers a location with plenty of light but can also tolerate partial shade.
- Pruning shears or scissors: For harvesting the mint.
Step-by-Step Guide: Planting Mint
Here is a detailed guide on how to successfully plant your mint:
1. Prepare the planter:
- Make sure your planter has drainage holes so excess water can run off.
- Fill the pot with soil, but leave about 2-3 cm (about 1 inch) of space to the rim.
- Press the soil down lightly.
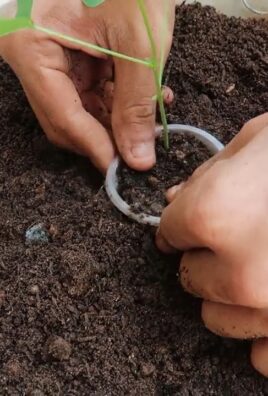
2. Plant the mint seedling:
- Carefully remove the mint seedling from its nursery pot.
- Gently loosen the roots by slightly pulling them apart.
- Place the seedling in the center of the planter.
- Fill the pot with soil until the roots are covered.
- Press the soil down lightly.
3. Sow mint seeds (Alternative):
- Distribute the mint seeds evenly on the soil.
- Cover the seeds lightly with soil.
- Gently spray the soil with water.
- Keep the soil moist until the seeds germinate.
4. Watering:
- Water the mint thoroughly until water runs out of the drainage holes.
- Make sure the soil is always moist, but not wet.
5. Choose a location:
- Place the planter in a sunny to partially shaded location.
- Mint needs at least 4-6 hours of sunlight per day.
Mint Care: How to Keep Your Mint Healthy and Strong
Proper care is crucial for a lush mint harvest. Here are my tips:
- Watering:
- Water the mint regularly, especially on hot days.
- The soil should always be moist, but avoid waterlogging.
- Check the soil’s moisture by sticking your finger into the soil.
- Fertilizing:
- Fertilize the mint every 2-3 weeks with an organic fertilizer.
- I like to use compost tea or diluted liquid fertilizer.
- Be careful not to over-fertilize, as this can impair growth.
- Pruning:
- Prune the mint regularly to stimulate growth.
- Remove wilted leaves and flowers.
- If the mint spreads too much, you can cut it back radically. Don’t worry, it will grow back quickly.
- Overwintering:
- Mint is hardy, but in a pot, it may need some protection.
- Place the pot in a sheltered location, e.g., against a house wall or in a shed.
- Water the mint occasionally in winter as well, so the soil doesn’t dry out.
- The mint will then sprout again in the spring.
Harvesting Mint: How to Do It Right
Harvesting mint is very simple:
- When to harvest:
- You can harvest the mint as soon as it has formed enough leaves.
- It’s best to harvest the mint in the morning when the essential oils are most concentrated.
- How to harvest:
- Cut the stems with pruning shears or scissors.
- Cut the stems just above a leaf node so the mint can sprout again.
- You can harvest either individual leaves or entire stems.
- Use:
- Use the fresh mint immediately or dry it for later use.
- Mint is excellent for teas, cocktails, salads, desserts, and much more.
Drying Mint: How to Preserve the Flavor
If you have more mint than you can use immediately, you can dry it to make it last longer. Here are two methods:
- Air-drying:
- Tie the mint stems into small bundles.
- Hang the bundles upside down in a dry, dark, and well-ventilated place.
- The mint is dry when the leaves rustle.
- Store the dried leaves in an airtight container.
- Drying in the oven:
- Spread the mint leaves on a baking sheet.
- Dry the leaves at a low temperature (approx. 40-50°C or 100-120°F) in the oven.
- Make sure to leave the oven door slightly ajar so the moisture can escape.
- The mint is dry when the leaves rustle.
- Store the dried leaves in an airtight container.
Common Problems and Solutions
Problems can also occur when growing mint. Here are some common problems and how you can solve them:
Solution: Combat pests with natural remedies, e.g., with neem oil.
Yellow leaves:
Cause: Overwatering, nutrient deficiency, or pest infestation.
Solution: Adjust watering habits, fertilize, or combat pests.
Brown leaves:
Cause: Dryness, sunburn, or fungal attack.
Solution: Adjust watering habits, change the location, or combat the fungal attack.
Pests:
Aphids, spider mites, or slugs can infest mint.
Conclusion
So, there you have it! Growing mint at home isn’t just a gardening project; it’s an investment in fresh flavor, aromatic bliss, and a sustainable lifestyle. We’ve explored the simple steps, from choosing the right container and soil to mastering the art of watering and harvesting. But why is this DIY trick a must-try?
Firstly, the unparalleled freshness. Store-bought mint simply can’t compare to the vibrant, intense flavor of homegrown mint. Imagine adding freshly picked leaves to your mojitos, teas, salads, or even desserts. The difference is truly remarkable. Secondly, it’s incredibly cost-effective. A single mint plant can provide you with a continuous supply of leaves for months, if not years, saving you money on those expensive grocery store bunches. Thirdly, it’s therapeutic. Gardening, even on a small scale, has been proven to reduce stress and improve mental well-being. Tending to your mint plant can be a calming and rewarding experience.
But the benefits don’t stop there. Growing mint at home is also an environmentally friendly choice. You’re reducing your carbon footprint by eliminating the need for transportation and packaging associated with store-bought herbs. Plus, you’re avoiding the use of potentially harmful pesticides and herbicides.
Now, let’s talk about variations. While we’ve focused on growing mint in containers, you can also plant it directly in your garden. However, be warned: mint is an aggressive grower and can quickly spread, taking over your entire garden if left unchecked. If you choose to plant it in the ground, consider using a barrier, such as a sunken container, to contain its roots.
Another exciting variation is experimenting with different varieties of mint. Peppermint, spearmint, chocolate mint, and apple mint are just a few of the many options available. Each variety has its unique flavor profile, allowing you to create a diverse and exciting herb garden. You can even try growing multiple varieties in separate containers to prevent cross-pollination and maintain their distinct flavors.
Consider using your homegrown mint to create infused oils or vinegars. Simply steep fresh mint leaves in olive oil or vinegar for a few weeks to create a flavorful condiment that can be used in salads, marinades, and more. You can also dry your mint leaves to create your own herbal tea blend.
Don’t be afraid to experiment with different growing conditions to see what works best for your mint plant. Some varieties may prefer more sunlight than others, while others may be more tolerant of drought. The key is to observe your plant closely and adjust your care accordingly.
We encourage you to embrace this DIY trick and experience the joy of growing your own mint. It’s a simple, rewarding, and sustainable way to add fresh flavor to your life. Once you’ve harvested your first batch of homegrown mint, we’d love to hear about your experience. Share your photos, recipes, and tips in the comments below. Let’s create a community of mint-loving gardeners! So go ahead, start **growing mint at home** today and discover the difference fresh, homegrown flavor can make.
Frequently Asked Questions (FAQ)
1. What kind of container should I use for growing mint?
The best container for growing mint is one that is at least 6 inches deep and wide. This will provide enough space for the roots to grow and spread. Make sure the container has drainage holes to prevent waterlogging, which can lead to root rot. You can use plastic pots, terracotta pots, or even repurposed containers like buckets or tubs. Just ensure they are clean and have adequate drainage. Avoid using metal containers, as they can heat up quickly in the sun and damage the roots.
2. What type of soil is best for mint?
Mint thrives in well-draining soil that is rich in organic matter. A good potting mix specifically designed for herbs is ideal. You can also create your own potting mix by combining equal parts of potting soil, compost, and perlite or vermiculite. The compost will provide essential nutrients, while the perlite or vermiculite will improve drainage and aeration. Avoid using heavy clay soil, as it can retain too much moisture and suffocate the roots.
3. How much sunlight does mint need?
Mint prefers partial shade to full sun. Ideally, it should receive at least 4-6 hours of sunlight per day. However, in hot climates, it’s best to provide some afternoon shade to prevent the leaves from scorching. If you’re growing mint indoors, place it near a sunny window or use a grow light to supplement natural light. Rotate the plant regularly to ensure even growth on all sides.
4. How often should I water my mint plant?
Water your mint plant regularly, especially during hot and dry weather. The soil should be kept consistently moist, but not waterlogged. Check the soil moisture by sticking your finger about an inch into the soil. If it feels dry, it’s time to water. Water deeply, until water drains out of the drainage holes. Avoid overwatering, as this can lead to root rot. In general, you’ll need to water more frequently during the summer months and less frequently during the winter months.
5. How do I harvest mint leaves?
Harvest mint leaves by snipping them off with scissors or pinching them off with your fingers. The best time to harvest is in the morning, after the dew has dried. Harvest regularly to encourage new growth and prevent the plant from becoming leggy. You can harvest up to one-third of the plant at a time without harming it. To dry mint leaves, simply hang them upside down in a cool, dry place until they are completely dry.
6. How do I prevent mint from spreading too much?
Mint is an aggressive grower and can quickly spread if left unchecked. To prevent it from taking over your garden, grow it in a container or use a barrier to contain its roots. A sunken container is a good option for planting mint in the ground. Simply bury a container without drainage holes in the ground and plant the mint inside. This will prevent the roots from spreading beyond the container.
7. What are some common pests and diseases that affect mint?
Mint is generally resistant to pests and diseases, but it can be susceptible to aphids, spider mites, and powdery mildew. Aphids and spider mites can be controlled with insecticidal soap or neem oil. Powdery mildew is a fungal disease that can be prevented by providing good air circulation and avoiding overhead watering. If powdery mildew does occur, treat it with a fungicide.
8. Can I grow mint indoors?
Yes, you can grow mint indoors. Choose a sunny location near a window or use a grow light to provide adequate light. Use a well-draining potting mix and water regularly. Make sure the container has drainage holes to prevent waterlogging. You may need to fertilize your mint plant more frequently when growing it indoors, as the nutrients in the potting mix will be depleted over time.
9. How do I propagate mint?
Mint is easy to propagate from stem cuttings. Simply take a 4-6 inch cutting from a healthy stem and remove the lower leaves. Place the cutting in a glass of water and wait for roots to develop. Once the roots are about an inch long, you can plant the cutting in a pot of soil. Keep the soil moist until the plant is established.
10. What are some uses for fresh mint?
Fresh mint can be used in a variety of culinary and medicinal applications. It can be added to teas, cocktails, salads, desserts, and sauces. It can also be used to make mint jelly, mint chutney, and mint-infused oils and vinegars. Medicinally, mint can be used to relieve indigestion, nausea, and headaches. It can also be used as a breath freshener and a natural insect repellent.

Leave a Comment