
Growing Peppers at Home can seem daunting, especially if you’re new to gardening. But trust me, there’s nothing quite as satisfying as biting into a juicy, homegrown pepper, bursting with flavor you just can’t find in the grocery store! For centuries, peppers have been cultivated across the globe, from their origins in South America, where they were prized by ancient civilizations, to becoming a staple in cuisines worldwide. Think about the vibrant colors and fiery flavors they bring to dishes – it’s a culinary journey in every bite.
But why should you bother with growing peppers at home? Well, beyond the incredible taste, it’s about control. You get to choose organic methods, ensuring your peppers are free from harmful pesticides. Plus, let’s be honest, store-bought peppers can be expensive and sometimes lack that fresh, vibrant flavor. This DIY guide is packed with simple tricks and hacks to help you succeed, even if you have limited space or experience. I’m going to share my secrets for maximizing your pepper yield, dealing with common pests, and ensuring your plants thrive. Get ready to transform your garden (or even your balcony!) into a pepper paradise. Let’s get started on growing peppers at home!
Growing Peppers Like a Pro: My Foolproof DIY Guide
Okay, pepper lovers, gather ’round! I’m going to share my secrets to growing a bumper crop of peppers right in your own backyard (or even on your balcony!). I’ve experimented for years, and trust me, this method works. We’re talking sweet bells, fiery habaneros, and everything in between. Let’s get started!
Choosing Your Pepper Varieties
Before we even think about planting, we need to decide what kind of peppers we want to grow. This is the fun part!
* Sweet Peppers: Bell peppers (red, yellow, orange, green), banana peppers, and pimientos are great choices for salads, stuffing, and roasting.
* Mildly Spicy Peppers: Poblano, Anaheim, and jalapeño peppers offer a bit of heat without being overwhelming. Perfect for salsas and adding a kick to your dishes.
* Hot Peppers: Serrano, cayenne, and Thai peppers bring the fire! Use these sparingly (or not, if you’re a true chili head!).
* Super Hot Peppers: Habanero, Scotch bonnet, ghost pepper, and Carolina Reaper are for the brave! Handle with care and use gloves when handling these peppers.
Consider your climate and growing space when choosing your varieties. Some peppers thrive in warmer climates, while others are more tolerant of cooler temperatures. Also, think about how you plan to use your peppers.
Starting Your Peppers from Seed (Optional, but Recommended!)
Starting your peppers from seed gives you a head start and allows you to grow varieties that might not be available as seedlings at your local garden center. I highly recommend this!
* Timing is Key: Start your pepper seeds indoors 6-8 weeks before the last expected frost in your area.
* Gather Your Supplies: You’ll need seed starting trays or small pots, seed starting mix (not regular potting soil!), a heat mat (optional, but helpful), a grow light (essential!), and a spray bottle.
* Choosing the Right Seed Starting Mix: This is crucial! Regular potting soil is too heavy and can suffocate the delicate seedlings. Look for a seed starting mix that is light, airy, and well-draining.
Step-by-Step Seed Starting Instructions:
1. Moisten the Seed Starting Mix: Before filling your trays or pots, thoroughly moisten the seed starting mix with water. It should be damp but not soggy.
2. Fill the Trays or Pots: Fill your seed starting trays or pots with the moistened seed starting mix. Gently tap them to settle the mix.
3. Sow the Seeds: Plant 2-3 pepper seeds per cell or pot, about 1/4 inch deep.
4. Cover the Seeds: Lightly cover the seeds with more seed starting mix.
5. Water Gently: Use a spray bottle to gently water the seeds. Avoid overwatering, which can lead to damping off (a fungal disease that kills seedlings).
6. Provide Heat: Place the trays or pots on a heat mat to maintain a soil temperature of 75-85°F (24-29°C). This will help the seeds germinate faster.
7. Provide Light: Place the trays or pots under a grow light. Keep the light on for 14-16 hours per day. Adjust the height of the light as the seedlings grow, keeping it a few inches above the plants.
8. Monitor Moisture: Check the moisture level of the seed starting mix daily. Water gently when the top inch feels dry.
9. Thin the Seedlings: Once the seedlings have their first true leaves (the second set of leaves that appear after the initial seed leaves), thin them to one seedling per cell or pot. Choose the strongest, healthiest seedling and snip off the others at the soil line. Don’t pull them out, as this can disturb the roots of the remaining seedling.
Transplanting Your Pepper Seedlings (or Buying Seedlings)
Whether you started your peppers from seed or bought seedlings from a garden center, transplanting them into larger pots or directly into the garden is the next step.
* Hardening Off: If you started your peppers indoors, you’ll need to harden them off before transplanting them outdoors. This means gradually exposing them to outdoor conditions over a period of 7-10 days. Start by placing them in a sheltered spot outdoors for an hour or two each day, gradually increasing the amount of time they spend outside. This will help them acclimate to the sun, wind, and temperature changes.
* Choosing the Right Location: Peppers need at least 6-8 hours of sunlight per day. Choose a location that is sunny and well-drained.
* Preparing the Soil: Peppers prefer well-drained, fertile soil with a pH of 6.0-7.0. Amend the soil with compost or other organic matter to improve drainage and fertility.
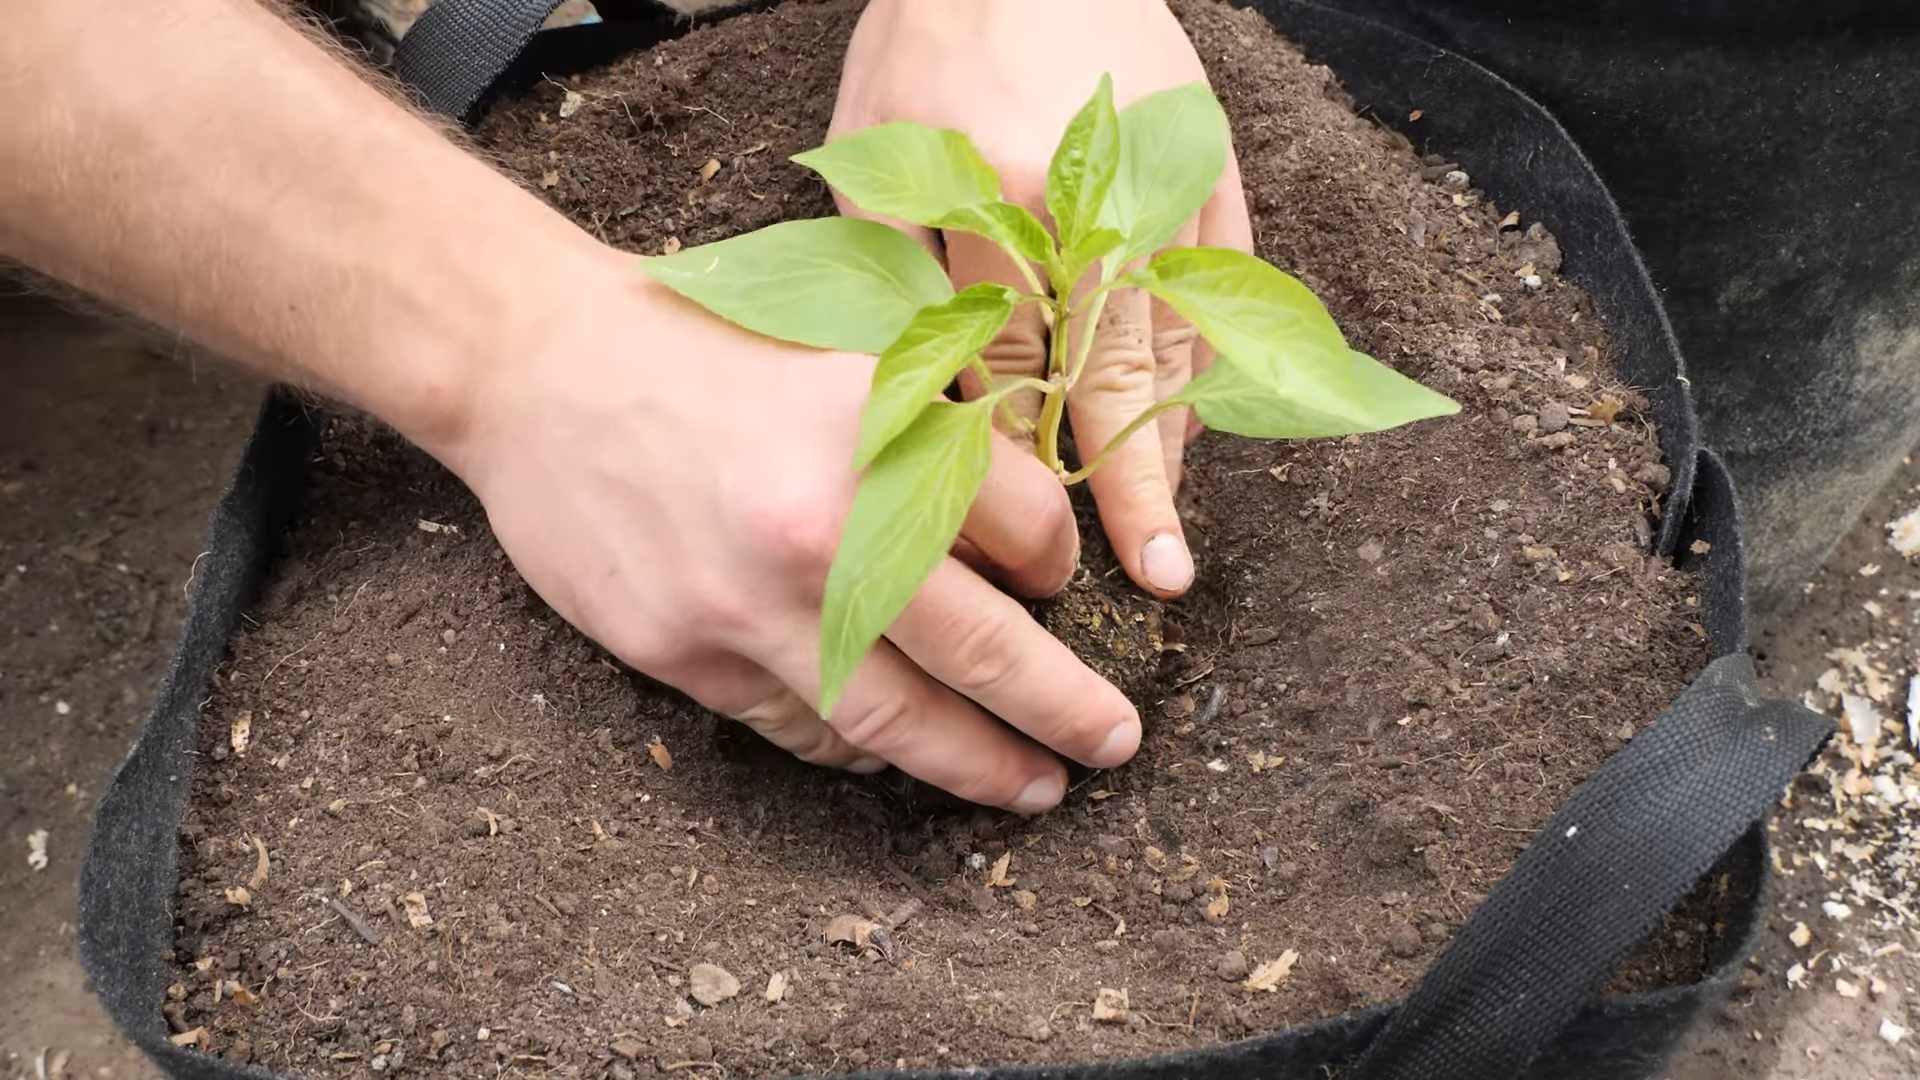
Step-by-Step Transplanting Instructions:
1. Dig the Holes: Dig holes that are slightly larger than the root balls of your pepper seedlings. Space the holes 18-24 inches apart.
2. Remove the Seedlings from Their Containers: Gently remove the seedlings from their containers. If they are root-bound (the roots are tightly circling the bottom of the pot), gently loosen the roots before planting.
3. Plant the Seedlings: Place the seedlings in the holes and backfill with soil. Make sure the top of the root ball is level with the surrounding soil.
4. Water Thoroughly: Water the seedlings thoroughly after planting.
5. Mulch: Apply a layer of mulch around the plants to help retain moisture, suppress weeds, and regulate soil temperature. I like to use straw or shredded bark.
6. Stake or Cage (Optional): Taller pepper varieties may need to be staked or caged to prevent them from falling over. This is especially important in windy areas.
Caring for Your Pepper Plants
Now that your pepper plants are in the ground, it’s time to provide them with the care they need to thrive.
* Watering: Water your pepper plants regularly, especially during hot, dry weather. Aim to keep the soil consistently moist but not soggy. Water deeply and less frequently, rather than shallowly and often.
* Fertilizing: Peppers are heavy feeders and benefit from regular fertilization. Use a balanced fertilizer (e.g., 10-10-10) or a fertilizer specifically formulated for vegetables. Follow the instructions on the fertilizer label. I like to side-dress my pepper plants with compost every few weeks.
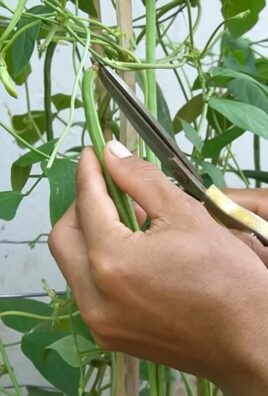
* Pruning: Pruning pepper plants can help improve air circulation and encourage fruit production. Remove any suckers (small shoots that grow from the base of the plant) and any yellowing or diseased leaves.
* Pest and Disease Control: Keep an eye out for pests and diseases. Common pepper pests include aphids, spider mites, and pepper weevils. Common pepper diseases include blossom end rot, bacterial leaf spot, and fungal diseases. Treat pests and diseases promptly with appropriate organic or chemical controls. I prefer to use organic methods whenever possible, such as insecticidal soap or neem oil.
Dealing with Common Pepper Problems
Even with the best care, you might encounter some problems while growing peppers. Here are a few common issues and how to address them:
* Blossom End Rot: This is a common problem that causes the bottom of the pepper to rot. It’s usually caused by a calcium deficiency in the soil or inconsistent watering. To prevent blossom end rot, make sure your soil is well-drained and amend it with calcium-rich amendments like bone meal or crushed eggshells. Water your plants consistently and avoid letting the soil dry out completely.
* Sunscald: This occurs when peppers are exposed to too much direct sunlight, causing them to develop white or tan patches. To prevent sunscald, provide some shade for your pepper plants during the hottest part of the day. You can use shade cloth or plant them in a location that receives some afternoon shade.
* Aphids: These tiny insects can suck the sap from pepper plants, causing them to weaken and become stunted. To control aphids, spray your plants with insecticidal soap or neem oil. You can also attract beneficial insects like ladybugs, which prey on aphids.
* Pepper Weevils: These pests can damage pepper fruits and stems. To control pepper weevils, use traps or insecticides. You can also practice crop rotation to prevent them from building up in the soil.
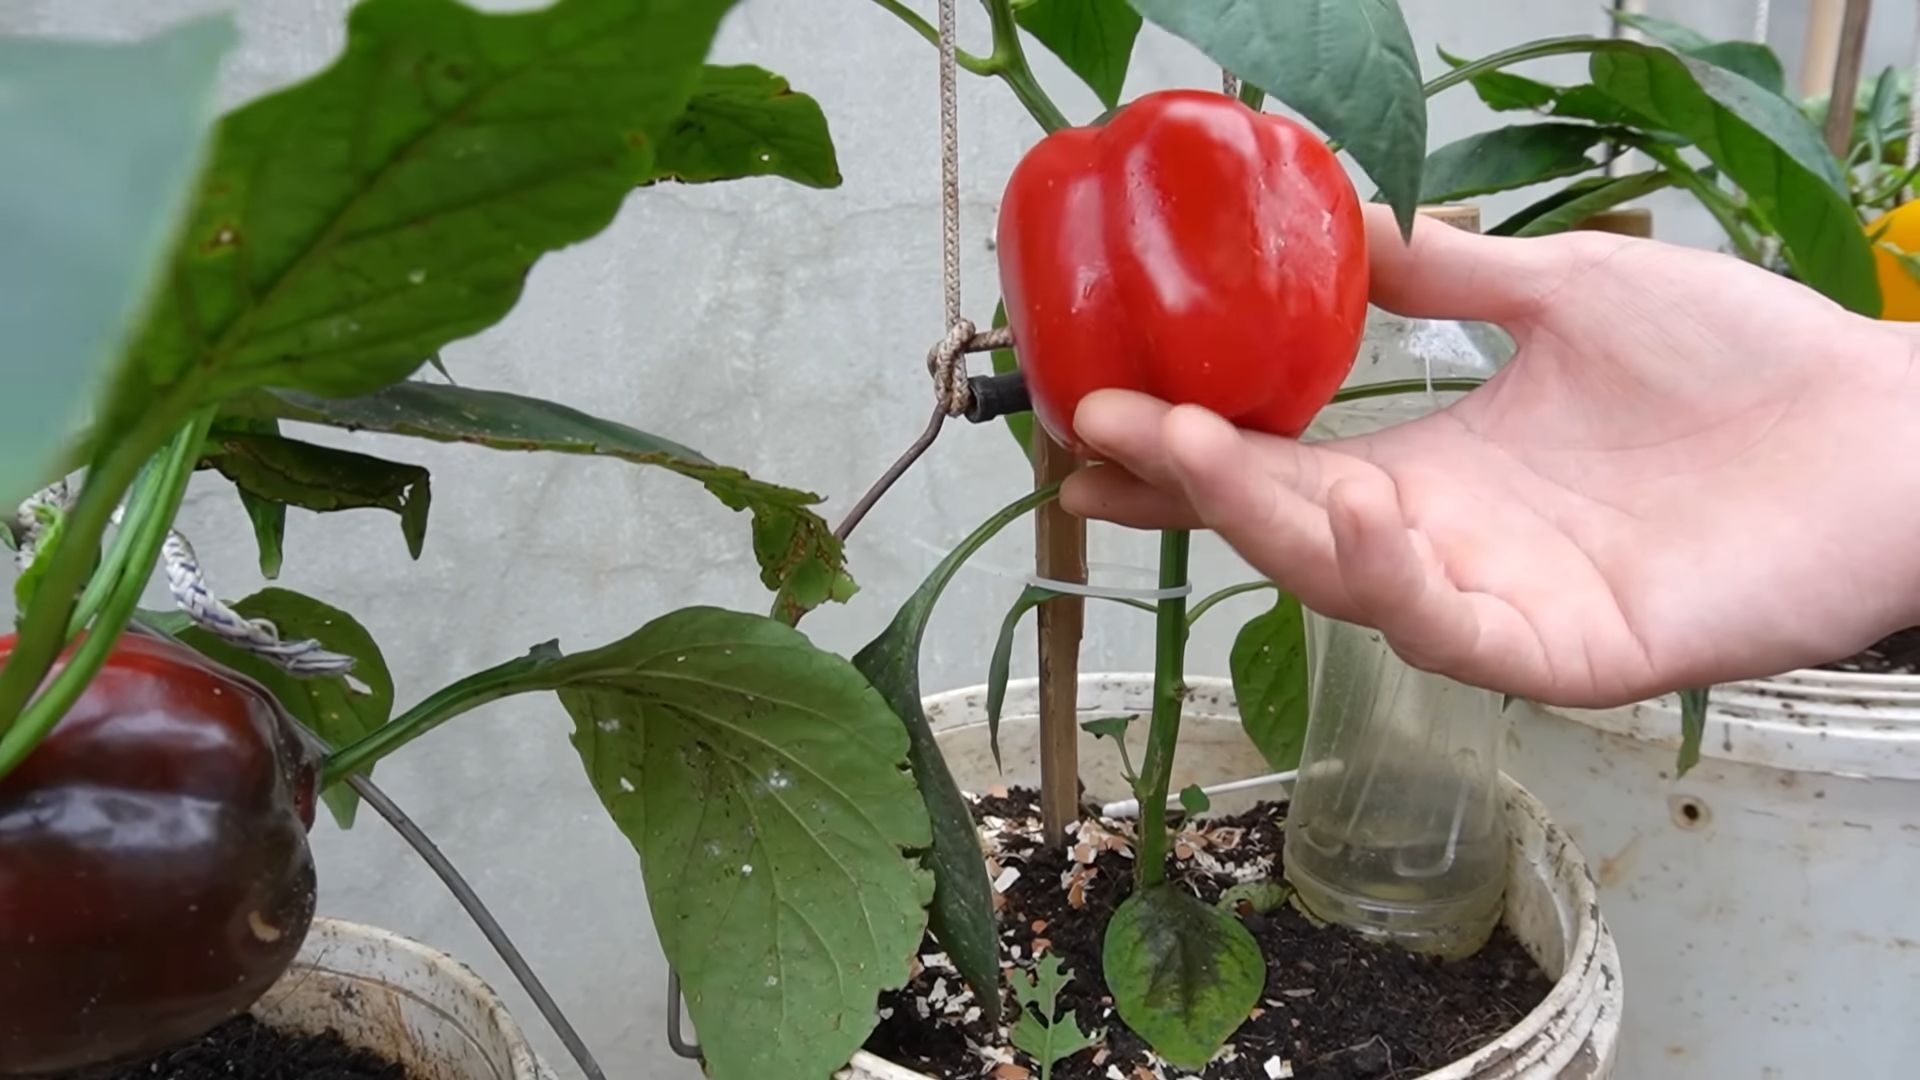
Harvesting Your Peppers
The moment we’ve all been waiting for! Knowing when to harvest your peppers is key to getting the best flavor and texture.
* Sweet Peppers: Harvest sweet peppers when they are fully colored and firm. Green bell peppers can be harvested when they are mature size, but they will be sweeter and more flavorful if you let them ripen to red, yellow, or orange.
* Hot Peppers: Harvest hot peppers when they are fully colored and firm. The color will depend on the
Conclusion
So, there you have it! Growing peppers at home, especially with our simple DIY trick for boosting early growth, is not just a rewarding experience; it’s a gateway to fresher, more flavorful meals and a deeper connection to the food you eat. We’ve shown you how to nurture those tiny seedlings into vibrant, pepper-producing powerhouses, all from the comfort of your own home or garden.
Why is this DIY trick a must-try? Because it gives your pepper plants a significant head start. By providing the optimal conditions for early root development and stem strength, you’re setting them up for a more productive season. Think of it as an investment in your future pepper harvest – a small effort now that yields a bountiful return later. You’ll see healthier plants, earlier blooms, and ultimately, more peppers to enjoy. Plus, it’s incredibly satisfying to know you’ve played an active role in their success.
But don’t stop there! Experiment with different pepper varieties. Try growing sweet bell peppers alongside fiery habaneros. Explore the world of heirloom peppers, each with its unique flavor profile and story. Consider using different types of containers, from traditional pots to raised beds or even vertical gardens. The possibilities are endless!
And speaking of variations, consider tailoring the DIY trick to your specific climate and growing conditions. If you live in a particularly hot climate, you might want to provide some afternoon shade to your young pepper plants. If you’re in a cooler region, you could use a heat mat to warm the soil and encourage faster germination. The key is to observe your plants closely and adjust your approach as needed.
We’re confident that once you try this DIY trick for growing peppers at home, you’ll be amazed by the results. It’s a simple, effective way to give your pepper plants the boost they need to thrive. So, grab your seeds, gather your supplies, and get ready to embark on a pepper-growing adventure!
We encourage you to try this method and share your experiences with us. Let us know what varieties you’re growing, what challenges you encounter, and what successes you celebrate. Share your photos, tips, and tricks in the comments below. Together, we can create a community of passionate pepper growers, sharing our knowledge and helping each other achieve even greater success. Happy growing!
Frequently Asked Questions (FAQ)
What exactly is the DIY trick you’re referring to?
The DIY trick we’ve been emphasizing focuses on creating an optimal environment for young pepper plants to encourage strong early growth. This typically involves providing consistent warmth, adequate light, and well-draining soil. Specific techniques might include using a heat mat for germination, providing supplemental lighting with grow lights, and using a seed starting mix amended with perlite for improved drainage. The goal is to give your seedlings the best possible start so they develop robust root systems and sturdy stems, leading to a more productive plant later in the season.
How long does it take for pepper seeds to germinate?
Pepper seed germination can be a bit unpredictable, but generally, you can expect to see sprouts within 7 to 21 days. Several factors influence germination speed, including soil temperature, moisture levels, and the freshness of the seeds. Maintaining a consistent soil temperature of around 80-85°F (27-29°C) is crucial for optimal germination. Using a heat mat can be particularly helpful in achieving this. Also, ensure the soil stays consistently moist but not waterlogged. Older seeds may take longer to germinate or may not germinate at all, so using fresh seeds is always recommended.
What kind of soil is best for growing peppers?
Peppers thrive in well-draining, nutrient-rich soil with a slightly acidic pH (around 6.0 to 6.8). A good starting point is a commercial seed starting mix, which is typically lightweight and sterile. Once the seedlings are ready to be transplanted into larger containers or the garden, you can use a potting mix amended with compost, aged manure, or other organic matter. Avoid using heavy clay soils, as they tend to retain too much water and can lead to root rot. Adding perlite or vermiculite to the soil can improve drainage and aeration.
How much sunlight do pepper plants need?
Pepper plants are sun-loving vegetables and require at least 6-8 hours of direct sunlight per day to thrive. Insufficient sunlight can result in leggy growth, reduced flowering, and smaller pepper yields. If you’re growing peppers indoors, supplemental lighting with grow lights is often necessary, especially during the shorter days of winter. When transplanting peppers outdoors, choose a location that receives full sun throughout the day.
When is the best time to plant pepper seeds?
The best time to plant pepper seeds depends on your local climate and growing season. In general, you should start pepper seeds indoors 6-8 weeks before the last expected frost. This allows the seedlings to develop into strong, healthy plants before being transplanted outdoors. If you live in a warmer climate with a longer growing season, you can start seeds later in the spring. However, it’s always a good idea to check your local frost dates and adjust your planting schedule accordingly.
How often should I water my pepper plants?
Watering frequency depends on several factors, including the weather, soil type, and size of the plant. As a general rule, water your pepper plants deeply whenever the top inch of soil feels dry to the touch. Avoid overwatering, as this can lead to root rot. During hot, dry weather, you may need to water more frequently. Using a moisture meter can help you determine when your plants need water. Also, consider using mulch around the base of your plants to help retain moisture and suppress weeds.
What are some common pests and diseases that affect pepper plants?
Pepper plants can be susceptible to various pests and diseases, including aphids, spider mites, whiteflies, blossom-end rot, and fungal diseases like powdery mildew. Regularly inspect your plants for signs of infestation or disease. If you spot any problems, take action immediately. Insecticidal soap, neem oil, and horticultural oil can be effective treatments for many common pests. To prevent fungal diseases, ensure good air circulation around your plants and avoid overhead watering. Blossom-end rot is caused by a calcium deficiency and can be prevented by ensuring adequate calcium levels in the soil and consistent watering.
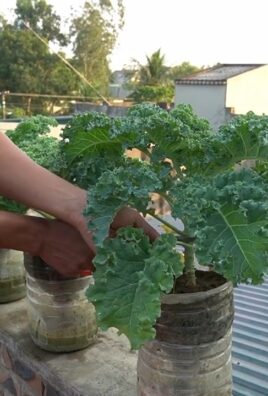
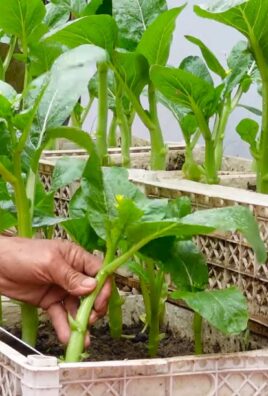
Can I grow peppers in containers?
Yes, peppers grow very well in containers, making them a great option for gardeners with limited space. Choose a container that is at least 12 inches in diameter and has drainage holes. Use a high-quality potting mix and fertilize regularly. Container-grown peppers may need to be watered more frequently than those grown in the ground, as the soil in containers tends to dry out more quickly. Also, be sure to choose a sunny location for your container peppers.
What kind of fertilizer should I use for pepper plants?
Pepper plants benefit from regular fertilization, especially during the flowering and fruiting stages. Use a balanced fertilizer with equal amounts of nitrogen, phosphorus, and potassium (e.g., 10-10-10) early in the season to promote healthy growth. Once the plants start to flower, switch to a fertilizer with a higher phosphorus content (e.g., 5-10-5) to encourage fruit production. You can also supplement with organic fertilizers like compost tea or fish emulsion. Avoid over-fertilizing, as this can lead to excessive foliage growth at the expense of fruit production.
How do I know when my peppers are ripe?
The ripeness of a pepper depends on the variety. Bell peppers are typically harvested when they are fully colored (red, yellow, orange, or purple) and firm to the touch. Hot peppers can be harvested when they reach their mature size and color, which can range from green to red, yellow, orange, or brown, depending on the variety. The best way to determine ripeness is to taste a small piece of the pepper. If it has the desired flavor and heat level, it’s ready to be harvested. Use pruning shears or a sharp knife to cut the pepper from the plant, leaving a small stem attached.
Leave a Comment