
Growing Watermelons for Beginners might seem daunting, but trust me, with a few simple tricks and a little patience, you can be harvesting your own juicy, sweet watermelons right in your backyard! Imagine biting into a slice of watermelon you nurtured from a tiny seed – the taste of summer doesn’t get any better than that!
Watermelons have a rich history, dating back thousands of years to Africa. Ancient Egyptians even depicted watermelons in their art and placed them in tombs for the afterlife. Over time, this refreshing fruit spread across the globe, becoming a symbol of summer celebrations and picnics everywhere. But you don’t need to be a pharaoh to enjoy this delicious treat.
So, why should you try growing watermelons for beginners? Well, store-bought watermelons can sometimes lack that intense flavor and sweetness. Plus, knowing exactly where your food comes from and how it’s grown is incredibly rewarding. In this article, I’ll share some easy-to-follow DIY tricks and hacks that will help you cultivate healthy, thriving watermelon plants, even if you’re a complete novice. We’ll cover everything from choosing the right variety to protecting your precious melons from pests. Get ready to impress your friends and family with your homegrown watermelon bounty!

Growing Watermelons: A Beginner’s Guide to Sweet Success
Okay, so you want to grow watermelons? Awesome! It might seem intimidating, but trust me, with a little planning and effort, you can be enjoying juicy, homegrown watermelon before you know it. I’m going to walk you through everything you need to know, from choosing the right variety to harvesting your prize-winning melon. Let’s get started!
Choosing the Right Watermelon Variety
First things first, you need to pick a watermelon variety that suits your climate and garden space. Not all watermelons are created equal! Here’s a breakdown to help you decide:
* Consider your growing season: How long is your warm weather period? Shorter seasons require faster-maturing varieties.
* Think about space: Watermelons need room to sprawl. If you have limited space, look for bush or compact varieties.
* Flavor preferences: Do you prefer red, pink, or yellow flesh? Seeded or seedless?
* Disease resistance: Choose varieties known to resist common watermelon diseases in your area.
Here are a few popular and reliable varieties for beginners:
* Sugar Baby: A classic, small, and early-maturing variety perfect for shorter seasons. It produces sweet, red-fleshed watermelons.
* Crimson Sweet: A larger, oblong watermelon with a vibrant red flesh and excellent flavor. It’s a good all-around choice.
* Black Diamond: A large, dark green watermelon with a deep red flesh. It’s known for its impressive size and sweet taste.
* Bush Sugar Baby: A compact version of Sugar Baby, ideal for smaller gardens or containers.
* Yellow Doll: A unique variety with a bright yellow flesh and a sweet, honey-like flavor.
Once you’ve chosen your variety, it’s time to gather your supplies!
Gathering Your Supplies
To successfully grow watermelons, you’ll need the following:
* Watermelon seeds or seedlings: Purchase from a reputable source.
* Well-draining soil: Watermelons thrive in sandy loam soil.
* Compost or aged manure: To enrich the soil and provide nutrients.
* Gardening gloves: To protect your hands.
* Trowel or shovel: For planting.
* Watering can or hose: For watering your plants.
* Mulch (straw, hay, or plastic): To retain moisture and suppress weeds.
* Fertilizer (optional): A balanced fertilizer or one specifically formulated for melons.
* Row covers (optional): To protect young plants from pests and frost.
* Garden markers: To label your plants.
Now that you have everything you need, let’s get planting!
Planting Your Watermelons
Watermelons are warm-weather lovers, so timing is crucial. Wait until the soil has warmed up to at least 70°F (21°C) before planting. This is usually a few weeks after the last frost.
Starting Seeds Indoors (Optional):
If you live in an area with a short growing season, you can start your watermelon seeds indoors about 3-4 weeks before the last expected frost.
1. Prepare your seed starting mix: Use a well-draining seed starting mix.
2. Sow the seeds: Plant the seeds about 1 inch deep in individual pots or cells.
3. Water gently: Keep the soil moist but not soggy.
4. Provide warmth: Use a heat mat to maintain a soil temperature of 80-85°F (27-29°C).
5. Provide light: Once the seedlings emerge, provide them with plenty of light, either from a sunny window or a grow light.
6. Harden off the seedlings: Before transplanting them outdoors, gradually acclimate them to outdoor conditions by exposing them to increasing amounts of sunlight and wind over a period of a week or two.
Direct Sowing Seeds Outdoors:
If you have a long growing season, you can direct sow your watermelon seeds outdoors.
1. Prepare the soil: Choose a sunny location with well-draining soil. Amend the soil with compost or aged manure.
2. Create mounds or hills: Watermelons grow best on slightly raised mounds or hills. This helps with drainage and warms the soil. Space the mounds about 3-5 feet apart, depending on the variety.
3. Sow the seeds: Plant 4-6 seeds per mound, about 1 inch deep.
4. Water gently: Keep the soil moist but not soggy.
5. Thin the seedlings: Once the seedlings emerge, thin them to the strongest 2-3 plants per mound.
Transplanting Seedlings:
If you started your seeds indoors, it’s time to transplant them outdoors.
1. Prepare the soil: Choose a sunny location with well-draining soil. Amend the soil with compost or aged manure.
2. Dig holes: Dig holes that are slightly larger than the root balls of your seedlings. Space the holes about 3-5 feet apart, depending on the variety.
3. Gently remove the seedlings from their pots: Be careful not to damage the roots.
4. Place the seedlings in the holes: Make sure the top of the root ball is level with the surrounding soil.
5. Backfill the holes: Gently fill the holes with soil and pat it down lightly.
6. Water thoroughly: Water the seedlings well after transplanting.
Caring for Your Watermelon Plants
Once your watermelon plants are in the ground, it’s important to provide them with proper care to ensure a bountiful harvest.
* Watering: Watermelons need consistent moisture, especially during fruit development. Water deeply and regularly, aiming for about 1-2 inches of water per week. Avoid overhead watering, as this can promote fungal diseases. Drip irrigation is ideal.
* Fertilizing: Watermelons are heavy feeders. Fertilize them every 2-3 weeks with a balanced fertilizer or one specifically formulated for melons. Follow the instructions on the fertilizer label. You can also side-dress with compost or aged manure.
* Mulching: Apply a layer of mulch around your watermelon plants to retain moisture, suppress weeds, and keep the soil cool. Straw, hay, or plastic mulch are all good options.
* Weeding: Keep the area around your watermelon plants free of weeds. Weeds compete with watermelons for nutrients and water.
* Pest and Disease Control: Monitor your watermelon plants regularly for pests and diseases. Common watermelon pests include aphids, squash bugs, and cucumber beetles. Common watermelon diseases include powdery mildew, fusarium wilt, and anthracnose. Treat any problems promptly with appropriate organic or chemical controls.
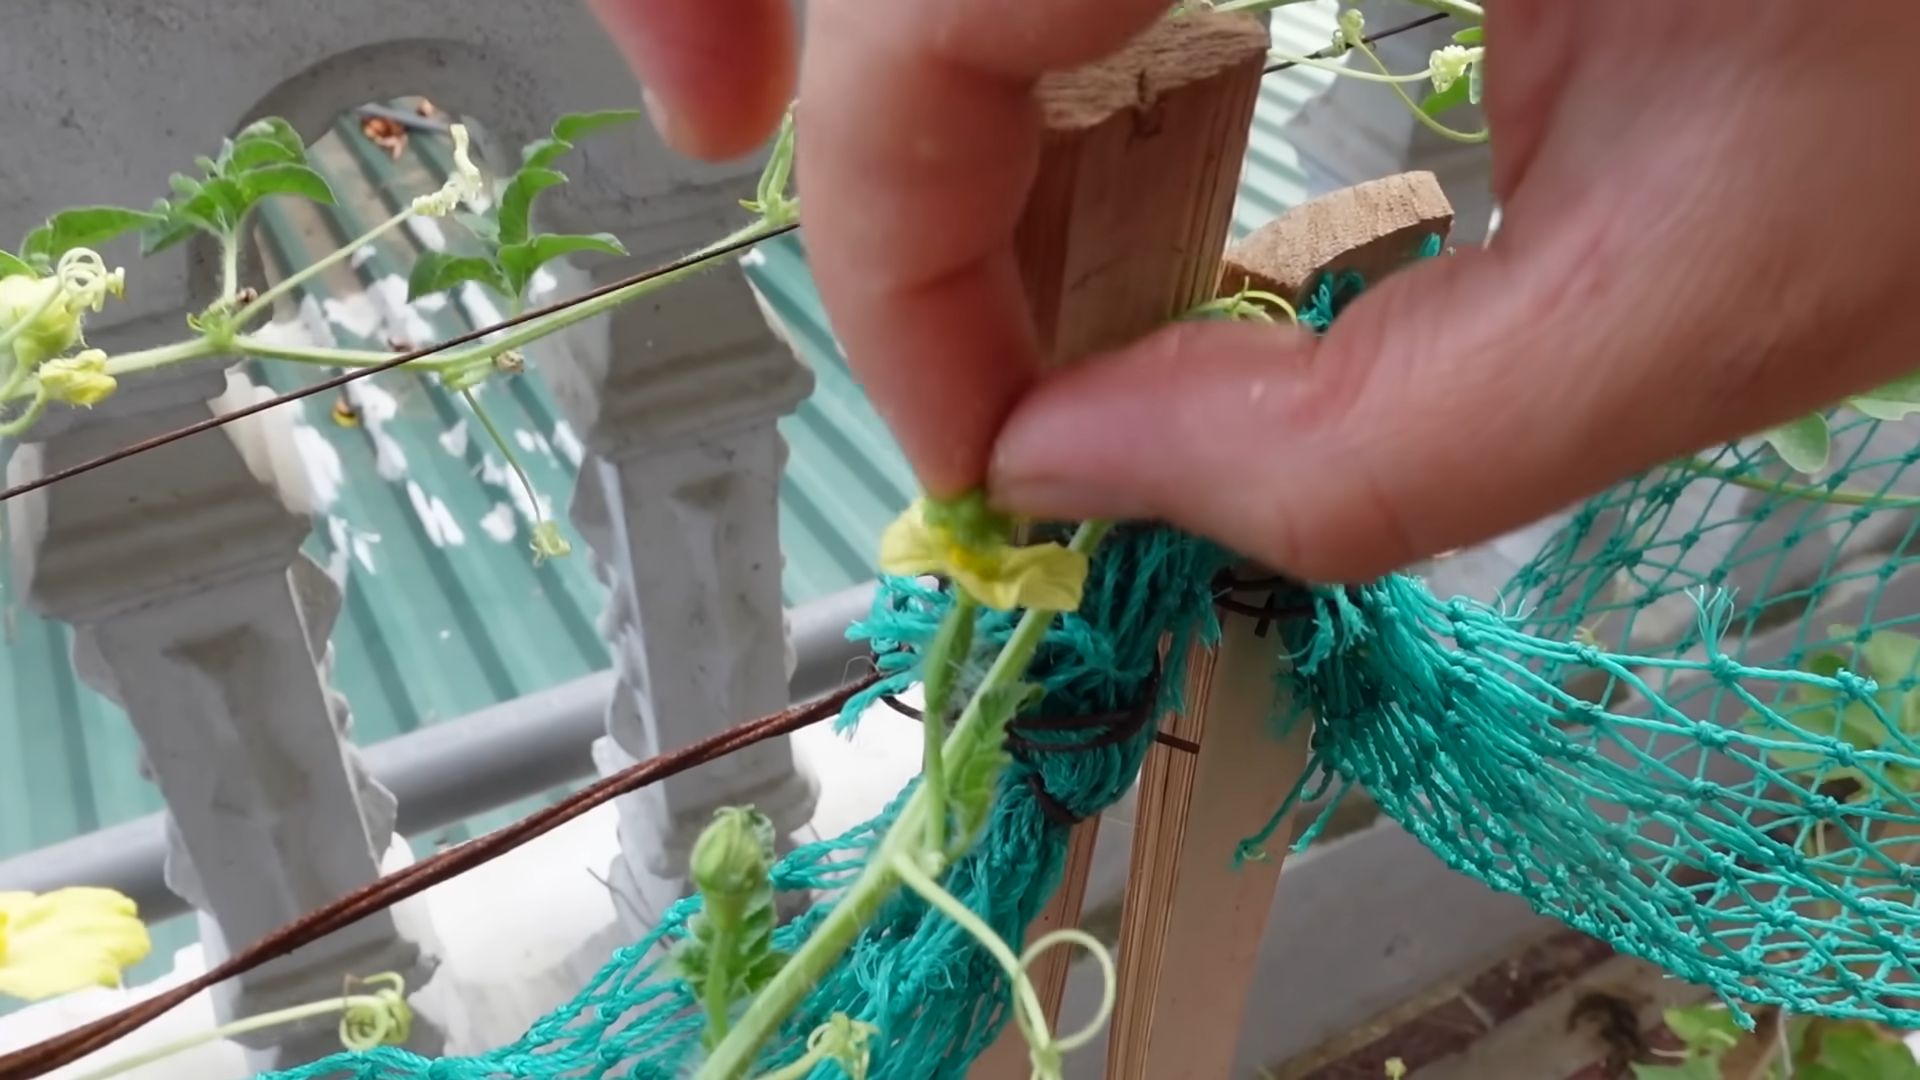
* Pollination: Watermelons need to be pollinated in order to produce fruit. Bees are the primary pollinators. If you don’t have enough bees in your garden, you can hand-pollinate your watermelon flowers. To hand-pollinate, use a small paintbrush to transfer pollen from the male flowers to the female flowers. Female flowers have a small, immature watermelon at the base of the flower.
* Vine Training: As your watermelon vines grow, you can train them to grow in a specific direction. This can help to save space and make it easier to manage your plants. You can also prune the vines to encourage fruit production.
Protecting Your Watermelons
As your watermelons grow, they may be susceptible to various problems. Here’s how to protect them:
* Sunscald: Watermelons can get sunburned if they are exposed to too much direct sunlight. To prevent sunscald, provide shade for your watermelons during the hottest part of the day. You can use shade cloth or simply cover the watermelons with leaves or straw.
* Pests: Protect your watermelons from pests such as squash bugs, cucumber beetles, and aphids. Use organic pest control methods such as insecticidal soap or neem oil. You can also cover your watermelons with row covers to prevent pests from reaching them.
* Animals: Protect your watermelons from animals such as raccoons, squirrels, and birds. You can use fencing or netting to keep animals away from your watermelons. You can also try using scarecrows or other deterrents.
Harvesting Your Watermelons
Harvesting watermelons at the right time is crucial for optimal flavor and sweetness. Here’s how to tell when your watermelons are ripe:
* Check the tendril: The tendril closest to the watermelon should be brown and dry.
* Check the ground spot: The spot where the watermelon rests on the ground should be yellow or cream-colored.
* Thump the watermelon: A
Conclusion
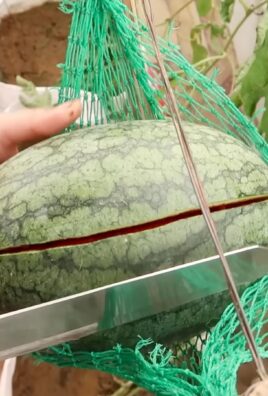
So, there you have it! Growing watermelons, even for beginners, is entirely achievable with a little patience, the right techniques, and a dash of DIY ingenuity. This particular trick – [mention the specific DIY trick from the main article, e.g., creating a DIY watermelon sling, or building a mini-greenhouse for seedlings] – is a game-changer because it directly addresses [mention the problem it solves, e.g., preventing rot, extending the growing season, protecting from pests]. It’s not just about growing watermelons; it’s about maximizing your yield, minimizing losses, and enjoying the satisfaction of nurturing these juicy giants from tiny seeds to impressive fruits.
This DIY approach offers several advantages over simply relying on store-bought solutions. First and foremost, it’s often more cost-effective. You’re likely using materials you already have around the house or can acquire cheaply. Second, it’s customizable. You can adapt the [DIY trick] to perfectly suit your specific garden conditions and the size of your watermelon patch. Finally, it’s environmentally friendly. By repurposing materials and avoiding unnecessary purchases, you’re reducing your environmental footprint.
But the best part? The taste of a homegrown watermelon, nurtured with your own hands and a little DIY magic, is simply unparalleled. It’s sweeter, juicier, and more flavorful than anything you can buy at the grocery store. Imagine biting into a slice of that ruby-red goodness on a hot summer day, knowing that you grew it yourself. That’s a reward worth striving for.
Don’t be afraid to experiment with variations on this DIY trick. For example, if you’re using a [material for the DIY trick, e.g., old t-shirt for a sling], try different fabrics to see which provides the best support and breathability. If you’re building a mini-greenhouse, consider adding ventilation holes to prevent overheating. The beauty of DIY is that you can tailor it to your specific needs and preferences.
We’ve covered the essentials for successfully growing watermelons, focusing on this crucial DIY element. Now, it’s your turn to get your hands dirty! Embrace the challenge, enjoy the process, and prepare to be amazed by the fruits (literally!) of your labor.
We wholeheartedly encourage you to try this DIY trick for growing watermelons. It’s a simple yet effective way to improve your harvest and enjoy the delicious taste of homegrown fruit. And most importantly, we want to hear about your experience! Share your photos, tips, and stories in the comments below. Let’s build a community of watermelon-growing enthusiasts and learn from each other’s successes and challenges. Happy growing!
Frequently Asked Questions (FAQ)
What if I don’t have the exact materials listed for the DIY trick?
Don’t worry! The beauty of DIY is its flexibility. The materials listed are suggestions, but you can often substitute them with similar items you have on hand. For example, if the recipe calls for [specific material], you could potentially use [alternative material] as long as it provides similar [function, e.g., support, protection, insulation]. Just be sure to consider the durability and suitability of the alternative material for outdoor use. For example, if you are making a watermelon sling, you can use an old pillowcase instead of a t-shirt. The key is to ensure the material is strong enough to support the weight of the growing watermelon and won’t rot or degrade quickly in the elements.
How often should I water my watermelons, especially when using this DIY trick?
Watermelons need consistent watering, especially during fruit development. Generally, aim for about 1-2 inches of water per week. However, the frequency may vary depending on your climate, soil type, and the stage of growth. Check the soil moisture regularly by sticking your finger about an inch deep. If it feels dry, it’s time to water. When using a DIY trick like a [specific DIY trick, e.g., watermelon sling], be mindful of water pooling around the base of the fruit. Ensure proper drainage to prevent rot. If you’re using a mini-greenhouse, monitor the humidity levels inside and adjust watering accordingly. Overwatering can be just as detrimental as underwatering, so strike a balance.
My watermelons are growing, but they’re not very sweet. What could be the problem?
Several factors can affect the sweetness of watermelons. Sunlight is crucial for sugar production, so ensure your plants are getting at least 6-8 hours of direct sunlight per day. Soil fertility also plays a role. Watermelons need adequate potassium and phosphorus for optimal sweetness. Consider amending your soil with a fertilizer specifically formulated for fruits and vegetables. Overwatering can dilute the sugars, so avoid excessive watering as the fruit ripens. Finally, the variety of watermelon you’re growing can also influence its sweetness. Some varieties are naturally sweeter than others.
How do I know when my watermelon is ripe and ready to harvest?
Determining watermelon ripeness can be tricky, but there are a few telltale signs. Look for a dull, rather than shiny, rind. The underside of the watermelon, where it rests on the ground (the “ground spot”), should turn from white to a creamy yellow. The tendril closest to the fruit stem should be brown and dry. Finally, give the watermelon a gentle thump. A ripe watermelon will sound hollow and deep. Avoid picking watermelons based solely on size, as some varieties are naturally smaller than others.
Can I use this DIY trick for other types of melons?
Absolutely! While this article focuses on watermelons, many of the principles and techniques can be applied to other types of melons, such as cantaloupe and honeydew. The [specific DIY trick, e.g., watermelon sling] can be adapted to support the weight of these melons as they grow, preventing them from touching the ground and reducing the risk of rot. Just be sure to adjust the size and materials of the DIY contraption to suit the specific needs of the melon you’re growing.
What are some common pests and diseases that affect watermelons, and how can I prevent them?
Common watermelon pests include aphids, squash bugs, and vine borers. Diseases include powdery mildew, fusarium wilt, and anthracnose. Prevention is key. Start with disease-resistant varieties. Practice crop rotation to prevent soilborne diseases from building up. Keep your garden clean and free of weeds, which can harbor pests and diseases. Use organic pest control methods, such as insecticidal soap or neem oil, to control pests. Ensure good air circulation around your plants to prevent fungal diseases. If you notice any signs of pests or diseases, address them promptly to prevent them from spreading.
How does this DIY trick help with pest control or disease prevention?
The [specific DIY trick, e.g., watermelon sling] can indirectly contribute to pest control and disease prevention. By keeping the watermelon off the ground, it reduces its contact with soilborne pathogens and pests. It also improves air circulation around the fruit, which helps to prevent fungal diseases. A mini-greenhouse, for example, can act as a physical barrier against some pests and can also help to regulate temperature and humidity, creating a less favorable environment for disease development.
What kind of fertilizer is best for watermelons?
Watermelons are heavy feeders and benefit from a balanced fertilizer. A fertilizer with a higher phosphorus and potassium content is particularly beneficial for fruit development. Look for a fertilizer with an NPK ratio of around 6-12-12 or 10-10-10. Amend your soil with compost or well-rotted manure before planting to improve its fertility and drainage. Avoid over-fertilizing, as this can lead to excessive foliage growth at the expense of fruit production.
Can I grow watermelons in containers using this DIY trick?
Yes, you can grow watermelons in containers, but you’ll need a large container (at least 20 gallons) and a dwarf or bush variety of watermelon. The [specific DIY trick, e.g., watermelon sling] can still be useful for supporting the fruit as it grows, even in a container. Ensure the container has good drainage and use a high-quality potting mix. Water container-grown watermelons more frequently than those grown in the ground, as the soil in containers tends to dry out more quickly.
What if my watermelon plant isn’t producing any fruit?
Lack of fruit production can be due to several factors. Insufficient pollination is a common cause. Watermelons require pollination by bees to set fruit. If you’re not seeing many bees in your garden, you can hand-pollinate the flowers yourself. Lack of sunlight, poor soil fertility, and excessive nitrogen fertilization can also inhibit fruit production. Ensure your plants are getting enough sunlight, amend your soil with a balanced fertilizer, and avoid over-fertilizing with nitrogen.

Leave a Comment