
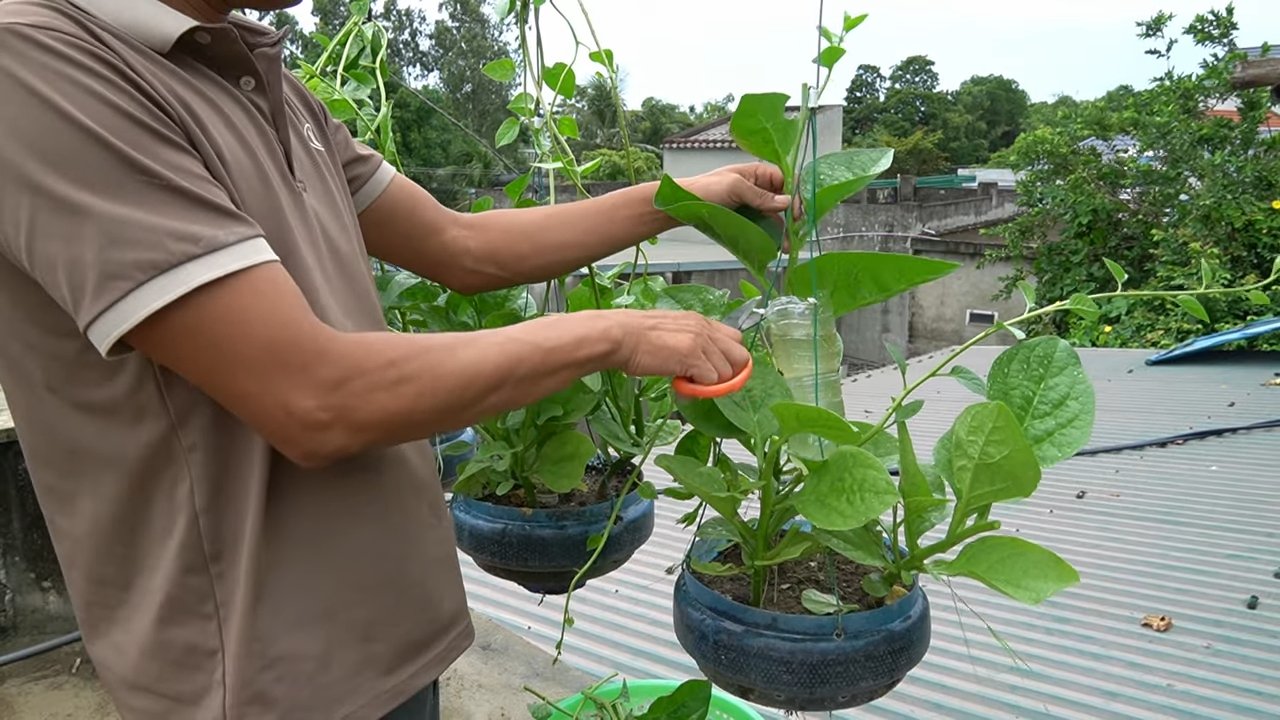
Harvest Malabar Spinach at Home: Imagine stepping into your backyard, not to mow the lawn, but to gather fresh, vibrant greens for tonight’s dinner. Sounds idyllic, right? Well, it’s entirely achievable, even if you’re a complete beginner! This isn’t just about growing food; it’s about connecting with nature, reducing your carbon footprint, and enjoying the unparalleled taste of homegrown goodness.
Malabar spinach, also known as Basella alba, has a rich history, particularly in Asian and African cuisines. For centuries, it’s been prized for its nutritional value and unique flavor profile – a slightly peppery, earthy taste that adds a delightful twist to salads, stir-fries, and soups. But beyond its culinary appeal, growing your own Malabar spinach offers a sense of self-sufficiency and accomplishment.
Why should you learn to harvest Malabar spinach at home? Because store-bought greens simply can’t compare! They often lack the freshness and flavor of homegrown produce, and you have no control over the pesticides or chemicals used in their cultivation. Plus, let’s be honest, who doesn’t love a good DIY project that results in delicious, healthy food? In this article, I’ll share my tried-and-true tips and tricks for successfully harvesting Malabar spinach, ensuring you get the most out of your leafy green bounty. Get ready to transform your garden (or even your balcony!) into a thriving source of fresh, flavorful spinach!
Malabar Spinat Ernten: Dein DIY-Leitfaden für eine reiche Ernte
Ich liebe es, frische Zutaten direkt aus meinem Garten zu verwenden, und Malabar Spinat ist da keine Ausnahme! Er ist nicht nur super einfach anzubauen, sondern auch unglaublich ertragreich. In diesem Artikel zeige ich dir, wie du deinen Malabar Spinat richtig erntest, um eine kontinuierliche und üppige Ernte zu gewährleisten. Keine Sorge, es ist einfacher als du denkst!
Was du über Malabar Spinat wissen solltest
Bevor wir loslegen, hier ein paar wichtige Infos über Malabar Spinat (Basella alba):
* Kein echter Spinat: Obwohl er so genannt wird, ist Malabar Spinat botanisch gesehen kein echter Spinat. Er ist eine tropische Kletterpflanze, die in warmen Klimazonen prächtig gedeiht.
* Wärmeliebend: Malabar Spinat liebt die Sonne und Wärme. Er wächst am besten bei Temperaturen zwischen 20°C und 35°C.
* Schnellwüchsig: Diese Pflanze ist ein echter Renner! Mit der richtigen Pflege kann sie in kurzer Zeit ordentlich wachsen.
* Vielseitig verwendbar: Die Blätter und Stängel sind essbar und können roh in Salaten oder gekocht in Suppen, Eintöpfen und Pfannengerichten verwendet werden.
* Kletterpflanze: Malabar Spinat ist eine Kletterpflanze und benötigt eine Rankhilfe, wie z.B. ein Spalier oder ein Zaun.
Wann ist der richtige Zeitpunkt zum Ernten?
Der beste Zeitpunkt zum Ernten von Malabar Spinat ist, wenn die Blätter eine gute Größe erreicht haben, aber noch jung und zart sind. Das ist normalerweise etwa 6-8 Wochen nach dem Pflanzen der Fall.
* Blattgröße: Achte auf Blätter, die etwa 7-10 cm lang sind.
* Zarte Blätter: Jüngere Blätter sind zarter und haben einen milderen Geschmack als ältere, zähere Blätter.
* Regelmäßige Ernte: Durch regelmäßiges Ernten förderst du das Wachstum neuer Blätter und verlängerst die Erntezeit.
Benötigte Werkzeuge
Du brauchst nicht viel, um Malabar Spinat zu ernten:
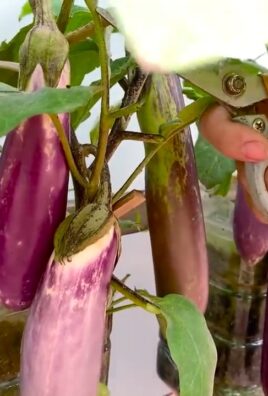
* Scharfe Schere oder Gartenschere: Eine scharfe Schere sorgt für saubere Schnitte und verhindert, dass du die Pflanze beschädigst.
* Korb oder Behälter: Zum Sammeln der geernteten Blätter.
* Handschuhe (optional): Wenn du empfindliche Haut hast, können Handschuhe helfen, Reizungen zu vermeiden.
Schritt-für-Schritt-Anleitung zum Ernten von Malabar Spinat
Jetzt geht’s ans Eingemachte! Hier ist eine detaillierte Anleitung, wie du deinen Malabar Spinat richtig erntest:
1. Vorbereitung:
* Nimm deine Schere oder Gartenschere, deinen Korb und eventuell deine Handschuhe zur Hand.
* Gehe zu deiner Malabar Spinat Pflanze und betrachte sie genau.
2. Auswahl der Blätter:
* Suche nach den Blättern, die die richtige Größe haben (7-10 cm) und gesund aussehen. Vermeide Blätter, die gelb, braun oder beschädigt sind.
* Konzentriere dich auf die äußeren Blätter, da diese in der Regel die ältesten und größten sind.
3. Schneiden der Blätter:
* Nimm die Schere oder Gartenschere und schneide den Stiel des Blattes etwa 2-3 cm über dem Hauptstamm ab.
* Achte darauf, einen sauberen Schnitt zu machen, um die Pflanze nicht zu verletzen.
4. Ernten der Stängel (optional):
* Die Stängel des Malabar Spinats sind ebenfalls essbar und können wie die Blätter geerntet werden.
* Schneide die Stängel in der gewünschten Länge ab, achte aber darauf, nicht zu viele Stängel auf einmal zu entfernen, da dies das Wachstum der Pflanze beeinträchtigen kann.
5. Regelmäßiges Ernten:
* Ernte deinen Malabar Spinat regelmäßig, etwa alle 1-2 Wochen.
* Durch regelmäßiges Ernten förderst du das Wachstum neuer Blätter und verlängerst die Erntezeit.
6. Pflege nach der Ernte:
* Gieße deine Malabar Spinat Pflanze nach der Ernte, um ihr zu helfen, sich zu erholen.
* Dünge die Pflanze regelmäßig mit einem organischen Dünger, um das Wachstum zu fördern.
Tipps und Tricks für eine erfolgreiche Ernte
Hier sind noch ein paar zusätzliche Tipps, die dir helfen werden, das Beste aus deiner Malabar Spinat Ernte herauszuholen:
* Ernte am Morgen: Die Blätter sind am Morgen am frischesten und knackigsten.
* Vermeide Überernte: Entferne nicht mehr als ein Drittel der Blätter auf einmal, um die Pflanze nicht zu stressen.
* Entferne Blüten: Wenn deine Malabar Spinat Pflanze zu blühen beginnt, entferne die Blüten, um das Wachstum der Blätter zu fördern.
* Schädlinge und Krankheiten: Achte auf Schädlinge und Krankheiten und behandle sie bei Bedarf. Malabar Spinat ist relativ resistent, aber Blattläuse und Schnecken können manchmal Probleme verursachen.
* Lagerung: Bewahre die geernteten Blätter im Kühlschrank in einem Plastikbeutel auf. Sie halten sich etwa 3-5 Tage.
Verwendung des geernteten Malabar Spinats
Jetzt, wo du deinen Malabar Spinat geerntet hast, stellt sich die Frage: Was fange ich damit an? Hier sind ein paar Ideen:
* Salate: Füge die jungen, zarten Blätter zu Salaten hinzu. Sie verleihen einen leicht säuerlichen Geschmack und eine knackige Textur.
* Suppen und Eintöpfe: Koche die Blätter in Suppen und Eintöpfen. Sie werden weicher und nehmen den Geschmack der anderen Zutaten an.
* Pfannengerichte: Brate die Blätter in Pfannengerichten mit Knoblauch, Ingwer und Sojasauce.
* Smoothies: Mixe die Blätter in Smoothies für einen zusätzlichen Nährstoffkick.
* Gekochtes Gemüse: Dünste oder koche die Blätter als Beilage zu Fleisch oder Fisch.
Häufige Fehler vermeiden
* Zu spätes Ernten: Warte nicht zu lange mit der Ernte, da die Blätter sonst zäh und bitter werden können.
* Falsches Schneiden: Schneide die Blätter nicht zu nah am Hauptstamm ab, da dies die Pflanze beschädigen kann.
* Überernte: Entferne nicht zu viele Blätter auf einmal, da dies das Wachstum der Pflanze beeinträchtigen kann.
* Vernachlässigung der Pflege: Gieße und dünge deine Malabar Spinat Pflanze regelmäßig, um ein gesundes Wachstum zu gewährleisten.
Zusätzliche Tipps für den Anbau von Malabar Spinat
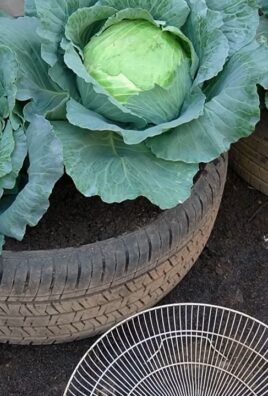
* Standort: Wähle einen sonnigen Standort mit gut durchlässigem Boden.
* Boden: Malabar Spinat bevorzugt einen humusreichen, leicht sauren Boden.
* Bewässerung: Gieße die Pflanze regelmäßig, besonders während trockener Perioden.
* Düngung: Dünge die Pflanze regelmäßig mit einem organischen Dünger, um das Wachstum zu fördern.
* Rankhilfe: Stelle eine Rankhilfe zur Verfügung, damit die Pflanze klettern kann.
Ich hoffe, dieser Leitfaden hat dir geholfen, deinen Malabar Spinat erfolgreich zu ernten. Mit ein wenig Geduld und Sorgfalt wirst du bald eine reiche Ernte genießen können! Viel Spaß beim Gärtnern und Kochen!

Conclusion
So, there you have it! Harvesting Malabar spinach at home is not only achievable but also incredibly rewarding. It’s a simple process that transforms your garden or even a sunny balcony into a source of fresh, nutritious greens. Forget those wilted, overpriced bunches at the grocery store – imagine stepping outside and snipping off exactly what you need for your next meal. The vibrant, slightly peppery flavor of homegrown Malabar spinach is simply unmatched.
This DIY trick is a must-try for several reasons. First, it’s economical. Once you have a plant established, you’ll enjoy a continuous supply of spinach throughout the growing season, significantly reducing your grocery bill. Second, it’s environmentally friendly. You’re cutting down on transportation costs and packaging waste associated with store-bought produce. Third, it’s empowering. There’s a unique satisfaction in nurturing your own food and knowing exactly where it comes from.
But the best part? The versatility! While we’ve focused on the basic harvesting technique, there are plenty of ways to customize your experience. Experiment with different harvesting times to see how it affects the flavor and texture of the leaves. Try growing different varieties of Malabar spinach, each with its own subtle nuances. And don’t be afraid to get creative in the kitchen! Malabar spinach is delicious in stir-fries, soups, salads, and even smoothies.
Consider these variations to elevate your homegrown harvest:
* **Microgreens:** Harvest very young leaves for a concentrated burst of flavor and nutrients.
* **Stem Cuttings:** Don’t discard the stems! They can be used in stir-fries or pickled for a tangy treat.
* **Seed Saving:** Allow some plants to mature and produce seeds, ensuring a continuous supply for future seasons.
Ultimately, the success of your Malabar spinach harvest depends on your willingness to experiment and adapt. Pay attention to your plant’s needs, observe its growth patterns, and adjust your harvesting techniques accordingly. Remember, gardening is a journey, not a destination. Embrace the challenges, celebrate the successes, and enjoy the process of connecting with nature.
We wholeheartedly encourage you to give this DIY trick a try. It’s a simple, sustainable, and satisfying way to enjoy fresh, delicious greens right from your own backyard. And once you’ve experienced the joy of harvesting your own Malabar spinach, we’d love to hear about it! Share your tips, tricks, and culinary creations in the comments below. Let’s build a community of homegrown spinach enthusiasts! Your experience could inspire others to embark on their own gardening adventures. Happy harvesting!
Frequently Asked Questions (FAQ)
What is the best time of day to harvest Malabar spinach?
The best time to harvest Malabar spinach is generally in the morning, after the dew has dried but before the heat of the day sets in. Harvesting during this time helps to minimize stress on the plant and ensures that the leaves are at their freshest and most flavorful. The cooler temperatures also help to prevent wilting, which can occur if you harvest during the hottest part of the day.
How often can I harvest Malabar spinach from the same plant?
You can harvest Malabar spinach regularly throughout the growing season, typically every one to two weeks, depending on the plant’s growth rate and your needs. The key is to avoid taking more than one-third of the plant’s foliage at any one time, as this can stress the plant and slow down its growth. Regular harvesting encourages the plant to produce more leaves, resulting in a continuous supply of spinach.
What tools do I need to harvest Malabar spinach?
You don’t need any fancy tools to harvest Malabar spinach. A sharp pair of scissors or pruning shears is all you need. Make sure the blades are clean and sharp to ensure a clean cut and minimize damage to the plant. Avoid tearing the leaves, as this can create entry points for diseases.
How do I store harvested Malabar spinach?
To store harvested Malabar spinach, gently wash the leaves and pat them dry with a clean towel or salad spinner. Place the leaves in a plastic bag or container lined with a paper towel to absorb excess moisture. Store the spinach in the refrigerator for up to a week. It’s best to use the spinach as soon as possible for the best flavor and texture.
Can I eat the stems of Malabar spinach?
Yes, the stems of Malabar spinach are edible and can be used in a variety of dishes. They have a slightly different texture than the leaves, being a bit more crunchy and succulent. The stems can be stir-fried, added to soups, or pickled. Some people prefer to peel the outer layer of the stems before cooking, as it can be a bit tough.
My Malabar spinach plant is flowering. Can I still harvest the leaves?
Yes, you can still harvest the leaves of Malabar spinach even if the plant is flowering. However, the leaves may become slightly more bitter as the plant focuses its energy on producing flowers and seeds. To minimize bitterness, harvest the leaves regularly and remove any flowers or seed pods that you don’t want to collect.
How do I encourage my Malabar spinach plant to produce more leaves?
To encourage your Malabar spinach plant to produce more leaves, provide it with optimal growing conditions. This includes plenty of sunlight (at least six hours per day), well-drained soil, and regular watering. Fertilize the plant every few weeks with a balanced fertilizer or compost tea. Regular harvesting also encourages the plant to produce more leaves.
Is Malabar spinach the same as regular spinach?
No, Malabar spinach (Basella alba) is not the same as regular spinach (Spinacia oleracea). While both are leafy green vegetables, they belong to different plant families and have different characteristics. Malabar spinach is a heat-tolerant vine that thrives in warm climates, while regular spinach prefers cooler temperatures. Malabar spinach has thicker, more succulent leaves and a slightly peppery flavor, while regular spinach has thinner, more delicate leaves and a milder flavor.
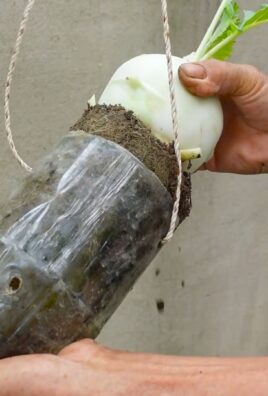
Can I grow Malabar spinach in a container?
Yes, you can grow Malabar spinach in a container. Choose a large container (at least 12 inches in diameter) with good drainage. Use a well-draining potting mix and provide the plant with a trellis or other support to climb on. Water regularly and fertilize every few weeks. Place the container in a sunny location.
What are some common pests and diseases that affect Malabar spinach?
Malabar spinach is generally resistant to pests and diseases, but it can be susceptible to aphids, spider mites, and fungal diseases like leaf spot. To prevent pest and disease problems, keep the plant healthy by providing it with optimal growing conditions. Inspect the plant regularly for signs of pests or diseases and take action promptly if you notice any problems. You can use insecticidal soap or neem oil to control pests, and fungicides to control fungal diseases.
Leave a Comment