
Harvesting Okra at Home can feel like a real victory! Imagine this: you’ve nurtured your okra plants from tiny seedlings, patiently watering and weeding, and now they’re bursting with those beautiful, edible pods. But knowing *when* and *how* to harvest is crucial to enjoying the tender, delicious okra you’ve worked so hard for.
Okra, with its origins tracing back to Africa, has been a culinary staple for centuries, traveling across continents and cultures. From the gumbo pots of the American South to the flavorful stews of India, okra’s versatility is undeniable. But let’s be honest, nobody wants tough, woody okra! That’s where mastering the art of harvesting okra at home comes in.
I know, I know, gardening can sometimes feel overwhelming, especially when you’re not sure about the best techniques. But trust me, with a few simple tricks and a little know-how, you can ensure a bountiful harvest of tender, flavorful okra all season long. This DIY guide will walk you through everything you need to know, from identifying the perfect harvesting time to the best tools to use. So, grab your gardening gloves, and let’s get started! I’m excited to share these tips with you so you can enjoy the fruits (or rather, the pods!) of your labor.
Harvesting Okra Like a Pro: A DIY Guide
Okra, also known as lady’s fingers, is a warm-season vegetable that’s surprisingly easy to grow at home. But knowing when and how to harvest okra is crucial for getting the most tender and delicious pods. Trust me, I’ve learned this the hard way! Picking them too late results in tough, woody okra that’s less than appealing. So, let’s dive into my tried-and-true method for harvesting okra at its peak.
What You’ll Need
Before we get started, gather these essentials:
* Gardening Gloves: Okra plants have tiny spines that can irritate your skin. Gloves are a must!
* Sharp Knife or Pruning Shears: A clean, sharp blade ensures a clean cut and prevents damage to the plant.
* Basket or Bucket: To collect your bounty.
* Long Sleeves (Optional but Recommended): Extra protection against those pesky spines.
* Eye Protection (Optional): Just in case a pod snaps unexpectedly.
Identifying Ripe Okra Pods
Knowing when to harvest is half the battle. Here’s what to look for:
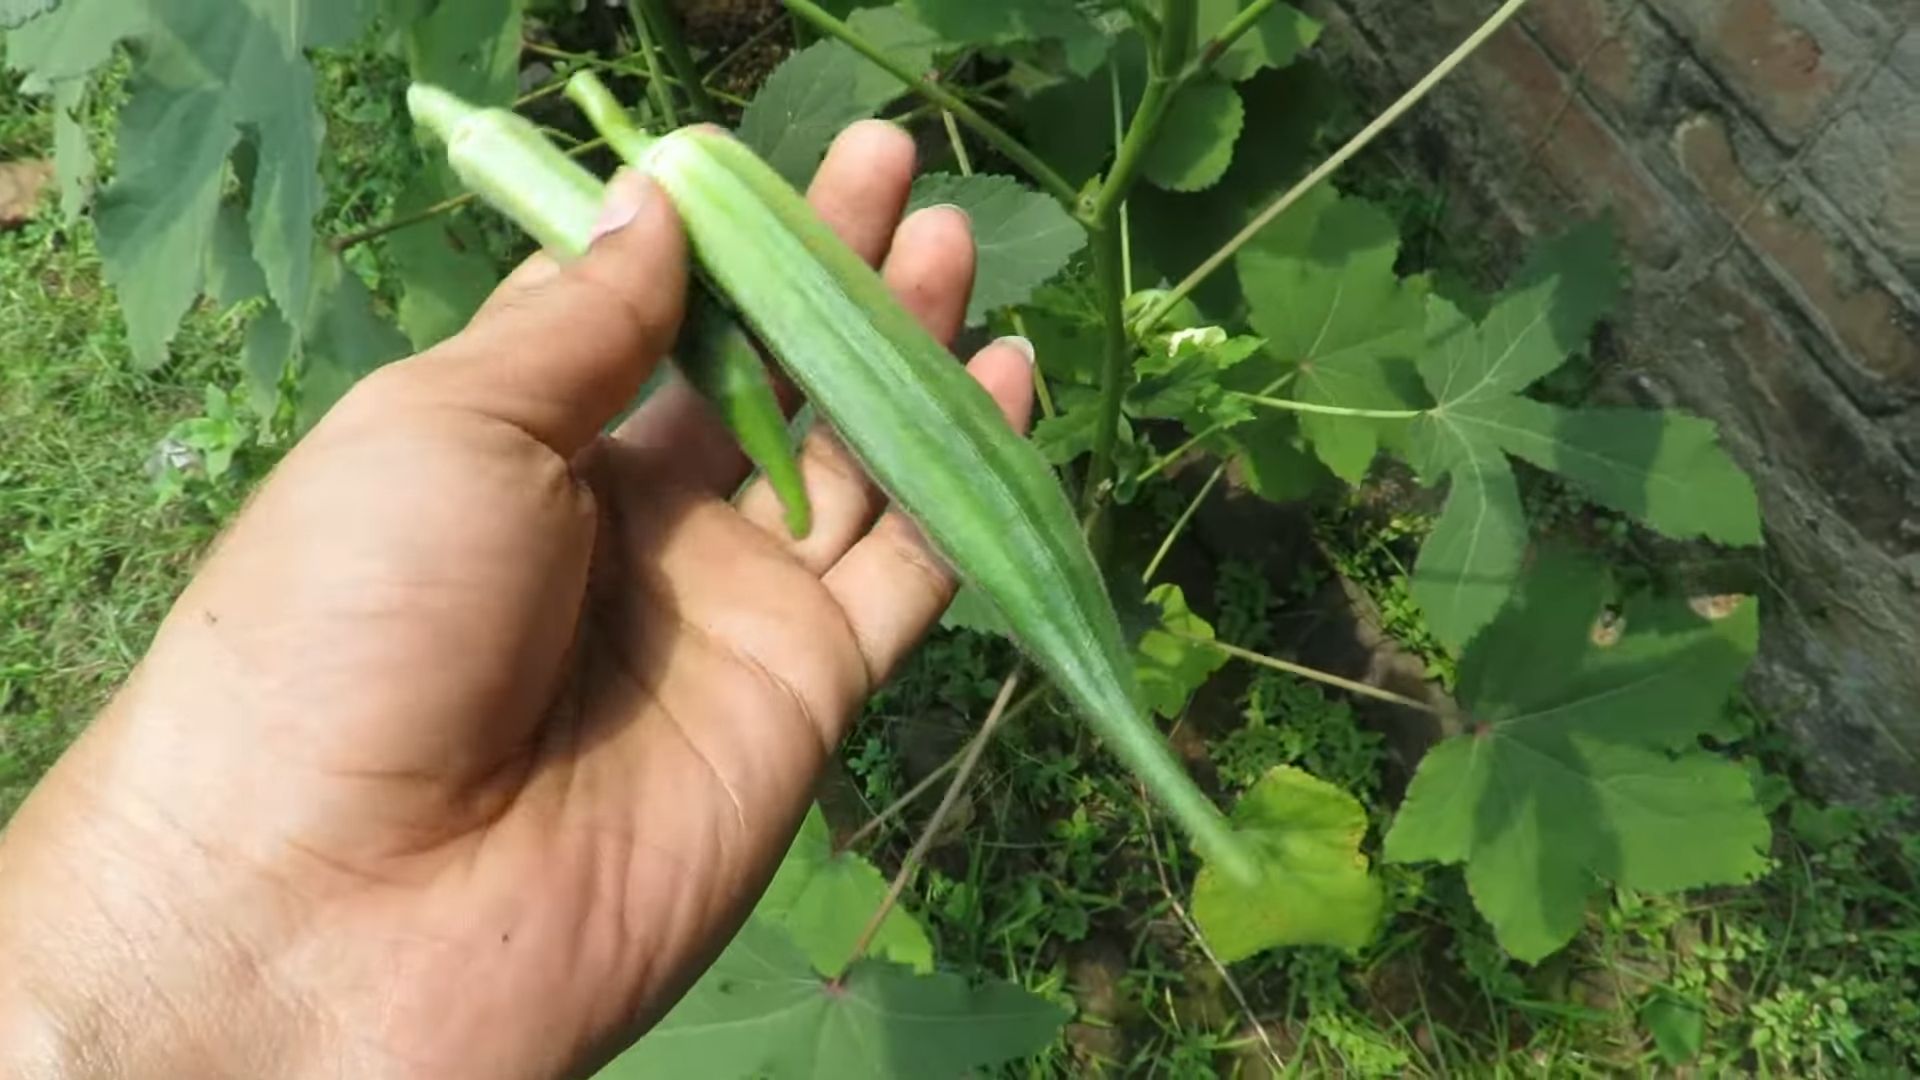
* Size Matters: Generally, okra pods are ready to harvest when they’re 2-4 inches long. Some varieties can get larger, but it’s best to check your seed packet for specific recommendations.
* Tenderness Test: Gently squeeze the pod. It should feel firm but yield slightly to pressure. If it feels hard and woody, it’s likely too mature.
* Visual Inspection: Look for pods that are vibrant green and free from blemishes or discoloration.
* Daily Checks: Okra grows quickly, especially in warm weather. Check your plants daily during peak season. You’ll be amazed at how much they can grow in just 24 hours!
Harvesting Okra: Step-by-Step
Now for the fun part! Follow these steps for a successful okra harvest:
1. Gear Up: Put on your gardening gloves and long sleeves (if you’re using them). Trust me, you’ll thank me later.
2. Locate Ripe Pods: Scan your okra plants for pods that meet the criteria we discussed earlier – the right size, tenderness, and color.
3. Make the Cut: Using your sharp knife or pruning shears, carefully cut the okra pod from the plant. Make the cut about 1/2 to 1 inch above the point where the pod attaches to the stem.
4. Handle with Care: Gently place the harvested okra pods in your basket or bucket. Avoid piling them too high, as this can bruise them.
5. Repeat Daily: Continue harvesting ripe pods daily or every other day. This encourages the plant to produce more okra.
6. Inspect the Plant: While you’re harvesting, take a moment to inspect your okra plants for any signs of pests or diseases. Early detection is key to preventing problems.
Dealing with Mature Okra Pods
Sometimes, despite our best efforts, we miss a pod or two, and they become too mature. Don’t despair! Here’s what you can do:
* Composting: If the pods are too tough to eat, compost them. They’ll add valuable nutrients to your garden soil.
* Seed Saving: If you want to save seeds for next year, allow a few pods to mature fully on the plant. Let them dry completely, then harvest the seeds. Store them in a cool, dry place.
* Craft Projects: Dried okra pods can be used in various craft projects. Get creative!
Encouraging Continued Production
To keep your okra plants producing throughout the season, follow these tips:
* Regular Harvesting: As mentioned earlier, regular harvesting encourages the plant to produce more pods.
* Fertilizing: Feed your okra plants with a balanced fertilizer every few weeks. Follow the instructions on the fertilizer package.
* Watering: Water deeply and regularly, especially during hot, dry weather.
* Weeding: Keep the area around your okra plants free of weeds. Weeds compete for nutrients and water.
* Pest Control: Monitor your plants for pests and take action if necessary. Insecticidal soap or neem oil can be effective against many common okra pests.
Troubleshooting Common Okra Problems
Even with the best care, you might encounter some challenges when growing okra. Here are a few common problems and how to address them:
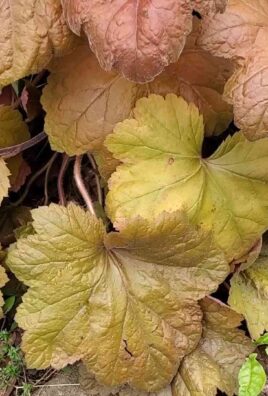
* Yellowing Leaves: This could be a sign of nutrient deficiency, overwatering, or disease. Check your soil drainage, fertilize appropriately, and inspect the leaves for signs of pests or diseases.
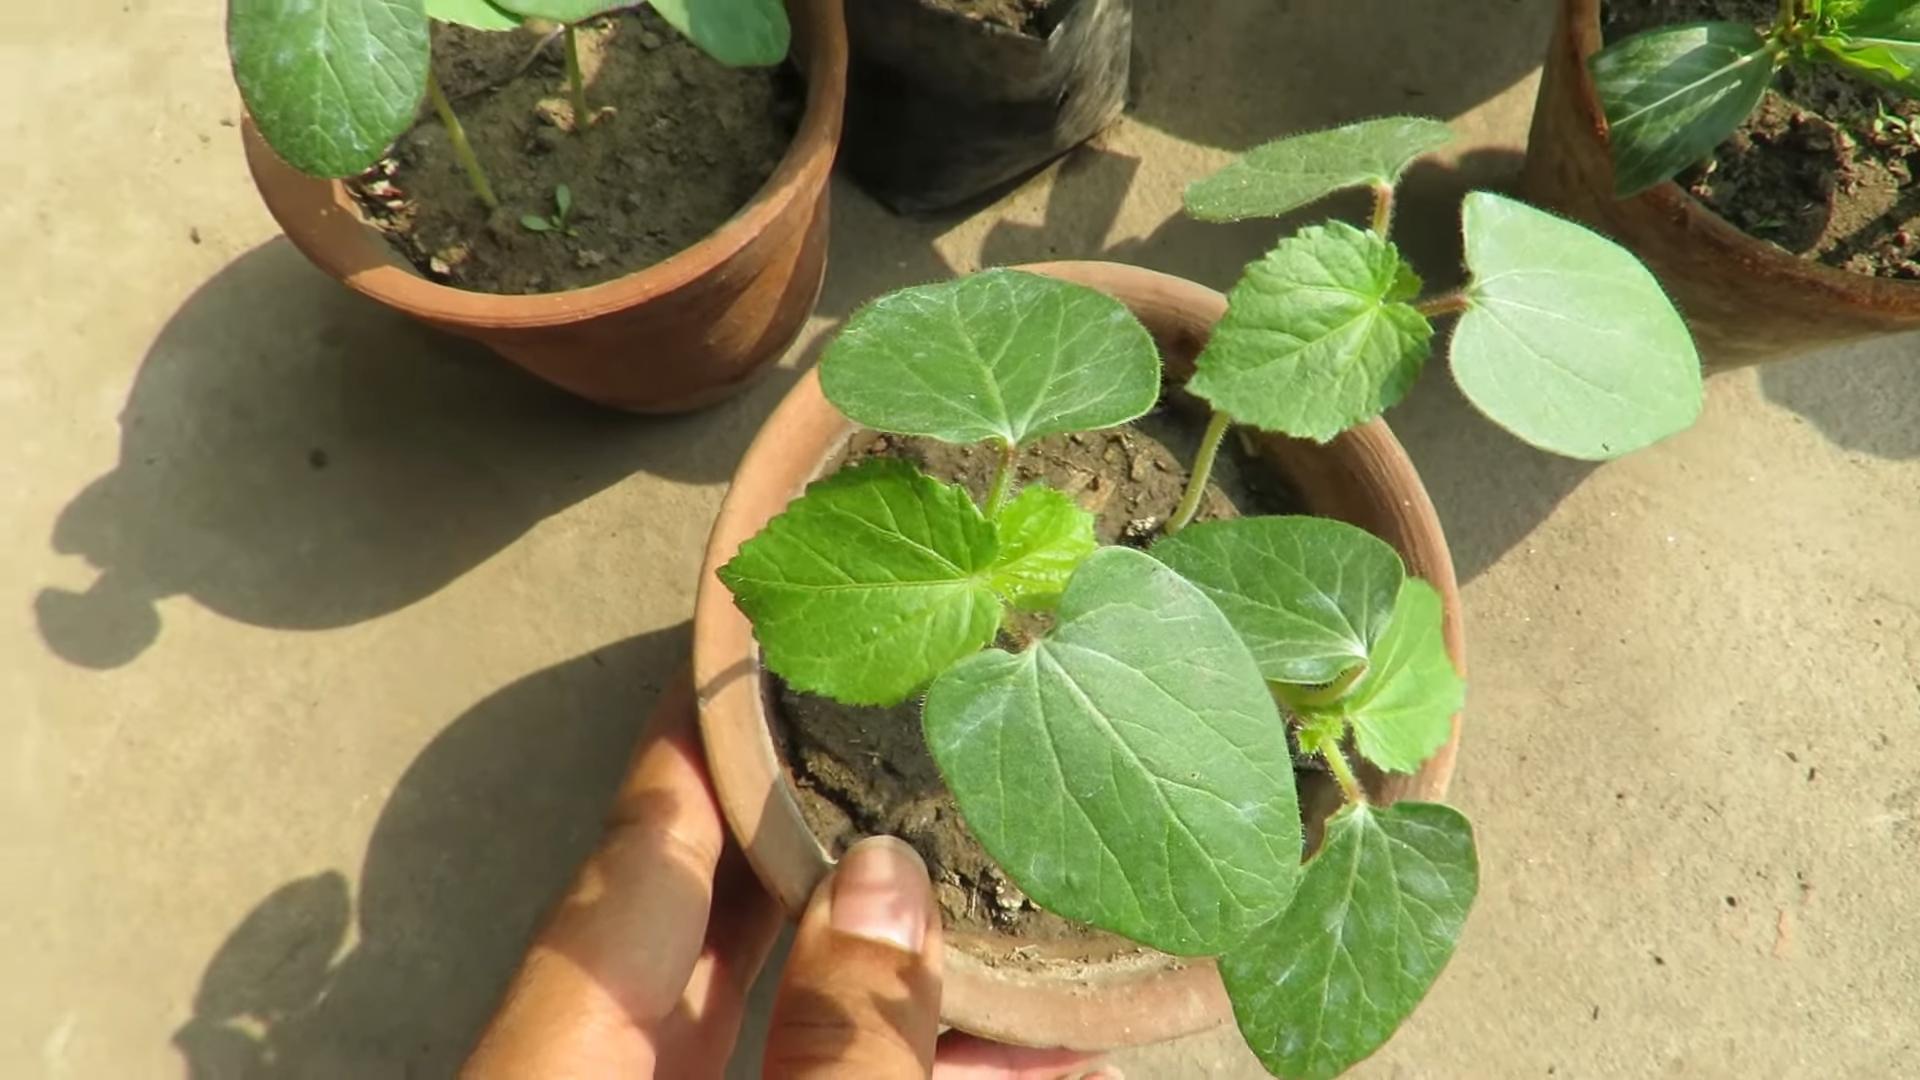
* Stunted Growth: Stunted growth can be caused by poor soil, lack of sunlight, or pest infestations. Amend your soil with compost, ensure your plants are getting at least 6 hours of sunlight per day, and control pests.
* Lack of Pod Production: This could be due to insufficient pollination, high temperatures, or lack of nutrients. Attract pollinators to your garden by planting flowers, ensure your plants are getting adequate water and fertilizer, and consider hand-pollinating the flowers.
* Pest Infestations: Common okra pests include aphids, flea beetles, and stink bugs. Use insecticidal soap, neem oil, or other appropriate pest control methods.
Storing Your Okra Harvest
Once you’ve harvested your okra, it’s important to store it properly to maintain its freshness. Here are a few options:
* Refrigeration: Store okra pods in a perforated plastic bag in the refrigerator for up to a week.
* Freezing: For longer storage, freeze okra. Wash and trim the pods, then blanch them in boiling water for 2-3 minutes. Cool them quickly in ice water, then drain and freeze in freezer bags or containers.
* Pickling: Pickled okra is a delicious and tangy treat. There are many recipes available online.
* Drying: Dried okra can be used in soups and stews. Slice the pods thinly and dry them in a dehydrator or oven.
Okra Varieties to Consider
There are many different varieties of okra to choose from, each with its own unique characteristics. Here are a few popular options:
* Clemson Spineless: A classic variety known for its smooth, spineless pods.
* Emerald: A high-yielding variety with dark green pods.
* Burgundy: A beautiful variety with reddish-purple pods.
* Star of David: An heirloom variety with ribbed pods.
* Annie Oakley II: A dwarf variety that’s perfect for small gardens.
My Favorite Okra Recipes
Now that you have a basket full of fresh okra, it’s time to get cooking! Here are a few of my favorite okra recipes:
* Fried Okra: A Southern classic! Dredge okra pods in cornmeal and fry until golden brown.
* Okra Gumbo: A hearty and flavorful stew with okra, tomatoes, and other vegetables.
* Roasted Okra: Toss okra pods with olive oil and spices and roast in the oven until tender.
* Pickled Okra: A tangy and refreshing snack or side dish.
* Okra and Tomatoes: A simple and delicious side dish with okra, tomatoes, and onions.
Final Thoughts
Harvesting okra at home is a rewarding experience. With a little knowledge and effort, you can enjoy a bountiful harvest of fresh, delicious okra all season long. Remember to check your plants daily, harvest regularly, and address any problems promptly. Happy gardening!
Conclusion
So, there you have it! Mastering the art of harvesting okra at home is not just about plucking pods; it’s about connecting with your garden, enjoying the freshest possible produce, and maximizing your yield. This simple yet crucial skill can transform your okra patch from a source of occasional snacks into a bountiful harvest, providing you with delicious and nutritious meals throughout the growing season.
Why is this DIY trick a must-try? Because store-bought okra simply can’t compare to the vibrant flavor and crisp texture of freshly harvested pods. When you harvest okra yourself, you’re in control. You pick it at its peak ripeness, ensuring optimal taste and tenderness. You also avoid the potential bruising and degradation that can occur during transportation and storage. Plus, there’s an undeniable satisfaction in nurturing a plant from seed to table, knowing you’ve played an active role in providing healthy food for yourself and your family.
But the benefits extend beyond just taste and freshness. Regular harvesting encourages the plant to produce even more pods. By diligently removing mature okra, you signal to the plant to keep flowering and setting new fruit. This means a longer and more productive harvest season, maximizing your investment of time and resources.
Ready to take your okra harvest to the next level? Consider these variations and suggestions:
* Experiment with different varieties: Okra comes in a range of colors and shapes, from the classic green Clemson Spineless to the burgundy-hued Burgundy okra. Try growing a few different varieties to discover your favorites and add visual interest to your garden.
* Preserve your harvest: If you find yourself with more okra than you can eat fresh, explore preservation methods like pickling, freezing, or dehydrating. Pickled okra is a tangy and delicious treat, while frozen okra can be added to soups, stews, and gumbos throughout the year. Dehydrated okra can be ground into a powder and used as a thickening agent in sauces and gravies.
* Companion planting: Okra thrives when planted alongside certain companion plants. Basil, peppers, and eggplant are all excellent choices, as they help to deter pests and improve soil health.
* Succession planting: To extend your okra harvest even further, consider succession planting. Sow new seeds every few weeks to ensure a continuous supply of fresh pods throughout the growing season.
Don’t be intimidated by the prospect of harvesting okra at home. With a little knowledge and practice, you’ll be a pro in no time. Remember to wear gloves to protect your skin from the prickly hairs, use sharp pruning shears or a knife for clean cuts, and harvest frequently to encourage continued production.
We encourage you to try this DIY trick and experience the joy of harvesting your own fresh okra. Share your experiences with us in the comments below! We’d love to hear about your favorite varieties, harvesting tips, and delicious okra recipes. Let’s build a community of okra enthusiasts and celebrate the bounty of the garden together. Happy harvesting!
Frequently Asked Questions (FAQ)
What is the best time of day to harvest okra?
The best time to harvest okra is in the morning, after the dew has dried but before the heat of the day sets in. This is when the pods are at their most tender and flavorful. Harvesting in the cooler morning hours also helps to minimize stress on the plant.
How often should I harvest okra?
Okra pods grow quickly, so you should harvest them every one to two days. Regular harvesting encourages the plant to produce more pods, leading to a more abundant yield. Check your plants daily for pods that are ready to be picked.
How do I know when okra is ready to harvest?
Okra pods are typically ready to harvest when they are 2 to 4 inches long, depending on the variety. The pods should be firm but tender, and they should snap easily when bent. If the pods are tough or woody, they are past their prime and should be discarded. Overly mature okra can be used for seed saving, but it is not palatable.
What tools do I need to harvest okra?
You will need a pair of gloves to protect your hands from the prickly hairs on the okra plant. You will also need a sharp knife or pruning shears to cut the pods from the plant. A basket or bag to collect the harvested okra is also helpful.
Why is my okra plant not producing pods?
There are several reasons why your okra plant may not be producing pods. Common causes include:
* Insufficient sunlight: Okra needs at least 6 to 8 hours of direct sunlight per day to thrive.
* Poor soil: Okra prefers well-drained soil that is rich in organic matter.
* Lack of water: Okra needs consistent moisture, especially during hot weather.
* Nutrient deficiencies: Okra may need supplemental feeding with a balanced fertilizer.
* Pest or disease problems: Check your plants regularly for signs of pests or diseases and take appropriate action.
* Pollination issues: While okra is self-pollinating, sometimes insects or wind are needed to help the process.
How do I deal with the prickly hairs on okra plants?
The prickly hairs on okra plants can be irritating to the skin. Wearing gloves is the best way to protect your hands. You can also wear long sleeves and pants to minimize contact with the plant. Some people find that washing their hands with soap and water immediately after handling okra helps to remove the irritating hairs.
Can I eat okra that is too big?
While you can technically eat okra that is too big, it will likely be tough and woody. Overly mature okra is best used for seed saving. If you do choose to eat larger okra pods, you may want to remove the seeds and cook them for a longer period of time to soften them.
How do I store harvested okra?
Freshly harvested okra can be stored in the refrigerator for up to a week. Place the okra in a plastic bag or container and store it in the crisper drawer. For longer storage, you can freeze, pickle, or dehydrate the okra.
What are some ways to use harvested okra?
Okra is a versatile vegetable that can be used in a variety of dishes. It is commonly used in soups, stews, and gumbos. It can also be fried, grilled, roasted, or pickled. Okra is a good source of fiber, vitamins, and minerals.
Is there a difference between green and red okra?
Yes, there are different varieties of okra, including green and red varieties. The red color in red okra is due to the presence of anthocyanins, which are antioxidants. The taste and texture of green and red okra are similar, although some people find that red okra is slightly sweeter. The red color will fade when cooked.


Leave a Comment