
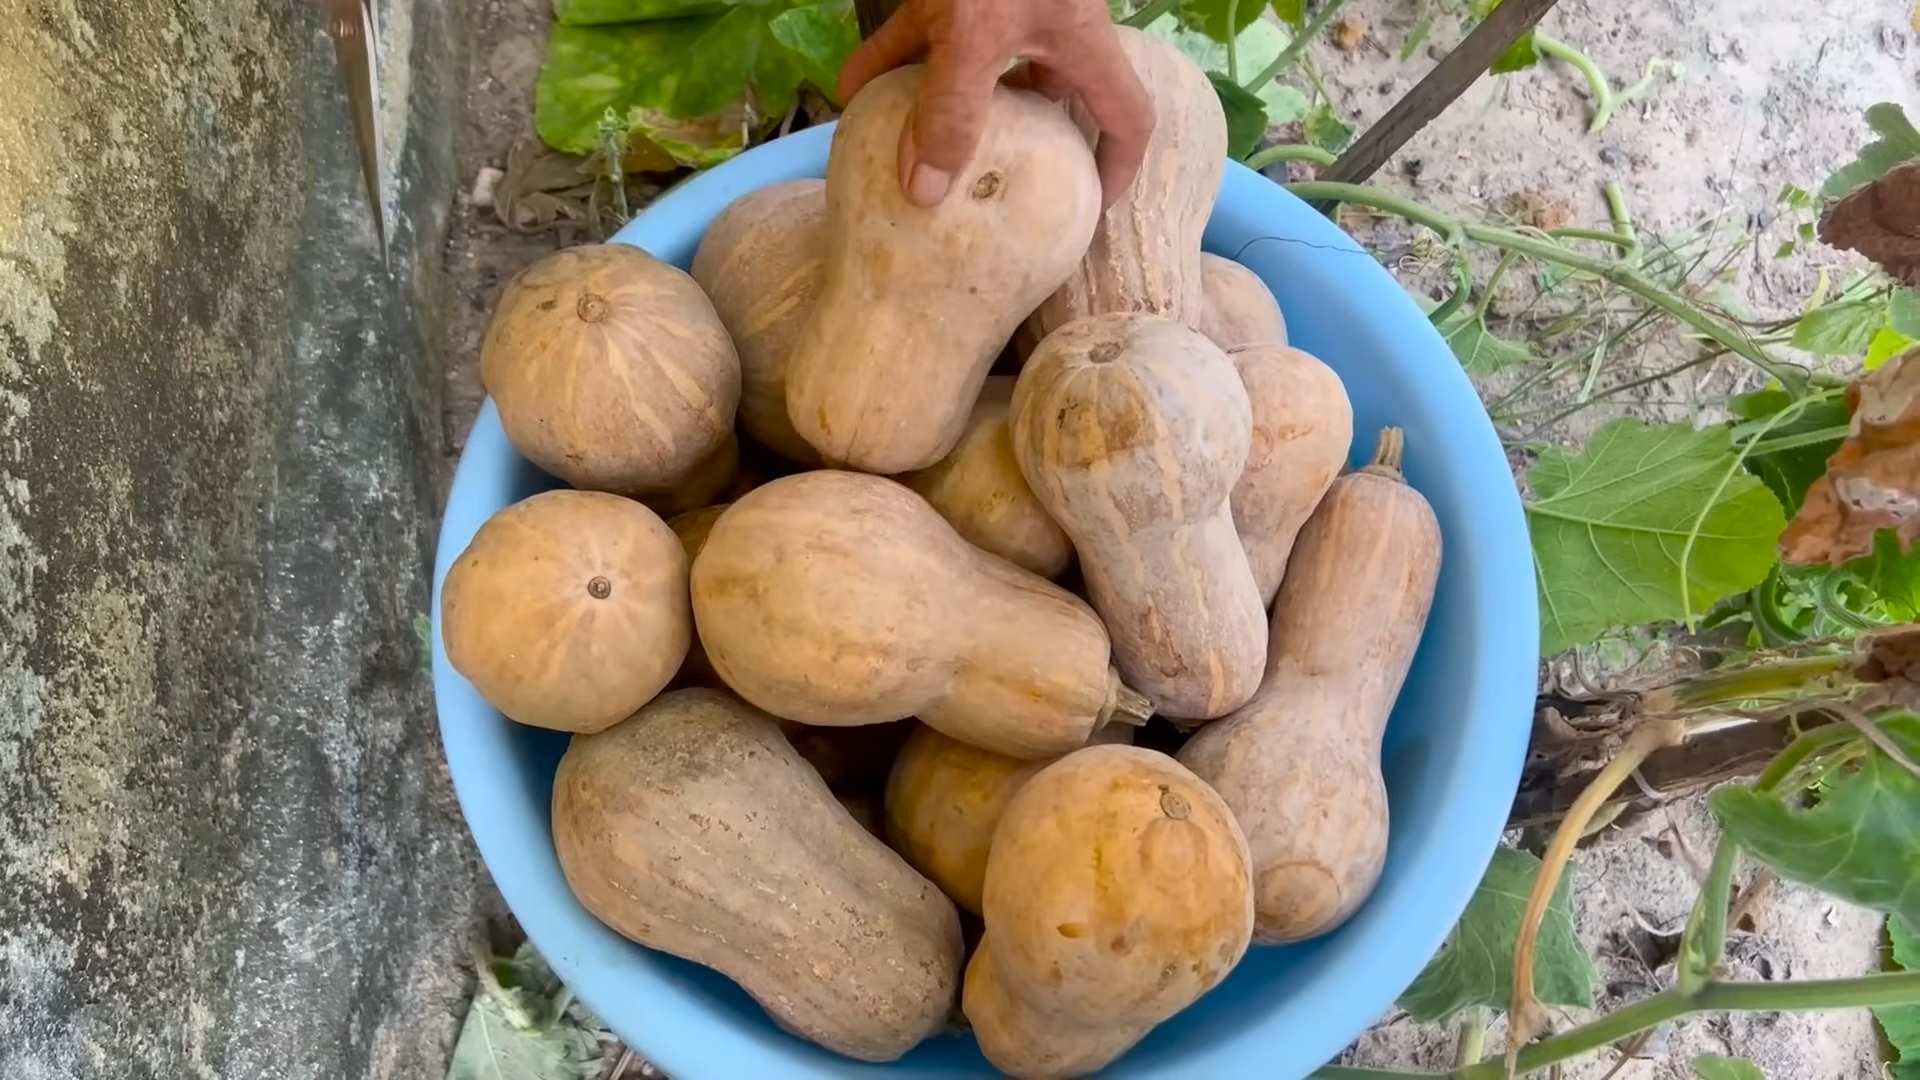
Harvesting Pumpkins can feel like the grand finale of a season-long performance! After months of nurturing those tiny seeds into sprawling vines and vibrant orange globes, it’s time to reap the rewards of your labor. But knowing exactly when and how to harvest your pumpkins is crucial for ensuring they’re perfect for carving, baking, or simply adding a touch of autumnal charm to your doorstep.
Pumpkins have a rich history, dating back thousands of years to Central America, where they were valued for both their flesh and their seeds. Indigenous cultures used every part of the pumpkin, showcasing a deep respect for nature’s bounty. Today, pumpkins are synonymous with fall festivities, from Halloween jack-o’-lanterns to Thanksgiving pies. But let’s be honest, nobody wants to lug a pumpkin inside only to discover it’s already starting to rot!
That’s where this DIY guide comes in. I’m going to share my tried-and-true tricks for determining pumpkin ripeness, proper harvesting techniques, and even some tips for curing your pumpkins to extend their shelf life. Imagine enjoying your homegrown pumpkins well into the winter months! Harvesting Pumpkins doesn’t have to be a guessing game. With a little know-how, you can ensure a successful and satisfying harvest every time. So, grab your gloves and let’s get started!
Harvesting Pumpkins Like a Pro: A DIY Guide
Okay, pumpkin lovers, it’s that time of year! The leaves are turning, the air is crisp, and those beautiful orange (or sometimes green, white, or even blue!) gourds are calling your name. Harvesting pumpkins might seem straightforward, but there’s a right way and a wrong way to do it. Trust me, I’ve learned from experience – and a few bruised pumpkins along the way. This guide will walk you through everything you need to know to harvest your pumpkins successfully, ensuring they last through Halloween and beyond.
What You’ll Need
Before you even think about heading out to the pumpkin patch (your backyard counts!), gather your supplies. Having everything ready will make the process so much smoother.
* Sharp Knife or Pruning Shears: A dull blade is a recipe for disaster (and potential injury!). Make sure your cutting tool is nice and sharp. I prefer pruning shears for their ease of use.
* Gloves: Pumpkin vines can be prickly and the soil can be… well, soil-y. Protect your hands!
* Measuring Tape (Optional): If you’re entering your pumpkin in a contest, you’ll need to measure its circumference.
* Clean, Dry Cloth: For wiping off any dirt or debris.
* Wheelbarrow or Wagon: Depending on the size and number of pumpkins you’re harvesting, you’ll need something to transport them.
* Cardboard or Newspaper: To protect your pumpkins from scratching during transport.
* Bleach Solution (Optional): A diluted bleach solution (1 part bleach to 10 parts water) can help sanitize the pumpkins and prevent rot.
* First Aid Kit: Just in case! Accidents happen.
When to Harvest: Timing is Everything!
Knowing when to harvest is crucial for pumpkin longevity. You don’t want to pick them too early, or they won’t ripen properly. You also don’t want to wait too long, or they might succumb to frost damage.
Here’s what to look for:
* Color: The pumpkin should be a deep, rich color – the color you expect it to be when ripe. For orange pumpkins, that’s a vibrant orange.
* Hard Rind: This is the most important indicator. The rind should be hard enough that you can’t easily pierce it with your fingernail. If it’s soft, the pumpkin isn’t ready.
* Dry Stem: The stem should be dry, brown, and starting to crack. This indicates that the pumpkin has stopped growing and is ready to be harvested.
* Vine Condition: The vine itself will likely be starting to die back and turn brown. This is a natural part of the pumpkin’s life cycle.
* Days to Maturity: Check the seed packet or plant tag for the “days to maturity.” This is an estimate of how long it takes for the pumpkin to ripen after planting. Keep in mind that weather conditions can affect this timeline.
* Weather Forecast: Keep an eye on the weather forecast. If a hard frost is predicted, it’s time to harvest, even if the pumpkins aren’t quite perfectly ripe. A light frost might be okay, but a hard frost can damage the pumpkins.
The Harvesting Process: Step-by-Step
Alright, let’s get down to the nitty-gritty! Here’s how to harvest your pumpkins like a pro:
1. Choose Your Pumpkin: Select the pumpkin you want to harvest based on the criteria mentioned above (color, hard rind, dry stem, etc.).
2. Cut the Stem: Using your sharp knife or pruning shears, carefully cut the stem of the pumpkin. Leave at least 3-4 inches of stem attached to the pumpkin. This is crucial for preventing rot. Cutting the stem too short creates an entry point for bacteria and fungi.
* Important Note: Don’t pull or twist the pumpkin off the vine. This can damage the pumpkin and the vine.
3. Handle with Care: Pumpkins can be surprisingly heavy, so lift them carefully. Support the pumpkin from the bottom to avoid dropping it.
4. Clean the Pumpkin: Use a clean, dry cloth to wipe off any dirt or debris from the pumpkin.
5. Sanitize (Optional): If you want to sanitize your pumpkins to prevent rot, mix a solution of 1 part bleach to 10 parts water. Dip a clean cloth in the solution and wipe down the entire surface of the pumpkin. Allow the pumpkin to air dry completely.
6. Transport Carefully: Place the pumpkins in a wheelbarrow or wagon, being careful not to bump or scratch them. Use cardboard or newspaper to cushion the pumpkins and prevent them from rolling around.
7. Curing (Important!): This is a step many people skip, but it’s essential for long-term storage. Curing helps to harden the rind and heal any minor scratches or bruises.
* Find a warm, dry, and well-ventilated place to cure your pumpkins. A garage, shed, or covered porch works well.
* Place the pumpkins in a single layer, making sure they don’t touch each other.
* The ideal temperature for curing is 80-85°F (27-29°C).
* Cure the pumpkins for 10-14 days.
8. Storage: After curing, store your pumpkins in a cool, dry, and well-ventilated place. A basement or root cellar is ideal.
* The ideal storage temperature is 50-60°F (10-15°C).
* Avoid storing pumpkins in direct sunlight or near heat sources.
* Check your pumpkins regularly for signs of rot. If you find a pumpkin that’s starting to rot, remove it immediately to prevent the rot from spreading to other pumpkins.
Troubleshooting: Common Pumpkin Problems
Even with the best care, things can sometimes go wrong. Here are a few common pumpkin problems and how to deal with them:
* Rotting Pumpkins: This is usually caused by damage to the rind or stem, or by improper storage conditions. Remove any rotting pumpkins immediately to prevent the rot from spreading.
* Soft Spots: Soft spots can be a sign of rot or disease. If the soft spot is small, you can try cutting it out and applying a fungicide. However, if the soft spot is large or spreading, it’s best to discard the pumpkin.
* Insect Damage: Insects can damage pumpkins by feeding on the leaves, stems, or fruit. Use insecticidal soap or other organic pest control methods to control insect infestations.
* Disease: Pumpkins are susceptible to a variety of diseases, such as powdery mildew and downy mildew. Use fungicides to prevent and control these diseases.
* Sunscald: Sunscald occurs when pumpkins are exposed to too much direct sunlight. This can cause the rind to become discolored and damaged. Provide shade for your pumpkins during the hottest part of the day.
Extra Tips for Pumpkin Success
* Rotate your pumpkins regularly during storage to prevent them from developing flat spots.
* Don’t store pumpkins near apples or other fruits that produce ethylene gas. Ethylene gas can cause pumpkins to ripen and rot more quickly.
* If you’re planning to carve your pumpkins, wait until closer to Halloween. Carved pumpkins don’t last as long as uncarved pumpkins.
* Consider growing different varieties of pumpkins. There are so many beautiful and interesting varieties to choose from!
* Save the seeds! Pumpkin seeds are a delicious and nutritious snack. Roast them in the oven with a little salt and pepper.
Enjoy Your Harvest!
Harvesting pumpkins is a rewarding experience. There’s nothing quite like the feeling of bringing in your own homegrown pumpkins. With a little care and attention, you can enjoy your pumpkins for weeks or even months. Happy harvesting!

Conclusion
So, there you have it! Harvesting pumpkins doesn’t have to be a guessing game or a back-breaking chore. By following these simple steps and paying attention to the telltale signs of ripeness, you can ensure a bountiful harvest of beautiful, delicious pumpkins ready for carving, baking, or simply adding a touch of autumnal charm to your home.
This DIY trick for determining pumpkin ripeness, focusing on the color, stem condition, and sound test, is a must-try for several reasons. First, it empowers you to take control of your harvest, ensuring you’re picking pumpkins at their peak flavor and nutritional value. No more relying on store-bought pumpkins that may have been sitting around for weeks! Second, it’s incredibly satisfying to nurture your pumpkins from seed to harvest and then enjoy the fruits (or rather, vegetables!) of your labor.
But don’t stop there! Experiment with different pumpkin varieties to discover your favorites. Try growing heirloom pumpkins with unique shapes and colors, or focus on smaller, sweeter varieties perfect for pies and soups. Consider curing your harvested pumpkins in a cool, dry place to extend their shelf life and allow their flavors to deepen. You can even save the seeds for roasting – a delicious and healthy snack!
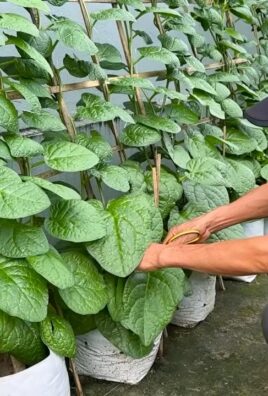
And speaking of variations, if you live in an area with a shorter growing season, you might consider starting your pumpkin seeds indoors to give them a head start. Alternatively, if you’re short on space, try growing pumpkins vertically on a trellis. The possibilities are endless!
Ultimately, the joy of harvesting pumpkins lies in the connection to nature and the satisfaction of creating something beautiful and delicious with your own hands. We wholeheartedly encourage you to try this DIY trick for harvesting pumpkins this season. It’s a simple, effective, and rewarding way to ensure a successful harvest.
Don’t be afraid to get your hands dirty, embrace the process, and most importantly, have fun! We’re confident that you’ll be amazed by the results.
Once you’ve harvested your pumpkins, we’d love to hear about your experience! Share your photos, tips, and favorite pumpkin recipes in the comments below. Let’s create a community of pumpkin-loving gardeners and cooks who are passionate about growing and enjoying this iconic autumn vegetable. Happy harvesting!
Frequently Asked Questions (FAQ)
What is the best time of day to harvest pumpkins?
The best time to harvest pumpkins is during a dry, sunny day. This allows any moisture on the pumpkins to evaporate, reducing the risk of rot during storage. Avoid harvesting after a rain or when the pumpkins are covered in dew. Mid-morning to early afternoon is generally ideal.
How do I know if my pumpkin is ripe enough to harvest?
Several indicators can help you determine if your pumpkin is ripe. First, check the color. A ripe pumpkin will have a deep, uniform color that is characteristic of its variety. For example, a ‘Jack O’ Lantern’ pumpkin should be a vibrant orange. Second, examine the stem. The stem should be dry, hard, and brown. If the stem is still green or pliable, the pumpkin is likely not fully ripe. Finally, perform the “knock test.” Gently tap the pumpkin. A ripe pumpkin will sound hollow.
What tools do I need to harvest pumpkins?
You’ll need a sharp knife or pruning shears to cut the pumpkin from the vine. Make sure the blade is clean to prevent the spread of disease. You’ll also want gloves to protect your hands from dirt and thorns. A wheelbarrow or wagon can be helpful for transporting the pumpkins, especially if you have a large harvest.
How much stem should I leave on the pumpkin when harvesting?
It’s crucial to leave at least 3-4 inches of stem attached to the pumpkin. This helps prevent rot and extends the pumpkin’s shelf life. Cutting the stem too short or removing it entirely can create an entry point for bacteria and fungi.
What if the stem breaks off the pumpkin during harvesting?
If the stem breaks off, the pumpkin is more susceptible to rot. Use it as soon as possible for cooking or carving. Avoid storing it for extended periods. You can also try sealing the exposed area with wax or a sealant designed for plants, although this may not be entirely effective.
How should I store my harvested pumpkins?
Store your harvested pumpkins in a cool, dry, and well-ventilated place. A temperature between 50-60°F (10-15°C) is ideal. Avoid storing pumpkins in direct sunlight or in areas with high humidity. A basement, garage, or shed can be suitable storage locations. Place the pumpkins on a layer of cardboard or wood to prevent them from sitting directly on the floor.
How long will my harvested pumpkins last?
The shelf life of harvested pumpkins depends on several factors, including the variety, ripeness at harvest, and storage conditions. Generally, properly cured and stored pumpkins can last for several months. Check the pumpkins regularly for signs of rot, such as soft spots or mold.
Can I harvest pumpkins after a frost?
A light frost may not damage pumpkins, but a hard frost can cause them to deteriorate quickly. If a frost is predicted, harvest your pumpkins before it occurs. If your pumpkins have already been exposed to frost, harvest them as soon as possible and use them quickly.
What can I do with green pumpkins that didn’t ripen in time?
Green pumpkins that haven’t fully ripened can still be used in some recipes. They can be used in place of squash in soups, stews, or gratins. They may not have the same sweetness as ripe pumpkins, but they can still add flavor and texture to your dishes. You can also pickle them or use them for decorative purposes.
Are there any pests or diseases that can affect pumpkin harvesting?
Yes, several pests and diseases can affect pumpkin harvesting. Squash bugs, squash vine borers, and powdery mildew are common problems. Inspect your pumpkins regularly for signs of infestation or disease. Use appropriate pest control methods and fungicides to protect your crop. Proper sanitation, such as removing plant debris, can also help prevent problems.
Is it safe to eat pumpkins that have been used for decoration?
Pumpkins that have been used for decoration are generally safe to eat, as long as they haven’t been treated with any chemicals or exposed to harmful substances. However, be sure to wash them thoroughly before using them for cooking. If the pumpkin has been carved, it’s best to use it within a few days to prevent bacterial growth.
Can I save seeds from my harvested pumpkins to plant next year?
Yes, you can save seeds from your harvested pumpkins to plant next year. Choose seeds from healthy, ripe pumpkins. Scoop out the seeds and remove any pulp. Rinse the seeds thoroughly and spread them out on a paper towel to dry completely. Store the dried seeds in an airtight container in a cool, dry place.

Leave a Comment