
Homemade Cleaning Solutions: Unlock the secrets to a sparkling clean home without breaking the bank or exposing your family to harsh chemicals! Have you ever wondered if there was a better, safer way to tackle those stubborn stains and lingering odors? I know I have! For generations, resourceful homemakers have relied on simple, natural ingredients to keep their homes fresh and inviting. Think back to your grandmother’s cleaning rituals – chances are, vinegar, baking soda, and lemon played a starring role. These aren’t just old wives’ tales; they’re time-tested methods that are incredibly effective.
Today, with growing concerns about the environmental impact of commercial cleaners and the potential health risks associated with their ingredients, the appeal of homemade cleaning solutions is stronger than ever. Plus, let’s be honest, who doesn’t love saving money? This article is your ultimate guide to creating your own powerful, eco-friendly cleaning products using ingredients you probably already have in your pantry. I’m going to share my favorite DIY recipes and hacks that will transform your cleaning routine and leave your home smelling amazing – naturally!
Ready to ditch the harsh chemicals and embrace a cleaner, greener way of living? Let’s get started!
DIY Cleaning Solutions: Ditch the Chemicals, Embrace the Natural!
Hey there, fellow DIY enthusiasts! I’m so excited to share some of my favorite homemade cleaning solutions with you. I’ve been on a mission to reduce the number of harsh chemicals in my home, and these recipes have been a game-changer. Not only are they effective, but they’re also budget-friendly and better for the environment. Let’s get started!
All-Purpose Cleaner: Your Go-To for Everything
This all-purpose cleaner is a workhorse! I use it on countertops, sinks, appliances, and even floors (with a little tweaking, which I’ll explain later). It’s simple, effective, and smells amazing.
What you’ll need:
* Spray bottle (16 oz is a good size)
* 1/2 cup white vinegar
* 2 cups water
* 10-20 drops of your favorite essential oil (lemon, lavender, tea tree, and eucalyptus are all great choices)
Step-by-step instructions:
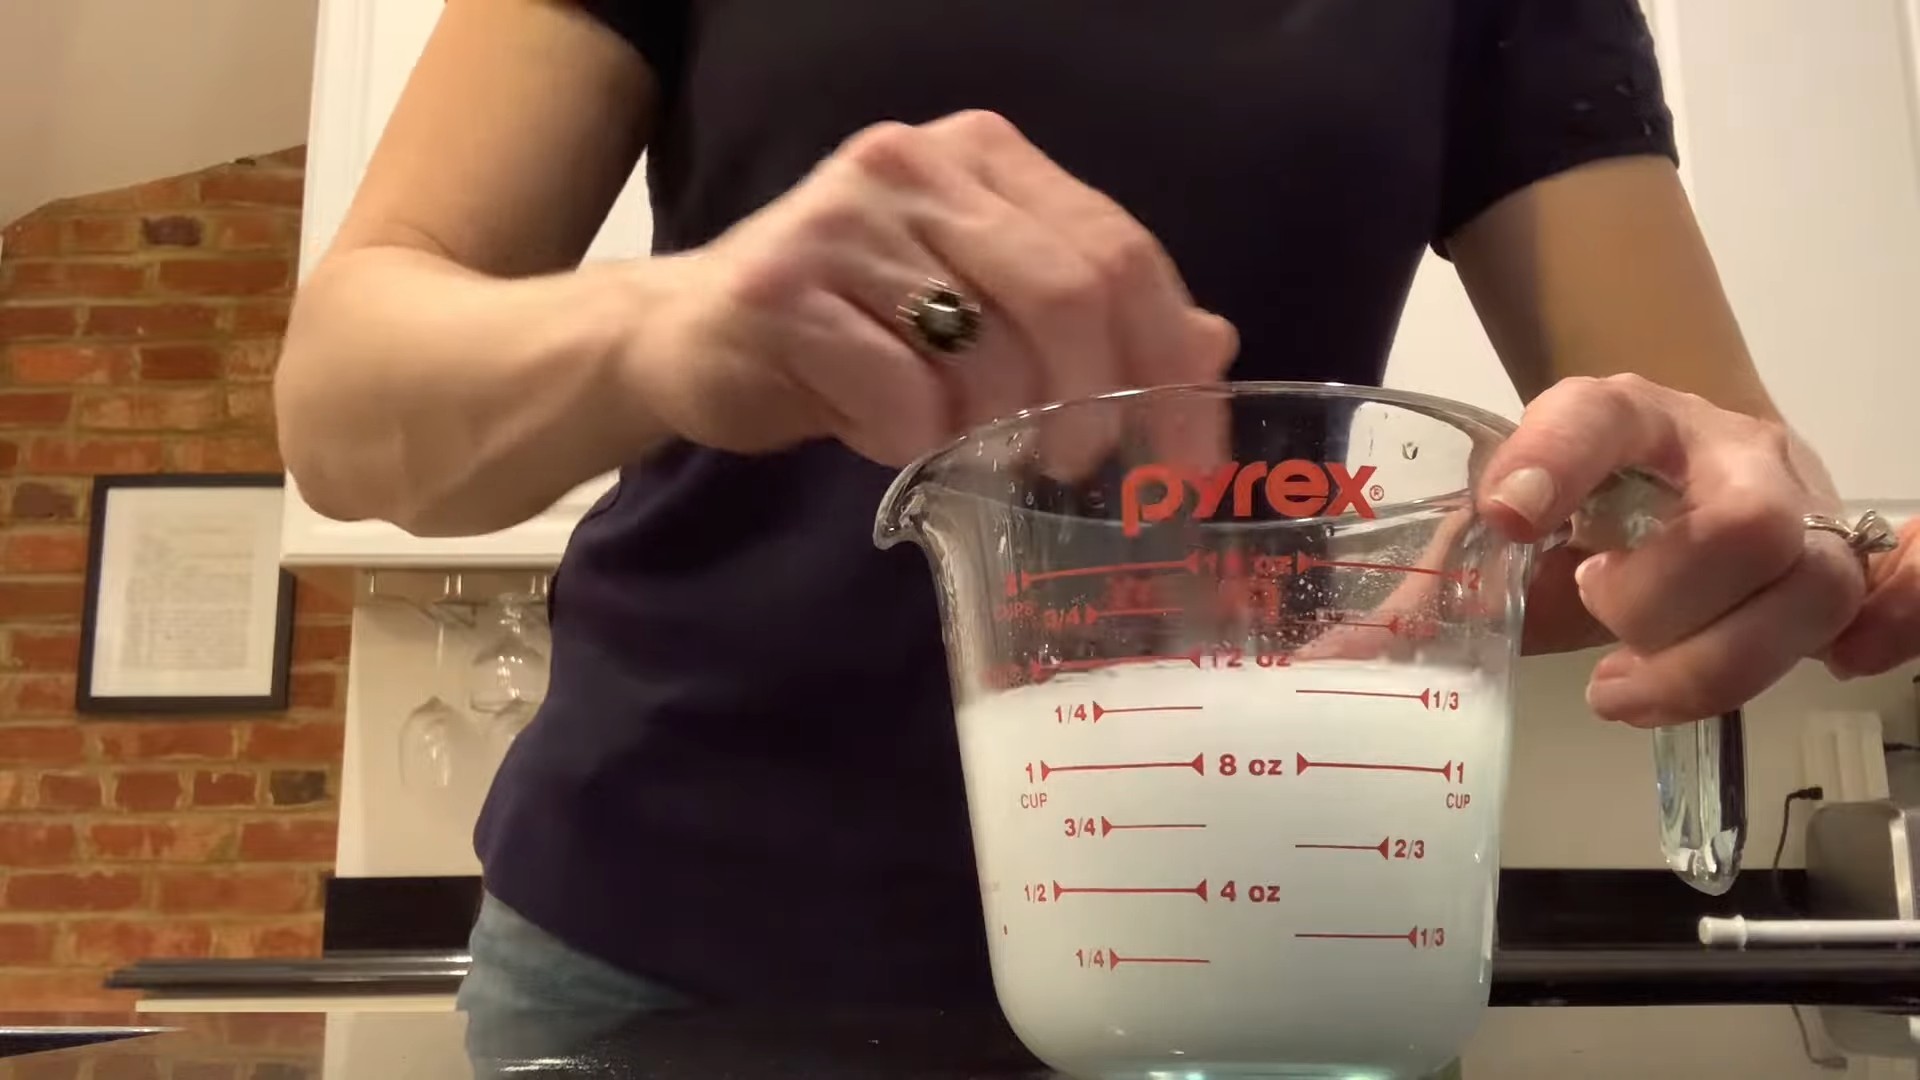
1. Combine the ingredients: In your spray bottle, pour in the white vinegar and water.
2. Add essential oils: Add your chosen essential oils. I usually go for a blend of lemon and tea tree for its cleaning power and fresh scent.
3. Shake it up: Secure the spray nozzle and shake well to combine all the ingredients.
4. Time to clean! Spray the solution onto the surface you want to clean and wipe with a clean cloth or sponge. For tougher messes, let the solution sit for a few minutes before wiping.
Important notes:
* Don’t use on marble or granite: Vinegar can etch natural stone surfaces, so avoid using this cleaner on marble, granite, or other delicate stone.
* Adjust the scent: Feel free to experiment with different essential oil combinations to find your favorite scent.
* Floor cleaning: For floors, I dilute this solution further by adding about 1/4 cup of the all-purpose cleaner to a bucket of warm water.
Glass Cleaner: Streak-Free Shine Guaranteed
Say goodbye to streaks with this simple glass cleaner! It’s so much better than those store-bought chemical-laden sprays.
What you’ll need:
* Spray bottle
* 2 cups water
* 1/4 cup white vinegar
* 1/4 teaspoon liquid dish soap (optional, but helps with greasy fingerprints)
Step-by-step instructions:
1. Mix the ingredients: In your spray bottle, combine the water, white vinegar, and dish soap (if using).
2. Shake well: Secure the spray nozzle and shake gently to mix.
3. Spray and wipe: Spray the solution onto your windows or mirrors and wipe with a clean microfiber cloth. I find that using two cloths – one slightly damp and one dry – gives the best results.
Tips for streak-free cleaning:
* Use a microfiber cloth: Microfiber cloths are essential for streak-free cleaning.
* Wipe in one direction: Avoid wiping in circles, as this can leave streaks.
* Dry immediately: Don’t let the cleaner air dry, as this can also cause streaks.
Toilet Bowl Cleaner: Natural and Effective
This toilet bowl cleaner uses the power of baking soda and vinegar to fizz away grime and leave your toilet sparkling.
What you’ll need:
* 1 cup baking soda
* 1/2 cup white vinegar
* Toilet brush
Step-by-step instructions:
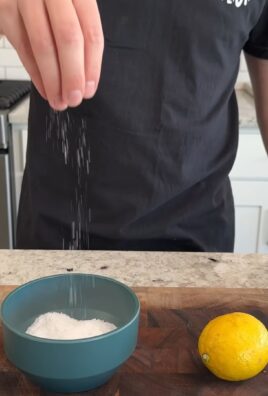
1. Sprinkle baking soda: Sprinkle the baking soda evenly around the inside of the toilet bowl.
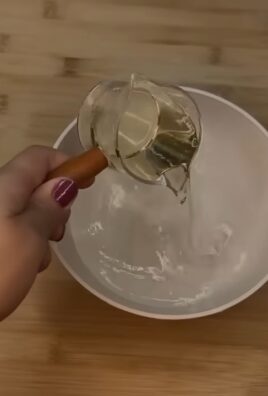
2. Pour in vinegar: Pour the white vinegar over the baking soda. It will fizz!
3. Let it sit: Let the mixture sit for at least 15-20 minutes. The longer it sits, the better it will work.
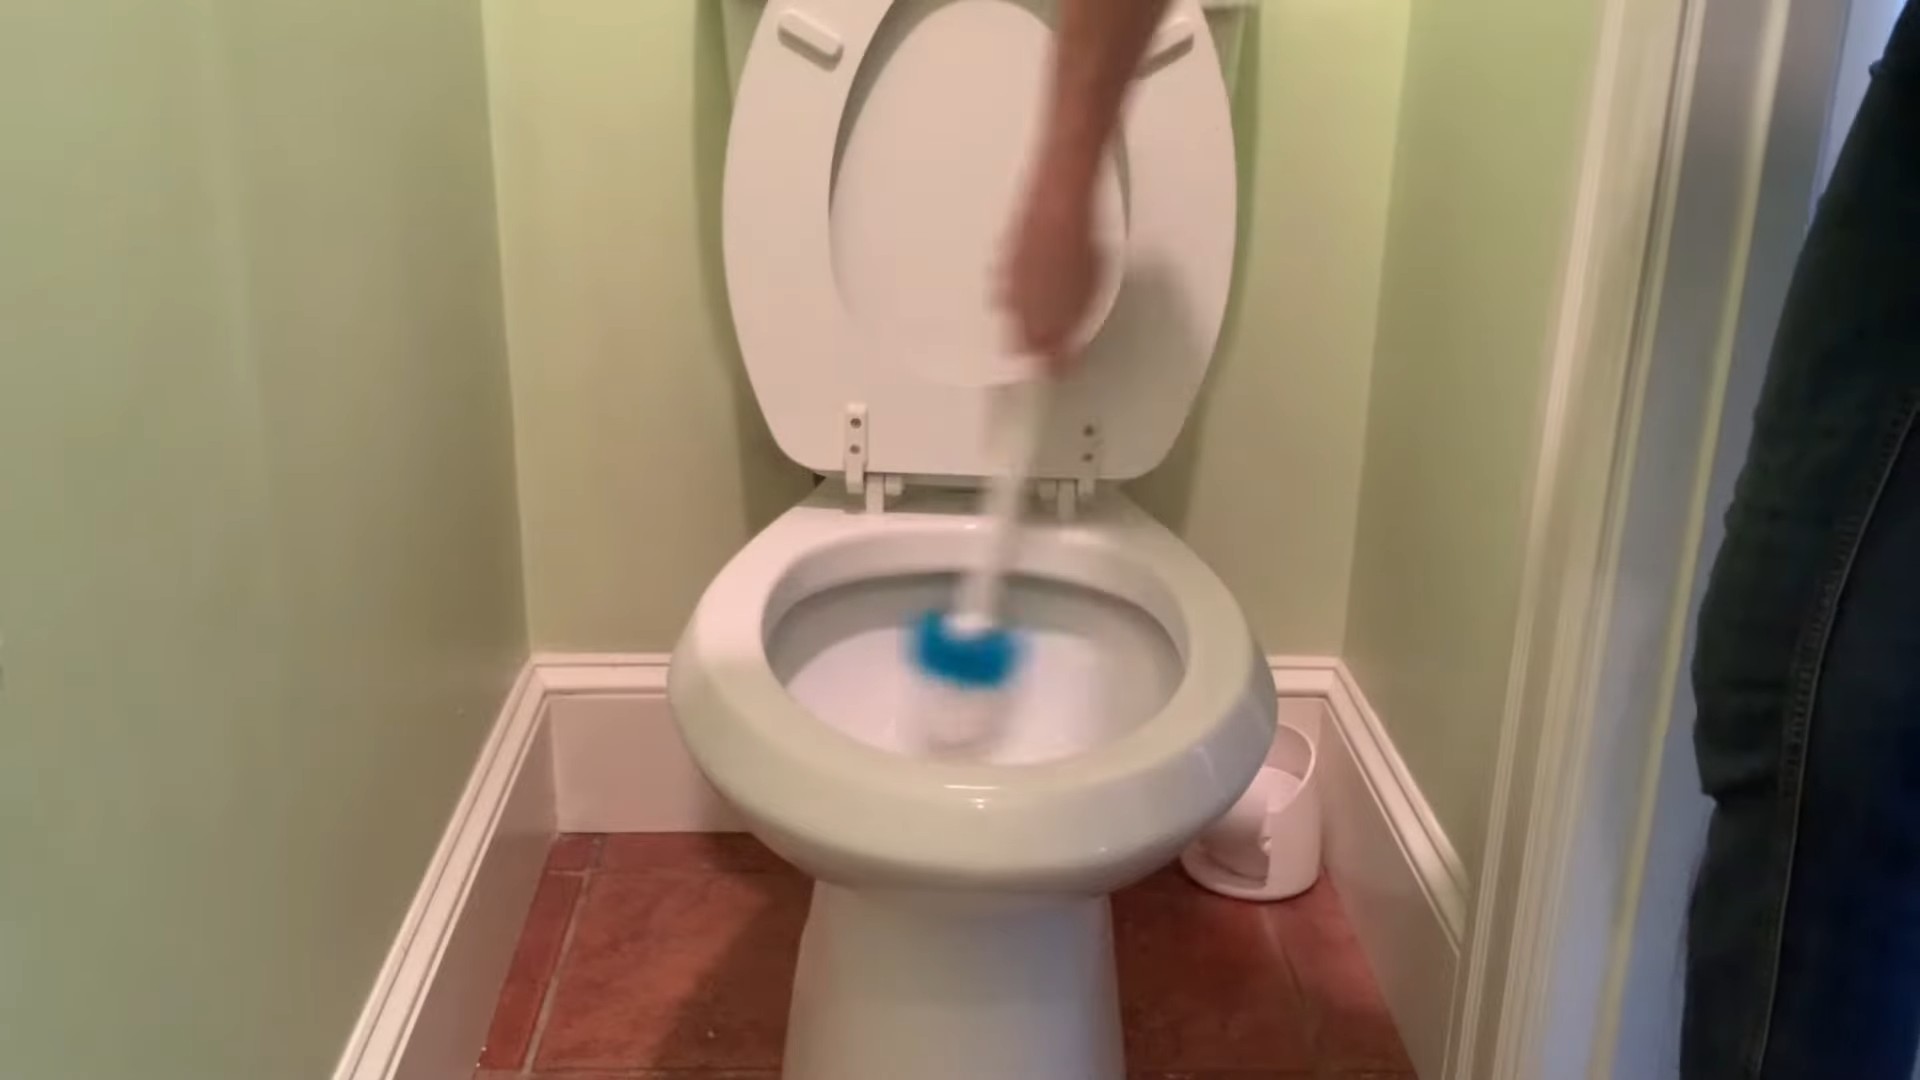
4. Scrub and flush: Use your toilet brush to scrub the bowl thoroughly, paying attention to any stains or buildup. Flush the toilet to rinse.
Extra cleaning power:
* Add essential oils: For a fresh scent and added cleaning power, add a few drops of tea tree or eucalyptus essential oil to the baking soda before adding the vinegar.
* Overnight treatment: For stubborn stains, let the baking soda and vinegar mixture sit overnight before scrubbing and flushing.
Oven Cleaner: No Harsh Chemicals Needed
Cleaning the oven is one of those chores that everyone dreads. But with this homemade oven cleaner, you can avoid those harsh chemicals and still get a sparkling clean oven.
What you’ll need:
* 1/2 cup baking soda
* Water
* Spray bottle
* Spatula or scraper
* Gloves (optional, but recommended)
Step-by-step instructions:
1. Remove oven racks: Take out the oven racks and set them aside. You can clean them separately in a sink full of hot, soapy water.
2. Make a baking soda paste: In a bowl, mix the baking soda with enough water to form a thick paste.
3. Coat the oven: Using your hands (with gloves on, if desired) or a spatula, spread the baking soda paste all over the inside of the oven, avoiding the heating elements. Be sure to coat the walls, floor, and door.
4. Let it sit overnight: This is the key! Let the baking soda paste sit in the oven overnight (or for at least 12 hours).
5. Scrub and scrape: The next day, use a damp sponge or cloth to scrub the oven. The baking soda paste should have loosened the grime and grease. Use a spatula or scraper to remove any stubborn buildup.
6. Rinse thoroughly: Rinse the oven with a damp cloth until all traces of baking soda are gone.
7. Spray with vinegar (optional): For extra cleaning power and to remove any remaining residue, spray the inside of the oven with white vinegar and wipe clean.
8. Replace oven racks: Once the oven is completely dry, replace the oven racks.
Important notes:
* Wear gloves: While baking soda is generally safe, it can be drying to the skin, so wearing gloves is recommended.
* Be patient: This method requires some elbow grease, but it’s worth it to avoid harsh chemicals.
* Repeat if necessary: For heavily soiled ovens, you may need to repeat the process.
Drain Cleaner: Unclog Drains Naturally
Forget those harsh chemical drain cleaners! This natural solution uses the power of baking soda and vinegar to unclog drains without harming the environment.
What you’ll need:
* 1 cup baking soda
* 2 cups white vinegar
* Boiling water
Step-by-step instructions:
1. Pour baking soda down the drain: Pour the baking soda down the clogged drain.
2. Pour in vinegar: Pour the white vinegar down the drain after the baking soda. It will fizz!
3. Let it fizz: Let the mixture fizz for about 30 minutes. This will help to break down the clog.
4. Flush with boiling water: After 30 minutes, carefully pour a pot of boiling water down the drain. This will help to flush away the loosened debris.
Tips for stubborn clogs:
* Repeat the process: If the drain is still clogged, repeat the process.
* Use a plunger: After flushing with boiling water, try using a plunger to dislodge any remaining debris.
* Check the P-trap: If the clog persists, you may need to check the P-trap (the curved pipe under the sink) for any blockages.
Furniture Polish: Restore Shine and Protect Wood
This homemade furniture polish will restore the shine to your wood furniture and protect it from scratches and water damage.
What you’ll need:
* Spray bottle
* 1/4 cup olive oil
* 1/4 cup white vinegar or lemon juice
* 10-15 drops of essential oil (optional, for scent)
Step-by-step instructions:
1. Combine ingredients: In your spray bottle, combine the olive oil, white vinegar or lemon juice, and essential oil (if using).
2. Shake well: Secure the spray nozzle and shake well to mix the ingredients.
3. Spray and wipe: Spray a small amount of the polish onto a clean, soft cloth.
4. Buff the furniture: Wipe the furniture with the cloth, following the grain of the wood. Buff the surface until it shines.
Important notes:
* Test in an inconspicuous area: Before polishing your entire piece of furniture, test the polish in an inconspicuous area to make sure it doesn’t damage the finish.
*
Conclusion
So, there you have it! Ditching the harsh chemicals and embracing these simple, effective, and budget-friendly homemade cleaning solutions is a game-changer for your home and your health. We’ve walked through some fantastic alternatives that prove you don’t need a cabinet full of expensive, store-bought products to achieve a sparkling clean. From tackling stubborn grease to banishing bathroom grime, these recipes offer a natural and powerful way to keep your living space fresh and inviting.
The beauty of these DIY cleaning solutions lies not only in their effectiveness but also in their versatility. Feel free to experiment with different essential oils to customize the scents to your liking. Lavender, lemon, tea tree, and eucalyptus are all excellent choices, each offering unique aromatherapy benefits alongside their cleaning power. For instance, a few drops of peppermint oil in your all-purpose cleaner can provide an invigorating boost, while lavender can create a calming atmosphere.
Consider adding a tablespoon of borax to your laundry detergent recipe for extra stain-fighting power, especially for heavily soiled items. Or, if you’re dealing with particularly stubborn hard water stains in your bathroom, try increasing the concentration of vinegar in your cleaning solution. Remember to always test any new solution in an inconspicuous area first to ensure it doesn’t damage the surface.
Beyond the environmental and health benefits, making your own cleaning products is incredibly empowering. You have complete control over the ingredients, ensuring that you’re not exposing yourself or your family to harmful chemicals. Plus, it’s a fantastic way to reduce waste and save money in the long run. Think of all the plastic bottles you’ll be keeping out of landfills!
Why is this a must-try? Because it’s a win-win-win! It’s better for your health, better for the environment, and better for your wallet. You’ll be amazed at how effective these simple recipes are, and you’ll feel good knowing that you’re creating a healthier and more sustainable home.
We truly believe that once you try these homemade cleaning solutions, you’ll never go back to store-bought alternatives. The satisfaction of creating your own effective and eco-friendly products is unmatched. So, gather your ingredients, put on your DIY hat, and get ready to transform your cleaning routine.
We’re confident that you’ll love the results. But don’t just take our word for it! We encourage you to try these recipes for yourself and share your experiences with us. Let us know which solutions worked best for you, what variations you tried, and any tips or tricks you discovered along the way. Your feedback is invaluable and helps us continue to refine and improve these recipes for everyone. Share your stories in the comments below, on social media using #HomemadeCleaningSolutions, or tag us in your posts. We can’t wait to hear from you! Let’s create a cleaner, healthier, and more sustainable world, one homemade cleaning solution at a time.
Frequently Asked Questions (FAQ)
Q: Are homemade cleaning solutions as effective as store-bought cleaners?
A: In many cases, yes! The effectiveness of homemade cleaning solutions depends on the specific recipe and the type of cleaning you’re doing. Ingredients like vinegar, baking soda, and lemon juice are naturally powerful cleaners that can tackle a wide range of household tasks. For example, vinegar is excellent for disinfecting and removing hard water stains, while baking soda is a gentle abrasive that can scrub away grime. While some specialized cleaning tasks might require a stronger commercial product, for everyday cleaning, homemade solutions are often just as effective, if not more so, due to the absence of harsh chemicals. Many people find that their homemade all-purpose cleaner works wonders on countertops, sinks, and other surfaces.
Q: What are the benefits of using homemade cleaning solutions?
A: The benefits are numerous! First and foremost, you’re reducing your exposure to harmful chemicals that can be found in many store-bought cleaners. These chemicals can cause skin irritation, respiratory problems, and other health issues. Second, you’re saving money. The ingredients for homemade cleaning solutions are typically much cheaper than commercial products. Third, you’re reducing your environmental impact by using fewer plastic bottles and avoiding the release of harmful chemicals into the environment. Finally, you have complete control over the ingredients, allowing you to customize the scents and strengths to your liking.
Q: Are there any surfaces that I shouldn’t use homemade cleaning solutions on?
A: Yes, there are a few surfaces to be cautious with. Acidic cleaners like vinegar and lemon juice can damage natural stone surfaces like marble and granite. Avoid using them on these surfaces. Also, be careful when using baking soda on delicate surfaces, as it can be abrasive. Always test any new cleaning solution in an inconspicuous area first to ensure it doesn’t cause any damage. Wood furniture should be cleaned with gentle, pH-neutral solutions to avoid damaging the finish.
Q: How long do homemade cleaning solutions last?
A: The shelf life of homemade cleaning solutions varies depending on the ingredients. Solutions containing water should be used within a few weeks to prevent bacterial growth. Solutions made with essential oils may last longer due to the oils’ antibacterial properties. It’s always best to store your homemade cleaning solutions in a cool, dark place and to label them clearly with the date they were made. If you notice any changes in color, odor, or consistency, it’s best to discard the solution and make a fresh batch.
Q: Can I use essential oils in my homemade cleaning solutions?
A: Absolutely! Essential oils not only add a pleasant scent to your cleaning solutions but also offer additional cleaning and disinfecting properties. Lavender, lemon, tea tree, eucalyptus, and peppermint are all popular choices for cleaning. When using essential oils, be sure to use pure, therapeutic-grade oils and to follow recommended dilution ratios. A few drops are usually sufficient for a standard-sized spray bottle. Always research the safety of essential oils before using them, especially if you have pets or small children.
Q: How do I store homemade cleaning solutions?
A: Store your homemade cleaning solutions in clean, airtight containers. Glass spray bottles are a great option for all-purpose cleaners, while plastic bottles can be used for other solutions. Be sure to label each container clearly with the name of the solution and the date it was made. Store the solutions in a cool, dark place away from direct sunlight and heat. Keep them out of reach of children and pets.
Q: Can I use these solutions if I have allergies or sensitivities?
A: If you have allergies or sensitivities, it’s essential to carefully review the ingredients in each recipe and to avoid using any ingredients that you know you’re allergic to. You can also substitute ingredients with alternatives that are safe for you. For example, if you’re allergic to citrus, you can use vinegar instead of lemon juice. Always test any new cleaning solution in a small, inconspicuous area first to ensure it doesn’t cause any irritation. If you’re unsure about the safety of a particular ingredient, consult with your doctor or an allergist.
Q: What are some variations I can try with these recipes?
A: The possibilities are endless! You can customize the scents by experimenting with different essential oil combinations. You can also adjust the strength of the solutions by increasing or decreasing the concentration of certain ingredients. For example, if you’re dealing with particularly stubborn stains, you can add more vinegar or baking soda to your cleaning solution. You can also add other natural ingredients like borax or washing soda for extra cleaning power. Just be sure to research the safety of any new ingredients before using them.
Q: Where can I find the ingredients for these homemade cleaning solutions?
A: Most of the ingredients for homemade cleaning solutions can be found at your local grocery store or online. Vinegar, baking soda, and lemon juice are staples in most kitchens. Essential oils can be purchased at health food stores, online retailers, or some grocery stores. Borax and washing soda can typically be found in the laundry aisle of your grocery store. When purchasing ingredients, look for high-quality, natural options whenever possible.

Leave a Comment