
Household time saving shortcuts – who doesn’t crave more of them? Let’s be honest, between work, family, and trying to squeeze in a little “me time,” our days often feel like a frantic race against the clock. But what if I told you there are simple, clever ways to reclaim those precious minutes, right within your own home? This isn’t about some revolutionary new invention; it’s about unlocking the potential of everyday items and adopting a few smart habits.
For centuries, resourceful individuals have been devising ingenious methods to streamline their chores and maximize efficiency. Think of the early American pioneers, who relied on their ingenuity to build homes, cultivate land, and manage their households with limited resources. Their spirit of innovation lives on in the modern-day DIY movement, where we’re constantly seeking creative solutions to simplify our lives.
In today’s fast-paced world, mastering household time saving shortcuts is more crucial than ever. Imagine having an extra hour each day to pursue your passions, spend quality time with loved ones, or simply relax and recharge. This article is packed with practical, easy-to-implement DIY tricks and hacks that will transform your home into a haven of efficiency. From clever cleaning solutions to organizational marvels, I’m excited to share these game-changing tips that will help you conquer your to-do list and finally take control of your time!
DIY Time-Saving Household Hacks: Reclaim Your Day!
Hey there, fellow busy bees! I know how precious time is, and sometimes it feels like keeping a house running smoothly is a full-time job in itself. That’s why I’ve compiled some of my favorite DIY time-saving household hacks that have seriously changed my life. Get ready to reclaim your day!
Speed Cleaning Power-Ups
Let’s face it, cleaning isn’t anyone’s favorite activity. But with a few clever tricks, you can cut down on cleaning time and still have a sparkling home.
Hack 1: The Shower Cleaning Spray
This is a game-changer for keeping your shower clean with minimal effort.
What you’ll need:
* Spray bottle
* 1 cup white vinegar
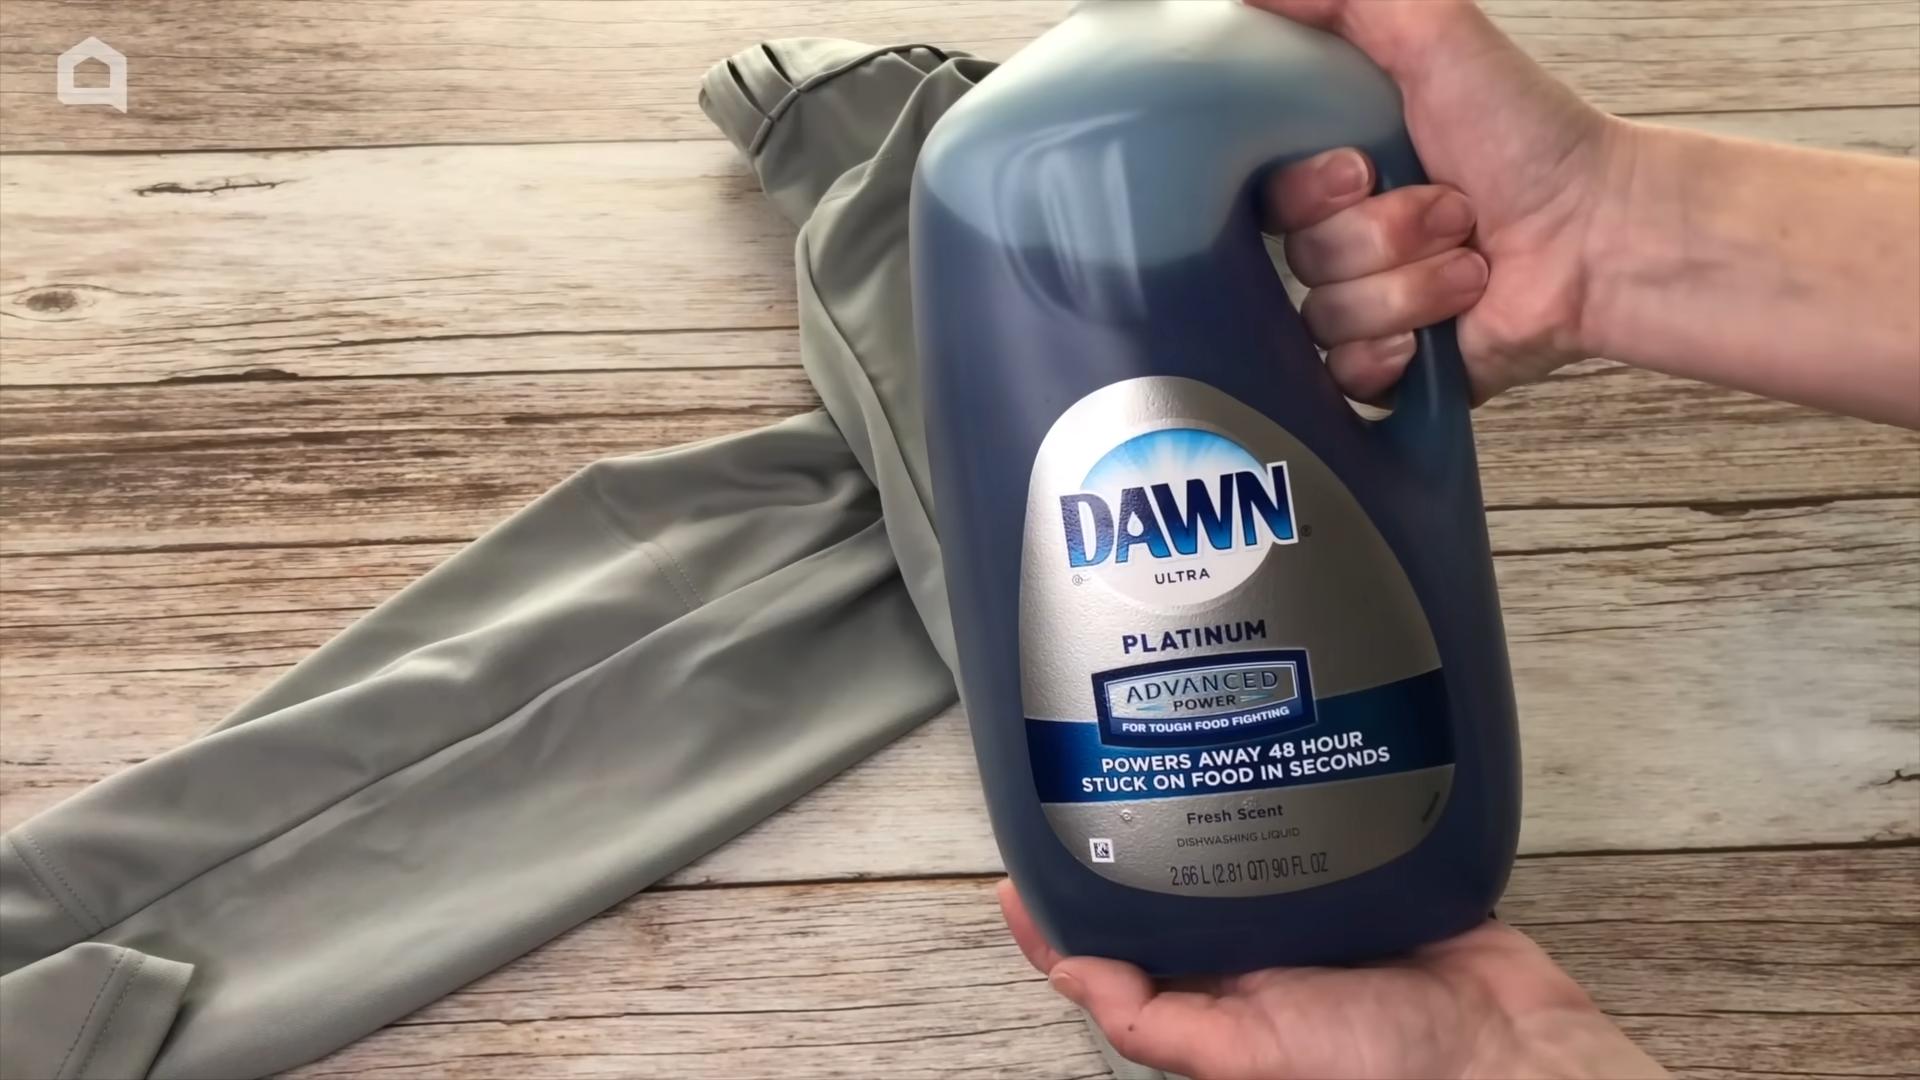
* 1 cup dish soap (I prefer Dawn)
* Optional: A few drops of your favorite essential oil (tea tree or eucalyptus are great for their antibacterial properties)
Step-by-step instructions:
1. Mix it up: In your spray bottle, combine the white vinegar and dish soap. If you’re using essential oils, add them now.
2. Shake gently: Gently swirl the bottle to mix the ingredients. Avoid shaking vigorously, as this can create excessive suds.
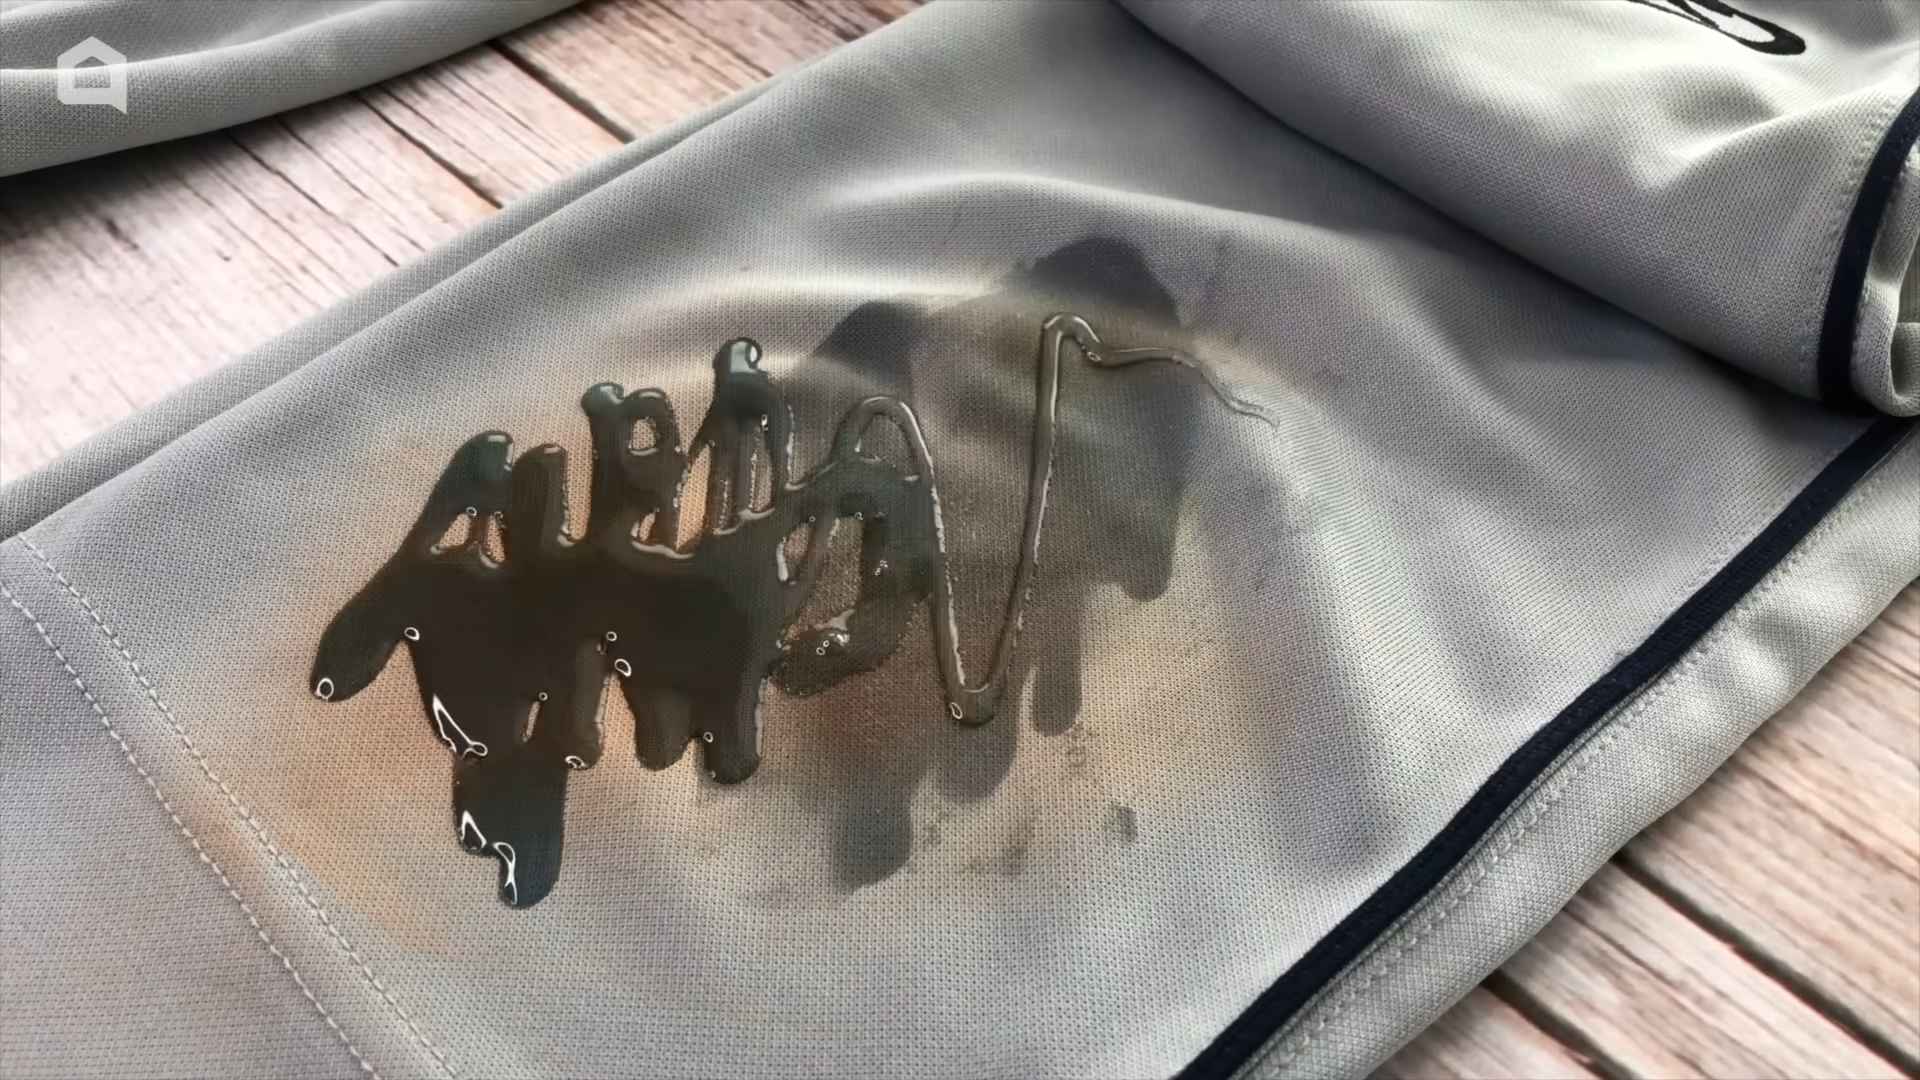
3. Spray and walk away: After your shower, while the walls are still wet, spray the mixture all over the shower walls and door.
4. Let it sit: Let the spray sit for a few hours, or even overnight. The longer it sits, the better it works!
5. Rinse (or not!): In most cases, you won’t even need to scrub! Just rinse the shower walls and door with water. If you have stubborn soap scum, a quick wipe with a sponge should do the trick.
Why this works: The vinegar helps to dissolve soap scum and hard water stains, while the dish soap cuts through grease and grime. The essential oils add a pleasant scent and extra cleaning power.
Hack 2: Microwave Cleaning Magic
Burnt food splatters in the microwave? No problem! This hack will have your microwave sparkling in minutes.
What you’ll need:
* Microwave-safe bowl
* 1 cup water
* 1 tablespoon white vinegar
* Lemon or lime wedge (optional)
Step-by-step instructions:
1. Combine ingredients: In the microwave-safe bowl, mix the water and vinegar. Add the lemon or lime wedge if you want a citrusy scent.
2. Microwave for 5 minutes: Place the bowl in the microwave and heat on high for 5 minutes. The water will boil and create steam.
3. Let it sit: After the microwave stops, leave the door closed for another 5 minutes. The steam will loosen the grime.
4. Wipe clean: Carefully remove the bowl (it will be hot!) and wipe down the inside of the microwave with a clean cloth or paper towel. The splatters should wipe away easily.
Why this works: The steam softens the dried food particles, making them easy to wipe away. The vinegar helps to deodorize and disinfect the microwave.
Hack 3: Dusting with Dryer Sheets
This is my secret weapon for quick and effective dusting.
What you’ll need:
* Dryer sheets (used or new)
Step-by-step instructions:
1. Dust away: Simply wipe down surfaces like furniture, baseboards, and electronics with a dryer sheet.
2. Enjoy the static-free shine: The dryer sheet will pick up dust and leave a static-free finish, which helps to repel dust in the future.
Why this works: Dryer sheets contain antistatic agents that attract dust and prevent it from clinging to surfaces. They also leave a light coating that helps to repel dust.
Kitchen Efficiency Boosters
The kitchen is often the busiest room in the house. These hacks will help you streamline your kitchen routine and save time on meal prep and cleanup.
Hack 4: Pre-Chopped Veggies
This is a lifesaver on busy weeknights.
What you’ll need:
* Your favorite vegetables
* Cutting board
* Knife
* Airtight containers or zip-top bags
Step-by-step instructions:
1. Choose your veggies: Select the vegetables you use most often in your cooking. Onions, peppers, carrots, celery, and broccoli are great options.
2. Chop and prep: Wash and chop the vegetables into bite-sized pieces.
3. Store properly: Store the chopped vegetables in airtight containers or zip-top bags in the refrigerator.
4. Use within a few days: Use the pre-chopped vegetables within 3-4 days for optimal freshness.
Why this works: Having pre-chopped vegetables on hand makes it much easier to throw together a quick meal. You’ll save time on chopping and prepping, and you’ll be more likely to eat healthy meals.
Hack 5: Freezer Meal Prep
This is the ultimate time-saving strategy for busy families.
What you’ll need:
* Your favorite freezer-friendly recipes
* Ingredients for the recipes
* Freezer-safe containers or bags
* Permanent marker
Step-by-step instructions:
1. Choose your recipes: Select recipes that freeze well, such as soups, stews, casseroles, and chili.
2. Prep the ingredients: Chop vegetables, brown meat, and prepare any sauces or seasonings.
3. Assemble the meals: Combine the ingredients in freezer-safe containers or bags.
4. Label and date: Label each container or bag with the name of the recipe and the date it was prepared.
5. Freeze flat: Freeze the meals flat for easier storage and faster thawing.
6. Thaw and cook: When you’re ready to eat, thaw the meal in the refrigerator overnight or in the microwave. Cook according to the recipe instructions.
Why this works: Freezer meal prep allows you to cook multiple meals at once and store them for later use. This is a huge time-saver on busy weeknights when you don’t have time to cook from scratch.
Hack 6: One-Pot Meals
Less dishes, more time!
What you’ll need:
* A large pot or Dutch oven
* Your favorite one-pot meal recipe
* Ingredients for the recipe
Step-by-step instructions:
1. Choose your recipe: Select a one-pot meal recipe that you enjoy. Pasta dishes, soups, stews, and chili are all great options.
2. Combine ingredients: Add all the ingredients to the pot according to the recipe instructions.
3. Cook and simmer: Cook the meal according to the recipe instructions, stirring occasionally.
4. Enjoy! Serve the meal directly from the pot.
Why this works: One-pot meals minimize cleanup by cooking everything in a single pot. This saves you time on washing dishes and makes mealtime much easier.
Laundry Room Liberation
Laundry can feel like a never-ending chore. These hacks will help you streamline your laundry routine and get your clothes clean and fresh in less time.
Hack 7: The Laundry Basket System
This is a simple but effective way to stay on top of your laundry.
What you’ll need:
* Multiple laundry baskets (at least 3)
* Labels (optional)
Step-by-step instructions:
1. Label your baskets: Label each basket with a different category, such as “Lights,” “Darks,” and “Towels.” You can also add a “Delicates” basket if needed.
2. Sort as you go: As you remove clothes, immediately sort them into the appropriate laundry basket.
3. Wash when full: When a basket is full, it’s time to do a load of laundry.
Why this works: Sorting your laundry as you go eliminates the need to sort it later, saving you time and effort. It also helps to prevent clothes from getting mixed up or damaged.
Hack 8: Mesh Laundry Bags for Delicates
Protect your delicate items and prevent them from getting tangled in the wash.
What you’ll need:
* Mesh laundry bags
Step-by-step instructions:
1. Place delicates in bags: Place delicate items such as lingerie, hosiery, and sweaters in mesh laundry bags before washing.
2. Wash as usual: Wash the items as usual, following the care instructions on the garment labels.
3. Air dry: Remove the items from the bags and air dry them to prevent shrinking or damage.
Why this works: Mesh laundry bags protect delicate items from getting snagged, stretched, or
Conclusion
So, there you have it! This simple yet incredibly effective DIY trick for creating your own reusable cleaning wipes is more than just a time-saver; it’s a game-changer for your household cleaning routine. We’ve walked you through the process, highlighting how easy it is to assemble your own cleaning arsenal, and now it’s time to embrace the benefits.
Why is this a must-try? Because it tackles several key issues simultaneously. First, it drastically reduces your reliance on expensive, single-use disposable wipes, saving you money in the long run. Think about it: those pre-packaged wipes add up quickly! Second, it gives you complete control over the ingredients you’re using. No more worrying about harsh chemicals or mystery fragrances irritating your skin or harming your surfaces. You choose the cleaning solution, tailoring it to your specific needs and preferences. Third, it’s an eco-friendly alternative. By reusing the wipes and reducing plastic waste, you’re making a conscious effort to minimize your environmental impact.
But the advantages don’t stop there. This DIY approach allows for endless customization. Want a stronger disinfectant for bathroom surfaces? Add a bit more vinegar or tea tree oil to your solution. Prefer a gentler cleaner for delicate furniture? Opt for a mild soap and distilled water. The possibilities are truly endless.
Consider these variations to personalize your DIY cleaning wipes even further:
* Scent Sensations: Experiment with different essential oils to create your signature cleaning scent. Lavender, lemon, eucalyptus, and peppermint are all popular choices. Just be sure to research the safety of essential oils around pets and children.
* Fabric Finesse: While microfiber cloths are our top recommendation for their absorbency and durability, you can also use old t-shirts, flannel scraps, or even cut-up towels. Just make sure the fabric is clean and lint-free.
* Solution Strength: Adjust the ratio of cleaning ingredients to water based on the task at hand. For heavy-duty cleaning, increase the concentration of vinegar or disinfectant. For light dusting, use a more diluted solution.
* Specialized Solutions: Create separate containers of wipes for different cleaning purposes. For example, you could have one container for kitchen surfaces, one for bathrooms, and one for general dusting. Label each container clearly to avoid confusion.
This DIY project is not just about saving time and money; it’s about empowering you to take control of your cleaning routine and create a healthier, more sustainable home. It’s about embracing simple, effective solutions that make a real difference.
We are confident that once you try this DIY trick, you’ll wonder how you ever lived without it. It’s a simple, cost-effective, and eco-friendly way to keep your home clean and fresh. So, gather your supplies, follow our easy instructions, and get ready to experience the joy of homemade cleaning wipes.
Now, we want to hear from you! Have you tried making your own cleaning wipes before? What are your favorite cleaning solutions and essential oil combinations? Share your experiences, tips, and variations in the comments below. Let’s create a community of DIY cleaning enthusiasts and inspire each other to embrace a more sustainable and effective approach to household chores. Your insights could help others discover the magic of this simple yet transformative DIY trick. We can’t wait to see what you come up with!
Frequently Asked Questions (FAQ)
What type of container is best for storing the DIY cleaning wipes?
The ideal container is airtight and made of plastic or glass. An old plastic container from store-bought wipes works perfectly, as does a glass jar with a tight-fitting lid. Make sure the container is clean and dry before adding the wipes and solution. The airtight seal is crucial to prevent the wipes from drying out and to maintain the effectiveness of the cleaning solution. Consider the size of your wipes when choosing a container; you want something that’s easy to access and dispenses the wipes without too much hassle.
How long will the DIY cleaning wipes last?
The lifespan of your DIY cleaning wipes depends on the ingredients you use in your cleaning solution. Generally, wipes made with vinegar, essential oils, and distilled water will last for several weeks, if not months, when stored properly in an airtight container. However, if you’re using fresh ingredients like lemon juice or herbs, the wipes may have a shorter shelf life. It’s always a good idea to check the wipes periodically for any signs of mold or discoloration. If you notice anything unusual, discard the wipes and make a fresh batch. To maximize their lifespan, store the container in a cool, dark place away from direct sunlight.
Can I use these DIY cleaning wipes on all surfaces?
While these DIY cleaning wipes are versatile, it’s essential to consider the type of surface you’re cleaning. Avoid using vinegar-based solutions on natural stone surfaces like marble or granite, as the acidity can damage the stone. Similarly, be cautious when using essential oils on delicate surfaces, as some oils can stain or discolor certain materials. Always test the cleaning solution on a small, inconspicuous area first to ensure it doesn’t cause any damage. For sensitive surfaces, opt for a mild soap and water solution.
What are some good alternatives to vinegar in the cleaning solution?
If you’re not a fan of the smell of vinegar, or if you’re concerned about using it on certain surfaces, there are several excellent alternatives. Lemon juice is a natural cleaner and deodorizer that can be used in place of vinegar. Tea tree oil is a powerful disinfectant with antibacterial and antifungal properties. Baking soda is a gentle abrasive that can help remove stubborn stains and grime. You can also use a mild dish soap or castile soap as a base for your cleaning solution. Experiment with different combinations to find what works best for you and your cleaning needs.
How do I clean the reusable wipes after using them?
Cleaning the reusable wipes is simple and straightforward. After using a wipe, rinse it thoroughly under warm water to remove any dirt or debris. If the wipe is heavily soiled, you can pre-treat it with a stain remover or a small amount of laundry detergent. Then, toss the wipes into your washing machine with your regular laundry. Use a gentle cycle and avoid using fabric softener, as it can reduce the absorbency of the wipes. Once the wipes are clean and dry, you can fold them and store them in your container, ready for their next use.
Are these DIY cleaning wipes safe for use around pets and children?
The safety of these DIY cleaning wipes around pets and children depends on the ingredients you use in your cleaning solution. Avoid using harsh chemicals or strong fragrances that could be harmful if ingested or inhaled. When using essential oils, research their safety around pets and children, as some oils can be toxic. Always store the wipes and cleaning solution out of reach of children and pets. If you’re concerned about potential sensitivities, opt for a mild soap and water solution or consult with a veterinarian or pediatrician for guidance.
Can I use these wipes to disinfect surfaces?
While these DIY cleaning wipes can help clean and sanitize surfaces, they may not be as effective as commercial disinfectants in killing all germs and bacteria. To increase the disinfecting power of your wipes, you can add a small amount of bleach or hydrogen peroxide to your cleaning solution. However, be sure to use these ingredients with caution and follow the manufacturer’s instructions carefully. Always wear gloves and eye protection when handling bleach or hydrogen peroxide, and never mix them with other cleaning products. For optimal disinfection, allow the cleaning solution to remain on the surface for several minutes before wiping it clean.
How do I prevent the wipes from drying out in the container?
The key to preventing your DIY cleaning wipes from drying out is to ensure that the container is airtight. Make sure the lid is securely fastened and that there are no gaps or cracks that could allow air to escape. You can also add a small amount of glycerin or aloe vera to your cleaning solution to help retain moisture. If you notice that the wipes are starting to dry out, simply add a little more of the cleaning solution to the container to re-saturate them.
What are the environmental benefits of using DIY cleaning wipes?
Using DIY cleaning wipes offers several significant environmental benefits. First, it reduces your reliance on disposable wipes, which contribute to plastic waste and landfill overflow. Second, it allows you to control the ingredients you’re using, avoiding harsh chemicals and synthetic fragrances that can pollute the environment. Third, it encourages the reuse of materials, such as old t-shirts or towels, reducing the demand for new resources. By making the switch to DIY cleaning wipes, you’re making a conscious effort to minimize your environmental impact and create a more sustainable home.

Leave a Comment