
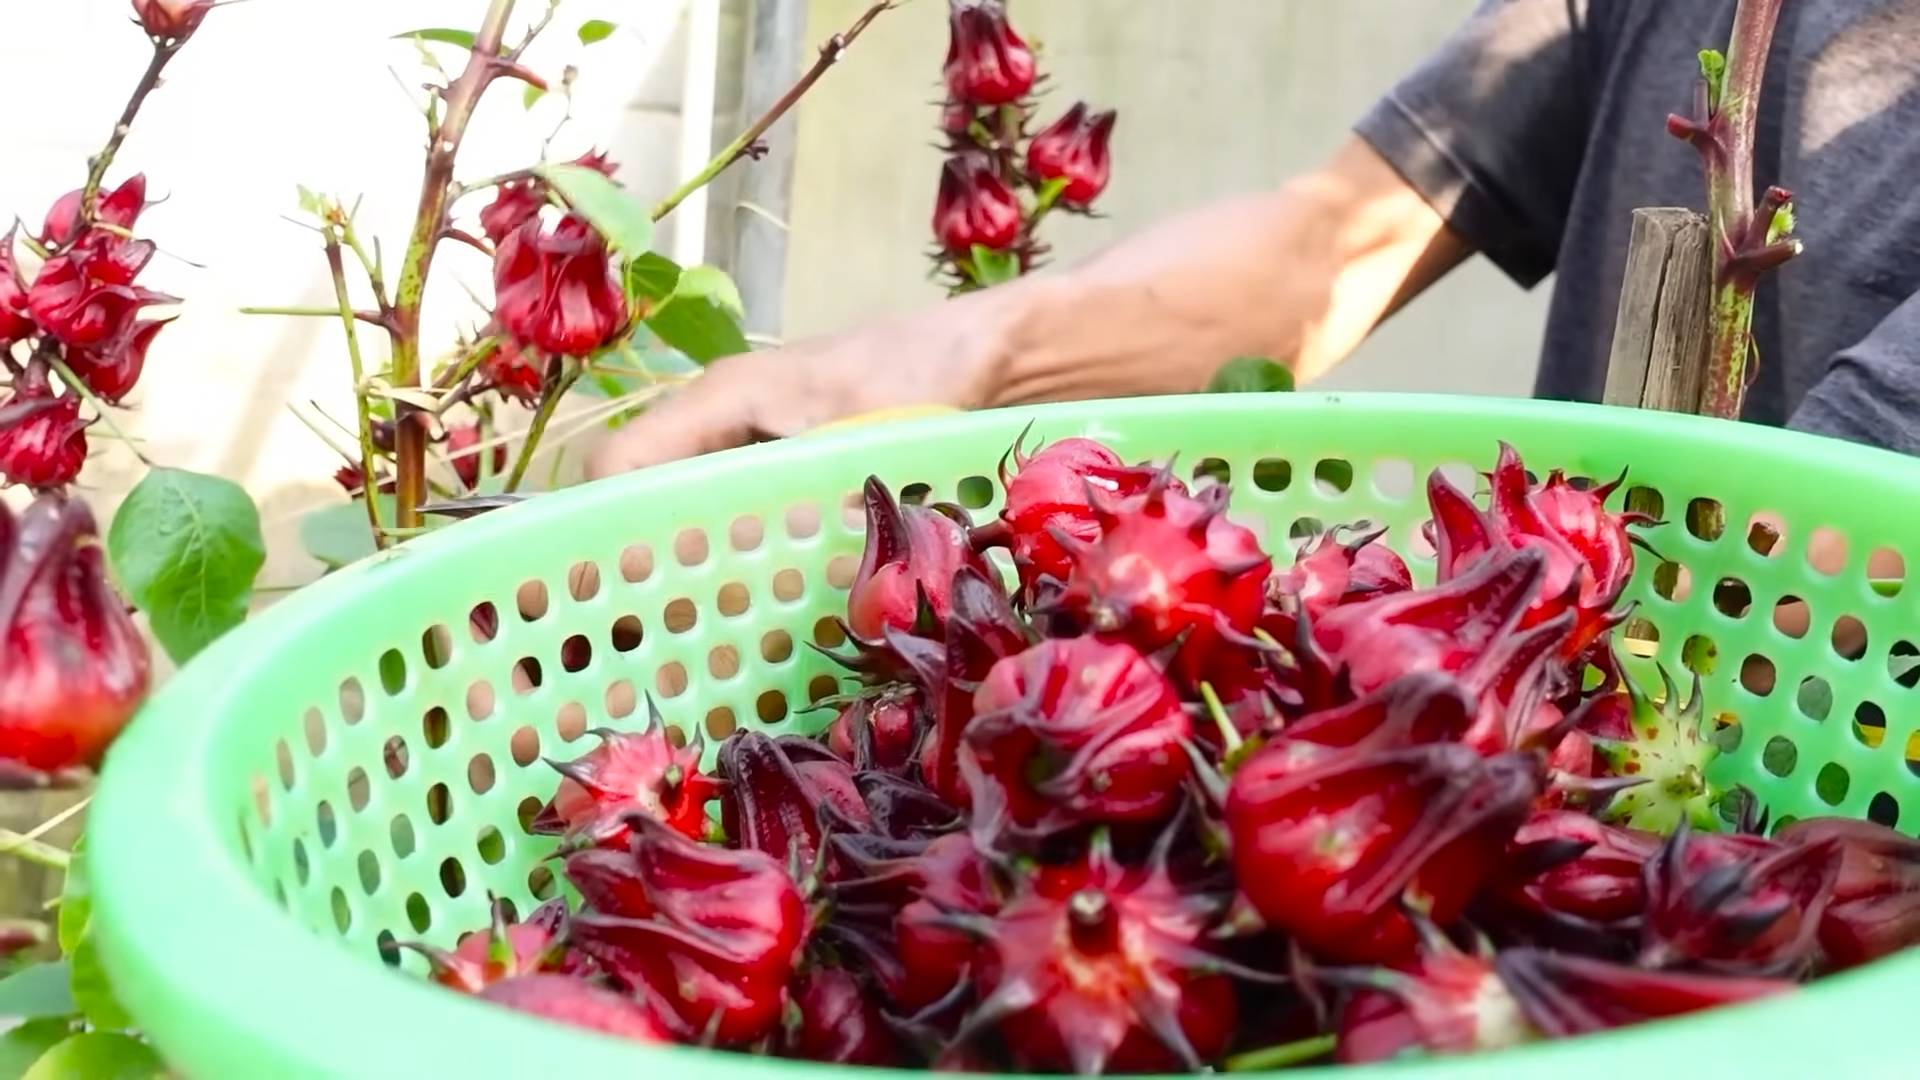
Nonstop Hibiscus Blooms Hack: Imagine your garden bursting with vibrant, exotic hibiscus flowers, a tropical paradise right outside your door. Sounds dreamy, right? Well, it doesn’t have to be just a dream! I’m going to share a simple, yet incredibly effective, trick to keep your hibiscus plants blooming continuously, giving you a season-long spectacle of color.
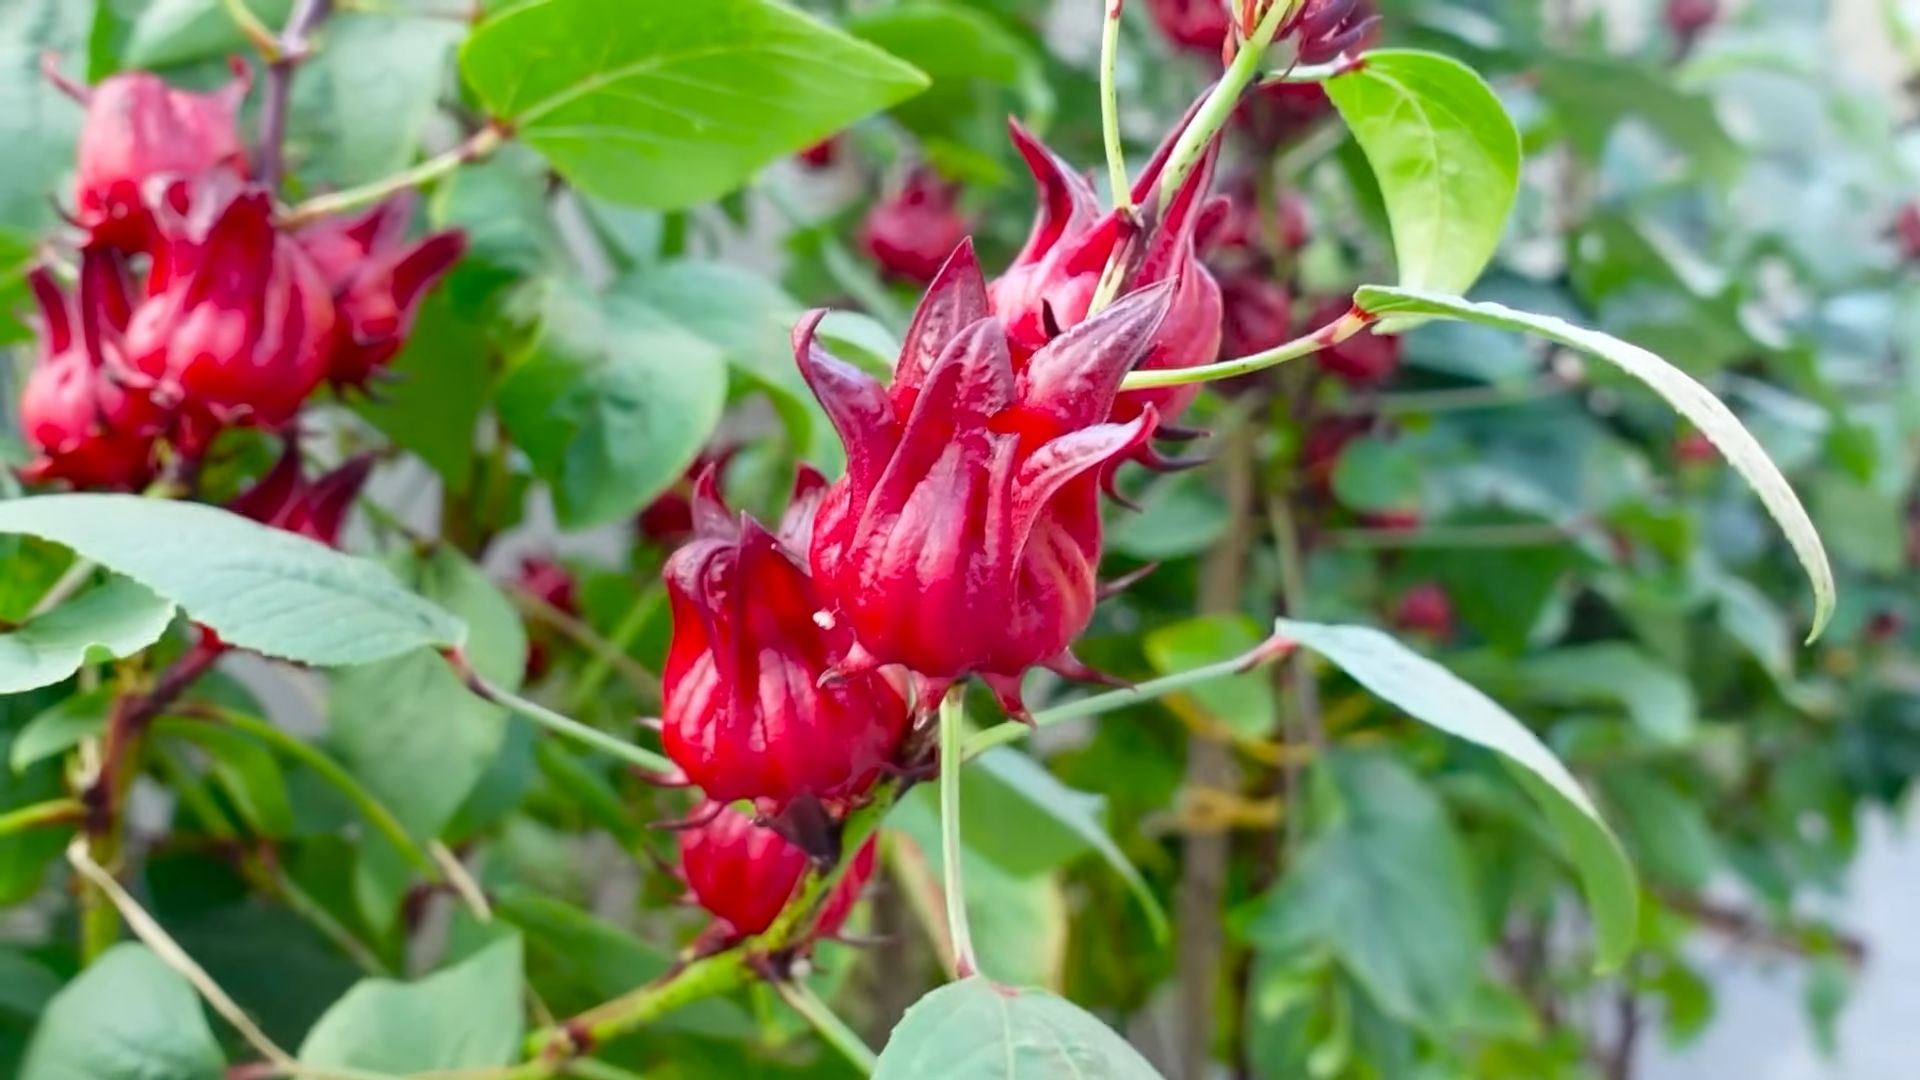
Hibiscus flowers have captivated hearts for centuries. In many cultures, they symbolize beauty, joy, and hospitality. Think of the iconic hibiscus adorning leis in Hawaii, a symbol of welcome and aloha. But let’s be honest, sometimes getting these beauties to bloom consistently can feel like a challenge. You might be wondering why your hibiscus is stubbornly refusing to flower, despite your best efforts.
That’s where this DIY hack comes in! Many gardeners struggle with getting their hibiscus to produce those stunning, vibrant blooms consistently throughout the growing season. This simple trick addresses a common nutrient deficiency that often hinders hibiscus flowering. By implementing this nonstop hibiscus blooms hack, you’ll be providing your plants with exactly what they need to thrive and produce an abundance of flowers. Say goodbye to sparse blooms and hello to a garden filled with the tropical beauty you’ve always wanted!
Unlock Nonstop Hibiscus Blooms: My Secret DIY Hack!
Okay, hibiscus lovers, gather ’round! I’m about to share my absolute favorite DIY hack for getting your hibiscus plants to bloom like crazy, all season long. I was so frustrated with my hibiscus only giving me a few blooms here and there, but after tweaking a few things, I’m now swimming in gorgeous, vibrant flowers. This isn’t some complicated, expert-level gardening technique; it’s a simple, effective method that anyone can do. Let’s get started!
Understanding Hibiscus Needs: The Foundation for Success
Before we dive into the DIY magic, let’s quickly cover the basics of what hibiscus plants crave. Think of it as understanding their love language!
* Sunlight: Hibiscus are sun worshippers! They need at least 6 hours of direct sunlight each day to produce abundant blooms. If yours is in a shady spot, consider moving it or supplementing with a grow light.
* Watering: They like consistent moisture, but hate being waterlogged. Water deeply when the top inch of soil feels dry. Overwatering can lead to root rot, which is a hibiscus killer.
* Fertilizing: Hibiscus are heavy feeders, meaning they need regular fertilization to fuel their blooming power. We’ll get into the specific fertilizer mix in the DIY section.
* Pruning: Regular pruning encourages new growth, which is where the flowers appear. Don’t be afraid to give your hibiscus a trim!
* Temperature: Hibiscus thrive in warm temperatures (60-90°F). Protect them from frost and freezing temperatures.
The DIY Hibiscus Bloom Booster: My Secret Weapon
This is where the magic happens! I’ve experimented with different fertilizer combinations, and this one has consistently given me the best results. It’s a blend of readily available ingredients that provide hibiscus with the nutrients they need for continuous blooming.
What You’ll Need:
* Epsom Salts (Magnesium Sulfate): This is the star of the show! Magnesium is crucial for chlorophyll production, which is essential for photosynthesis and overall plant health. It also helps hibiscus absorb other nutrients more effectively.
* Bone Meal (Phosphorus): Phosphorus is vital for root development and flower production. Bone meal is a slow-release source of phosphorus, providing a steady supply over time.
* Potassium Sulfate (Sulfate of Potash): Potassium is essential for overall plant health, disease resistance, and flower development. It helps hibiscus produce vibrant, long-lasting blooms.
* Water: Tap water is fine, but rainwater or filtered water is even better.
* Measuring Spoons: For accurate measurements.
* Watering Can or Hose-End Sprayer: For easy application.
* Gloves: To protect your hands.
* Bucket (Optional): For pre-mixing the solution.
Important Note: Always wear gloves when handling fertilizers and follow the instructions carefully.
Step-by-Step Instructions: Creating the Bloom-Boosting Elixir
Now, let’s get our hands dirty and create this amazing bloom booster!
1. Gather Your Supplies: Make sure you have all the ingredients and tools listed above within easy reach. This will make the process smoother and more efficient.
2. Measure the Epsom Salts: For a standard-sized watering can (around 2 gallons), I use 1 tablespoon of Epsom salts. If you’re using a hose-end sprayer, adjust the amount accordingly based on the sprayer’s instructions.
3. Measure the Bone Meal: Add 1 teaspoon of bone meal to the watering can or hose-end sprayer. Remember, bone meal is a slow-release fertilizer, so a little goes a long way.
4. Measure the Potassium Sulfate: Add 1/2 teaspoon of potassium sulfate to the watering can or hose-end sprayer. Be careful not to overdo it with potassium, as too much can be harmful to your plants.
5. Mix the Ingredients: If you’re using a watering can, fill it with water and then add the Epsom salts, bone meal, and potassium sulfate. Stir well until the ingredients are dissolved. If you’re using a hose-end sprayer, follow the sprayer’s instructions for adding the fertilizer concentrate.
6. Apply the Bloom Booster: Now for the fun part! Water your hibiscus plants thoroughly with the bloom-boosting solution. Make sure to saturate the soil around the base of the plant. Avoid getting the solution on the leaves, as this can cause leaf burn.
7. Frequency: I apply this bloom booster every 2-3 weeks during the growing season (spring and summer). In the fall and winter, when hibiscus are typically dormant, I reduce the frequency to once a month or stop altogether.
Boosting Bloom Power: Additional Tips and Tricks
While the bloom booster is a game-changer, there are a few other things you can do to maximize your hibiscus’s blooming potential.
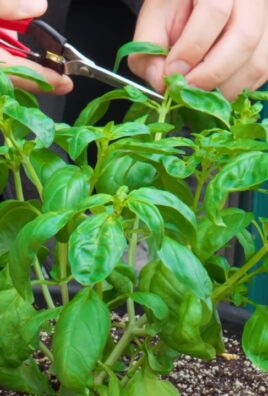
* Pruning for More Blooms: Prune your hibiscus regularly to encourage new growth. New growth is where the flowers appear, so pruning is essential for continuous blooming. I usually prune my hibiscus in early spring, before the growing season begins. Remove any dead, damaged, or crossing branches. You can also lightly prune throughout the growing season to shape the plant and encourage more branching.
* Deadheading Spent Flowers: Remove spent flowers as soon as they start to fade. This will prevent the plant from wasting energy on seed production and encourage it to produce more blooms. Simply snip off the spent flower at the base of the stem.
* Checking for Pests: Pests like aphids, spider mites, and whiteflies can weaken your hibiscus and reduce its blooming potential. Inspect your plants regularly for signs of pests and take action immediately if you find any. You can use insecticidal soap, neem oil, or other organic pest control methods.
* Soil Acidity: Hibiscus prefer slightly acidic soil (pH 6.0-6.5). You can test your soil pH with a soil testing kit and amend it if necessary. Adding sulfur to the soil will lower the pH, while adding lime will raise it.
* Proper Potting Mix: If your hibiscus is in a pot, make sure it’s planted in a well-draining potting mix. A mix of peat moss, perlite, and vermiculite is a good option. Avoid using garden soil, as it can become compacted and waterlogged.
* Consistent Watering Schedule: As mentioned earlier, hibiscus like consistent moisture. Water deeply when the top inch of soil feels dry. Avoid overwatering, as this can lead to root rot.
* Temperature Control: Hibiscus thrive in warm temperatures. If you live in a cold climate, you’ll need to bring your hibiscus indoors during the winter. Place it in a sunny location and provide supplemental lighting if necessary.
Troubleshooting Common Hibiscus Problems
Even with the best care, hibiscus can sometimes encounter problems. Here are a few common issues and how to address them:
* Yellowing Leaves: Yellowing leaves can be caused by a variety of factors, including overwatering, underwatering, nutrient deficiencies, and pest infestations. Check the soil moisture, fertilize regularly, and inspect for pests.
* Bud Drop: Bud drop is when the flower buds fall off before they open. This can be caused by sudden changes in temperature, overwatering, underwatering, or nutrient deficiencies. Try to maintain consistent growing conditions and fertilize regularly.
* Lack of Blooms: If your hibiscus isn’t blooming, it could be due to insufficient sunlight, improper fertilization, or lack of pruning. Make sure your hibiscus is getting at least 6 hours of direct sunlight each day, fertilize regularly with the bloom booster, and prune regularly to encourage new growth.
* Pest Infestations: As mentioned earlier, pests can weaken your hibiscus and reduce its blooming potential. Inspect your plants regularly for signs of pests and take action immediately if you find any.
Final Thoughts: Enjoy Your Bountiful Blooms!
I hope this DIY hack helps you unlock the full blooming potential of your hibiscus plants! Remember, patience is key. It may take a few weeks to see results, but trust me, it’s worth the wait. With a little bit of love and attention, you’ll be rewarded with a profusion of stunning hibiscus flowers that will brighten up your garden all season long. Happy gardening!
Conclusion
So, there you have it! The secret to unlocking a cascade of vibrant, nonstop hibiscus blooms is simpler than you ever imagined. This DIY trick, focusing on a specific nutrient boost and strategic pruning, is a game-changer for any hibiscus enthusiast. Forget expensive fertilizers and complicated routines; this method is all about targeted action and understanding your plant’s needs.
Why is this a must-try? Because it works! We’ve seen firsthand the dramatic difference this simple adjustment can make. Hibiscus plants that were once struggling to produce a few sporadic flowers are now bursting with color, creating a tropical paradise right in the backyard. The satisfaction of nurturing your plants and witnessing such a stunning transformation is truly rewarding. Plus, you’re saving money by using readily available ingredients and avoiding harsh chemicals.
But the beauty of this DIY approach is its adaptability. Feel free to experiment with variations to suit your specific hibiscus variety and growing conditions. For instance, if you live in an area with acidic soil, you might want to slightly reduce the amount of vinegar used in the nutrient solution. Or, if you notice your plant is particularly sensitive, dilute the solution further. You can also try incorporating other organic amendments, such as compost tea, to further enrich the soil. Consider adding a small amount of Epsom salts (magnesium sulfate) to the soil every few weeks, as magnesium is crucial for chlorophyll production and overall plant health. This can lead to even more vibrant and abundant blooms.
Another variation to consider is the timing of the pruning. While the general guideline is to prune after a flush of blooms, you can also do light pruning throughout the growing season to encourage bushier growth and more flowering points. Just be careful not to remove too much foliage at once, as this can stress the plant.
Don’t be afraid to get creative and tailor this method to your own unique situation. The key is to observe your plant closely and adjust your approach accordingly. Remember, gardening is a journey of learning and experimentation.
We are confident that this DIY trick will revolutionize your hibiscus growing experience. It’s easy, affordable, and incredibly effective. So, what are you waiting for? Give it a try and prepare to be amazed by the results.
We are eager to hear about your experiences! Share your before-and-after photos, tips, and variations in the comments below. Let’s create a community of hibiscus lovers who are dedicated to unlocking the full potential of these beautiful plants. Your insights could help other gardeners achieve their hibiscus dreams. Let us know if this **nonstop hibiscus blooms hack** worked for you!
Frequently Asked Questions (FAQ)
1. What exactly is the “nutrient boost” mentioned in the DIY trick?
The nutrient boost primarily involves providing your hibiscus plant with a readily available source of phosphorus and potassium, which are essential for flower development. We achieve this through a diluted solution of vinegar and banana peels. The vinegar helps to extract the nutrients from the banana peels, making them more accessible to the plant. Banana peels are naturally rich in potassium, while the vinegar provides a slight acidity that hibiscus plants generally prefer.
2. How often should I apply the nutrient solution?
We recommend applying the nutrient solution every 2-3 weeks during the active growing season (spring and summer). Reduce the frequency to once a month during the fall and winter months when the plant’s growth slows down. Always observe your plant’s response and adjust the frequency accordingly. If you notice any signs of nutrient burn (e.g., yellowing or browning leaf tips), reduce the concentration or frequency of application.
3. What kind of vinegar should I use?
White vinegar is generally recommended for this DIY trick because it’s readily available and has a consistent acidity level. Avoid using flavored vinegars or vinegars with added ingredients, as these could potentially harm your plant. Apple cider vinegar can also be used, but it’s slightly less acidic than white vinegar, so you might need to adjust the concentration slightly.
4. Can I use fresh banana peels, or do they need to be dried?
You can use either fresh or dried banana peels. Fresh peels will decompose more quickly in the water, releasing their nutrients faster. Dried peels will take longer to decompose but can be stored for longer periods. If using fresh peels, be sure to change the water every few days to prevent it from becoming foul-smelling. If using dried peels, you can simply add them to the water and let them steep for a week or two before using the solution.
5. What is the best way to prune my hibiscus plant for maximum blooms?
The best time to prune your hibiscus is after a flush of blooms. This encourages the plant to produce new growth, which will eventually lead to more flowers. When pruning, focus on removing dead, damaged, or crossing branches. Also, prune back the tips of healthy branches to encourage branching and bushier growth. Avoid pruning too heavily, as this can stress the plant. A good rule of thumb is to remove no more than one-third of the plant’s foliage at a time.
6. My hibiscus plant is not blooming, even after trying this DIY trick. What could be the problem?
There could be several reasons why your hibiscus plant is not blooming, even after trying this DIY trick. Here are a few possibilities:
* **Insufficient Sunlight:** Hibiscus plants need at least 6 hours of direct sunlight per day to bloom properly. Make sure your plant is located in a sunny spot.
* **Improper Watering:** Overwatering or underwatering can both inhibit blooming. Allow the soil to dry out slightly between waterings, but don’t let the plant wilt.
* **Nutrient Deficiencies:** While the banana peel solution provides phosphorus and potassium, your plant may be lacking other essential nutrients. Consider using a balanced fertilizer specifically formulated for hibiscus plants.
* **Pest Infestation:** Pests such as aphids, spider mites, and whiteflies can weaken your plant and prevent it from blooming. Inspect your plant regularly for signs of infestation and take appropriate action.
* **Temperature Stress:** Hibiscus plants are sensitive to extreme temperatures. Protect your plant from frost and excessive heat.
* **Root Bound:** If your plant is growing in a pot, it may be root bound. Repot it into a larger container with fresh potting mix.
7. Can I use this DIY trick on other flowering plants besides hibiscus?
While this DIY trick is specifically tailored for hibiscus plants, it can potentially benefit other flowering plants that prefer slightly acidic soil and require phosphorus and potassium for flower development. However, it’s important to research the specific needs of each plant before applying the solution. Some plants may be more sensitive to the acidity of the vinegar or the concentration of potassium in the banana peels. Always start with a diluted solution and observe your plant’s response carefully.
8. Is there a specific type of hibiscus that this trick works best on?
This trick should work on most common hibiscus varieties, including *Hibiscus rosa-sinensis* (tropical hibiscus) and *Hibiscus syriacus* (rose of Sharon). However, some varieties may respond better than others. Experimentation is key to finding what works best for your specific hibiscus plant.
9. How do I know if I’m over-fertilizing my hibiscus?
Signs of over-fertilizing your hibiscus include:
* Yellowing or browning leaf tips
* Stunted growth
* Salt buildup on the soil surface
* Wilting, even when the soil is moist
If you notice any of these signs, flush the soil with plenty of water to remove excess fertilizer. Reduce the frequency and concentration of fertilizer applications in the future.
10. My hibiscus leaves are turning yellow. Is this related to the DIY trick?
Yellowing leaves can be caused by a variety of factors, including overwatering, underwatering, nutrient deficiencies, pest infestations, and temperature stress. It’s important to diagnose the underlying cause before making any changes to your care routine. If you suspect that the yellowing is related to the DIY trick, try reducing the frequency or concentration of the nutrient solution. Also, make sure your plant is receiving adequate sunlight and is not being overwatered or underwatered. If the problem persists, consult with a local gardening expert.


Leave a Comment