
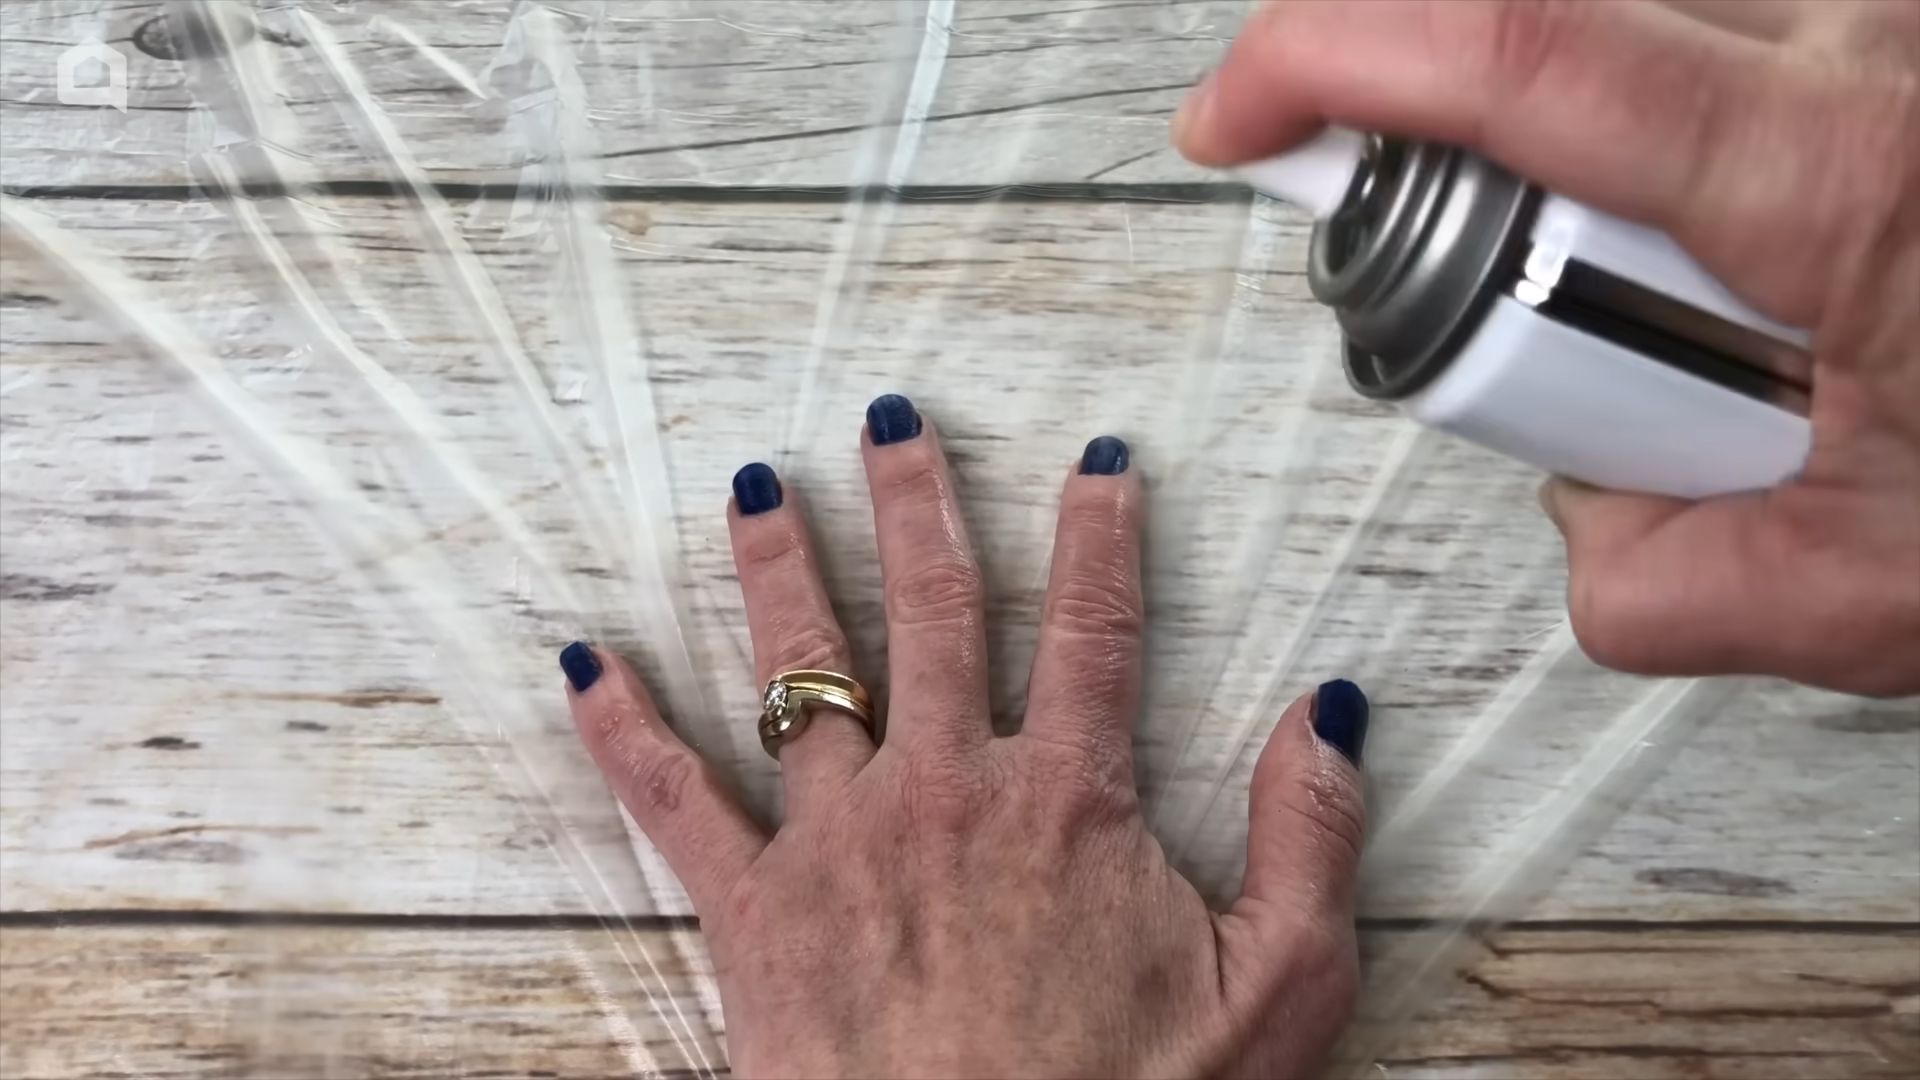
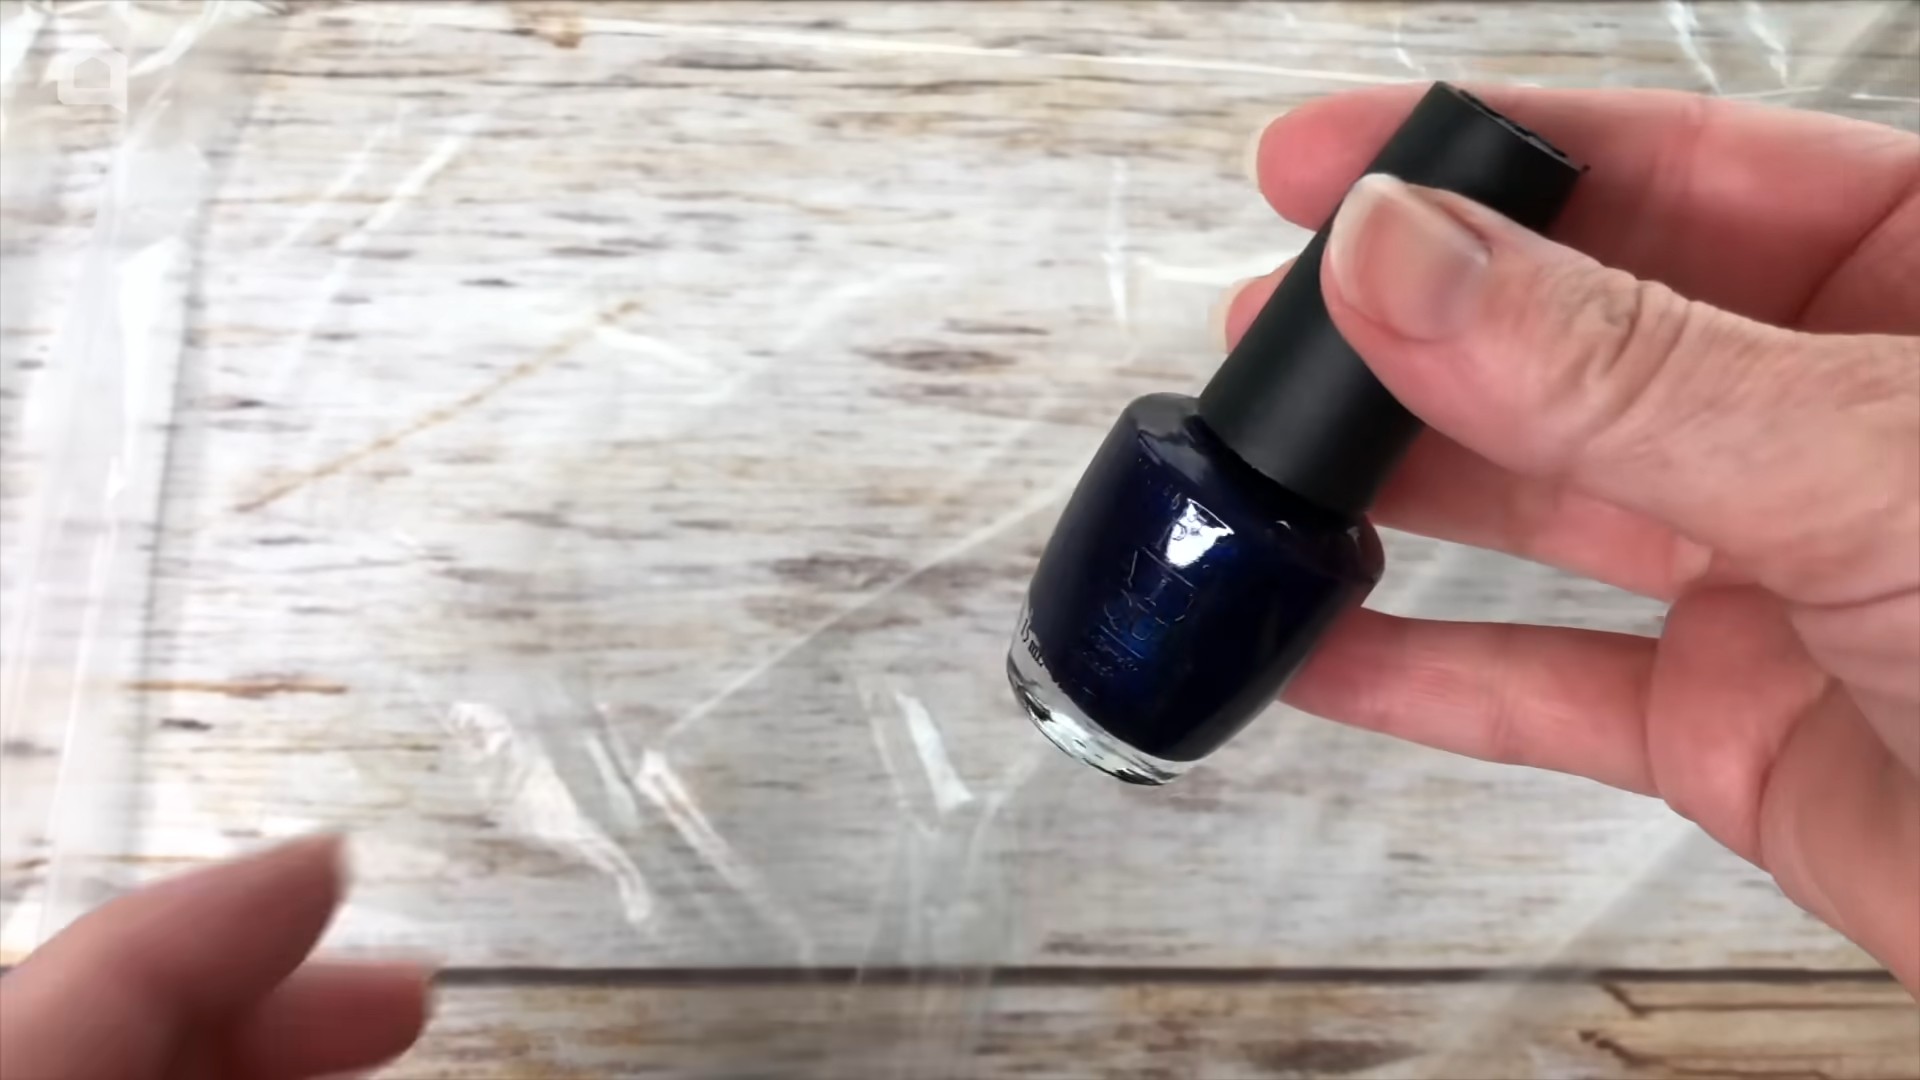
Offbeat Nail Polish Tricks: Ever stared at your overflowing nail polish collection and thought, “There has to be more I can do with this stuff?” You’re absolutely right! Nail polish, beyond its obvious use, is a surprisingly versatile tool with a history that stretches back to ancient civilizations using natural dyes to adorn their nails. From the Egyptians using henna to the Chinese crafting polishes from beeswax, egg whites, and vegetable dyes, nail beautification has always been a part of human culture.
But let’s face it, sometimes our bottles dry out, or we’re just looking for a creative way to use up those colors we don’t wear anymore. That’s where these DIY hacks come in! I’m going to share some unexpected and seriously clever offbeat nail polish tricks that will blow your mind. Forget just painting your nails; we’re talking about transforming everyday items, fixing household problems, and even creating unique art.
Why do you need these tricks? Because life’s too short for boring! Plus, who doesn’t love saving money and repurposing what they already have? Get ready to unleash your inner DIY guru and discover the amazing potential hidden within those little bottles of color. Let’s dive in and explore the world of nail polish beyond the manicure!
Offbeat Nail Polish Tricks: Beyond the Manicure
Hey there, fellow DIY enthusiasts! I’m always on the lookout for clever ways to use everyday items in unexpected ways. And let me tell you, nail polish is a goldmine of possibilities beyond just painting your nails. Get ready to have your mind blown with these offbeat nail polish tricks!
Fixing Scratches on Leather Shoes
Those dreaded scuffs on your favorite leather shoes? Don’t despair! Nail polish can come to the rescue. This works best on small scratches and scuffs, not deep gouges.
What you’ll need:
* Nail polish that closely matches the color of your shoes
* Cotton swabs
* Nail polish remover (acetone-free is best for leather)
* Soft cloth
Step-by-step instructions:
1. Clean the area: First, gently clean the scuffed area with a damp cloth to remove any dirt or debris. Let it dry completely.
2. Apply the nail polish: Carefully apply a thin layer of nail polish to the scratch using the nail polish brush. Try to stay within the lines of the scratch. It’s better to apply multiple thin coats than one thick coat, which can look gloppy.
3. Blend the edges: Immediately after applying the polish, use a cotton swab dipped in nail polish remover to gently blend the edges of the polish with the surrounding leather. This will help to make the repair less noticeable. Be very gentle and use a light touch.
4. Let it dry: Allow the nail polish to dry completely. This usually takes about 15-20 minutes.
5. Repeat if necessary: If the scratch is still visible after the first coat, apply another thin coat of nail polish and repeat steps 3 and 4.
6. Buff the area: Once the nail polish is completely dry, use a soft cloth to gently buff the area. This will help to smooth out the surface and blend the repair even further.
Sealing Envelopes Like a Pro
Tired of licking envelopes? (Let’s be honest, who isn’t?) Nail polish offers a hygienic and stylish alternative.
What you’ll need:
* Clear nail polish (or a color that complements your stationery)
* Envelope
Step-by-step instructions:
1. Fold the envelope flap: Fold the envelope flap down as you normally would.
2. Apply a thin line of nail polish: Apply a thin, even line of nail polish along the edge of the flap where it meets the envelope.
3. Press and hold: Immediately press the flap down firmly onto the envelope. Hold it in place for about 10-15 seconds to allow the nail polish to adhere.
4. Let it dry: Allow the nail polish to dry completely before mailing the envelope. This usually takes just a few minutes.
Pro Tip: For a decorative touch, use a glitter nail polish or a color that matches your stationery. You can even add a small dot of nail polish in each corner of the flap for extra security and style.
Preventing Jewelry Tarnish
Silver jewelry losing its shine? Nail polish can create a protective barrier against tarnish.
What you’ll need:
* Clear nail polish
* Soft cloth
Step-by-step instructions:
1. Clean the jewelry: Before applying nail polish, make sure your jewelry is clean and dry. Use a soft cloth to remove any dirt or oils.
2. Apply a thin coat of nail polish: Apply a very thin coat of clear nail polish to the inside of the jewelry, where it comes into contact with your skin. Avoid getting nail polish on any gemstones or delicate details.
3. Let it dry completely: Allow the nail polish to dry completely before wearing the jewelry. This usually takes about 15-20 minutes.
Important Note: This trick is best for costume jewelry or pieces that you don’t wear every day. The nail polish will eventually wear off, so you’ll need to reapply it periodically. Also, avoid using this trick on valuable or antique jewelry, as it could potentially damage the finish.
Threading a Needle with Ease
Struggling to thread a needle? Nail polish can stiffen the thread and make it much easier to pass through the eye of the needle.
What you’ll need:
* Clear nail polish
* Thread
* Needle
Step-by-step instructions:
1. Cut the thread: Cut the length of thread you need.
2. Apply nail polish to the end of the thread: Dip the end of the thread into a small amount of clear nail polish. Just a tiny bit is enough!
3. Shape the thread: Use your fingers to gently shape the end of the thread into a point.
4. Let it dry: Allow the nail polish to dry completely. This will stiffen the end of the thread and make it easier to thread the needle.
5. Thread the needle: Now, try threading the needle. You should find it much easier!
Waterproofing Labels
Protect your labels from water damage with a coat of nail polish. This is perfect for labeling jars in the kitchen or organizing your garden.
What you’ll need:
* Clear nail polish
* Labels
* Pen or marker
Step-by-step instructions:
1. Write on the label: Write the desired information on the label using a pen or marker. Make sure the ink is completely dry before proceeding.
2. Apply a thin coat of nail polish: Apply a thin, even coat of clear nail polish over the entire label, covering the writing completely.
3. Let it dry completely: Allow the nail polish to dry completely before applying the label to the desired surface.
Tightening Loose Screws
A loose screw driving you crazy? Nail polish can act as a temporary thread locker.
What you’ll need:
* Nail polish (any color will do)
* Screwdriver
Step-by-step instructions:
1. Remove the screw: Carefully remove the loose screw.
2. Apply nail polish to the screw threads: Apply a generous amount of nail polish to the threads of the screw.
3. Reinsert the screw: Carefully reinsert the screw into the hole.
4. Tighten the screw: Tighten the screw as much as possible.
5. Let it dry: Allow the nail polish to dry completely before using the item. The nail polish will act as a temporary adhesive, helping to hold the screw in place.
Important Note: This is a temporary fix. For a more permanent solution, consider using a thread locker product specifically designed for this purpose.
Color-Coding Keys
Tired of fumbling with keys? Use different colors of nail polish to easily identify them.
What you’ll need:
* Different colors of nail polish
* Keys
Step-by-step instructions:
1. Choose your colors: Select different colors of nail polish for each key.
2. Apply nail polish to the key head: Apply a generous coat of nail polish to the head of each key. Be sure to cover the entire head.
3. Let it dry completely: Allow the nail polish to dry completely before using the keys.
4. Apply a second coat (optional): For added durability, apply a second coat of nail polish after the first coat is completely dry.
Creating Unique Phone Cases
Give your phone case a personalized touch with nail polish!
What you’ll need:
* Clear phone case
* Different colors of nail polish
* Toothpicks or small brushes (optional)
* Paper plate or disposable surface
Step-by-step instructions:
1. Prepare your workspace: Cover your work surface with a paper plate or disposable surface to protect it from spills.
2. Choose your design: Decide on the design you want to create on your phone case. You can create abstract patterns, geometric designs, or even try to replicate a favorite image.
3. Apply the nail polish: Carefully apply the nail polish to the phone case according to your chosen design. You can use the nail polish brush for larger areas or toothpicks or small brushes for more intricate details.
4. Let it dry completely: Allow the nail polish to dry completely before using the phone case. This may take several hours, depending on the thickness of the nail polish.
5. Apply a top coat (optional): For added durability, apply a clear top coat over the nail polish design after it is completely dry.
Creative Ideas:
* Marble effect: Fill a bowl with water and drop in a few drops of different colors of nail polish. Swirl the colors together with a toothpick and then dip your phone case into the water
Conclusion
So, there you have it! These offbeat nail polish tricks aren’t just quirky; they’re game-changers. They offer solutions to common nail polish woes, unlock creative possibilities, and, most importantly, save you time and money. Forget those expensive salon treatments or specialized tools for every little nail art whim. With a little ingenuity and the humble bottle of nail polish, you can achieve professional-looking results right at home.
Why is this a must-try? Because it empowers you to take control of your manicure destiny! No more chipped polish ruining your day, no more struggling with intricate designs, and no more feeling limited by your skill level. These tricks are accessible to everyone, regardless of their experience with nail art. They’re about making the process fun, efficient, and ultimately, more rewarding.
Consider these variations to personalize your experience. Experiment with different colors and textures of nail polish. Try using glitter polish for a dazzling effect or matte polish for a sophisticated look. For the water marble technique, play around with different color combinations and swirling patterns. You can even add embellishments like rhinestones or studs for extra flair. If you’re using the tape trick for clean lines, try using different types of tape, such as washi tape or painter’s tape, to achieve different effects. Don’t be afraid to get creative and let your imagination run wild!
We’ve shown you how to create a DIY nail polish remover jar, which is a fantastic way to save money and reduce waste. You can customize the ingredients to suit your preferences, adding essential oils for a pleasant scent or glycerin for extra moisturizing properties. This is a great way to make your nail care routine more eco-friendly and personalized.
But the real magic happens when you try these tricks for yourself. So, grab your favorite nail polishes, gather your supplies, and get ready to unleash your inner nail artist. We’re confident that you’ll be amazed by the results. These offbeat nail polish tricks are not just about achieving beautiful nails; they’re about discovering the joy of creativity and self-expression.
Don’t just take our word for it. We encourage you to try these DIY tricks and share your experience with us. Post your photos on social media using [Your Hashtag] and let us know which trick was your favorite and how it worked for you. We’re eager to see your creations and hear your feedback. Together, let’s revolutionize the world of nail art, one offbeat trick at a time! This is your chance to master some truly unique and effective **offbeat nail polish tricks**.
FAQ
Q: Are these offbeat nail polish tricks safe for my nails?
A: Generally, yes, these tricks are safe when performed correctly. However, it’s crucial to use high-quality nail polish and avoid harsh chemicals that can damage your nails. Always ensure proper ventilation when working with nail polish and remover. If you have sensitive skin or allergies, test a small area first before applying any product to your entire nail. For the DIY nail polish remover jar, be mindful of the ingredients you use. Avoid using acetone in high concentrations, as it can be very drying and damaging to the nails. Instead, opt for gentler alternatives like ethyl acetate or soy-based removers.
Q: I’m a beginner at nail art. Are these tricks easy to learn?
A: Absolutely! These tricks are designed to be accessible to beginners. We’ve chosen techniques that are relatively simple to execute and don’t require specialized skills or tools. The water marble technique might take a few tries to master, but with practice, you’ll get the hang of it. The tape trick is incredibly straightforward and perfect for creating clean lines and geometric designs. The DIY nail polish remover jar is even easier to make and requires minimal effort. We recommend starting with the simpler tricks and gradually working your way up to the more challenging ones.
Q: What kind of nail polish works best for these tricks?
A: The type of nail polish you use will depend on the specific trick. For the water marble technique, it’s best to use polishes that are relatively thin and spread easily in water. Avoid using thick or quick-drying polishes, as they won’t create the desired effect. For the tape trick, any type of nail polish will work, but we recommend using a highly pigmented polish for the best results. For the DIY nail polish remover jar, you can use any type of nail polish remover, but we recommend using a non-acetone remover if you have sensitive skin or brittle nails. Experiment with different brands and formulas to find what works best for you.
Q: How can I prevent my nail polish from chipping?
A: Chipping is a common problem, but there are several things you can do to prevent it. First, make sure your nails are clean and dry before applying any polish. Use a base coat to protect your nails and help the polish adhere better. Apply thin, even coats of polish and allow each coat to dry completely before applying the next. Finish with a top coat to seal the polish and add shine. Avoid exposing your nails to harsh chemicals or excessive water. Wear gloves when doing housework or washing dishes. You can also try using a nail strengthener to make your nails more resistant to breakage.
Q: Can I use these tricks on acrylic or gel nails?
A: Some of these tricks can be used on acrylic or gel nails, but others may not be suitable. The tape trick can be used on acrylic or gel nails to create clean lines and designs. However, the water marble technique may not work as well on these types of nails, as the polish may not spread properly. The DIY nail polish remover jar is not recommended for removing gel polish, as it requires a special type of remover. Always check with your nail technician before trying any new techniques on acrylic or gel nails.
Q: How long will the DIY nail polish remover jar last?
A: The lifespan of your DIY nail polish remover jar will depend on how often you use it and the quality of the ingredients you use. Generally, it should last for several weeks or even months. To prolong its lifespan, store it in a cool, dark place and avoid exposing it to direct sunlight. You may need to replenish the ingredients periodically as they evaporate or become saturated with nail polish. If the remover starts to smell bad or becomes cloudy, it’s time to make a new batch.
Q: What are some other offbeat nail polish tricks I can try?
A: The world of nail art is full of creative possibilities! Here are a few more offbeat tricks to explore:
* **Using a sponge for gradient nails:** Apply different colors of nail polish to a makeup sponge and then dab it onto your nails to create a gradient effect.
* **Creating a crackle effect:** Apply a crackle nail polish over a base color to create a textured, cracked effect.
* **Using a toothpick for intricate designs:** Use a toothpick to create delicate patterns and designs on your nails.
* **Adding sugar for a textured finish:** Sprinkle sugar onto wet nail polish to create a unique, textured finish.
Remember to always experiment and have fun with it! The possibilities are endless when it comes to nail art.
Leave a Comment