
Oven cleaning baking soda vinegar – sounds like a science experiment gone right, doesn’t it? Well, in a way, it is! But instead of bubbling beakers and safety goggles, we’re talking about a sparkling clean oven and the satisfaction of a job well done, all thanks to the power of simple household ingredients. For generations, resourceful homemakers have relied on the cleaning prowess of baking soda and vinegar, and their combined power is truly remarkable.
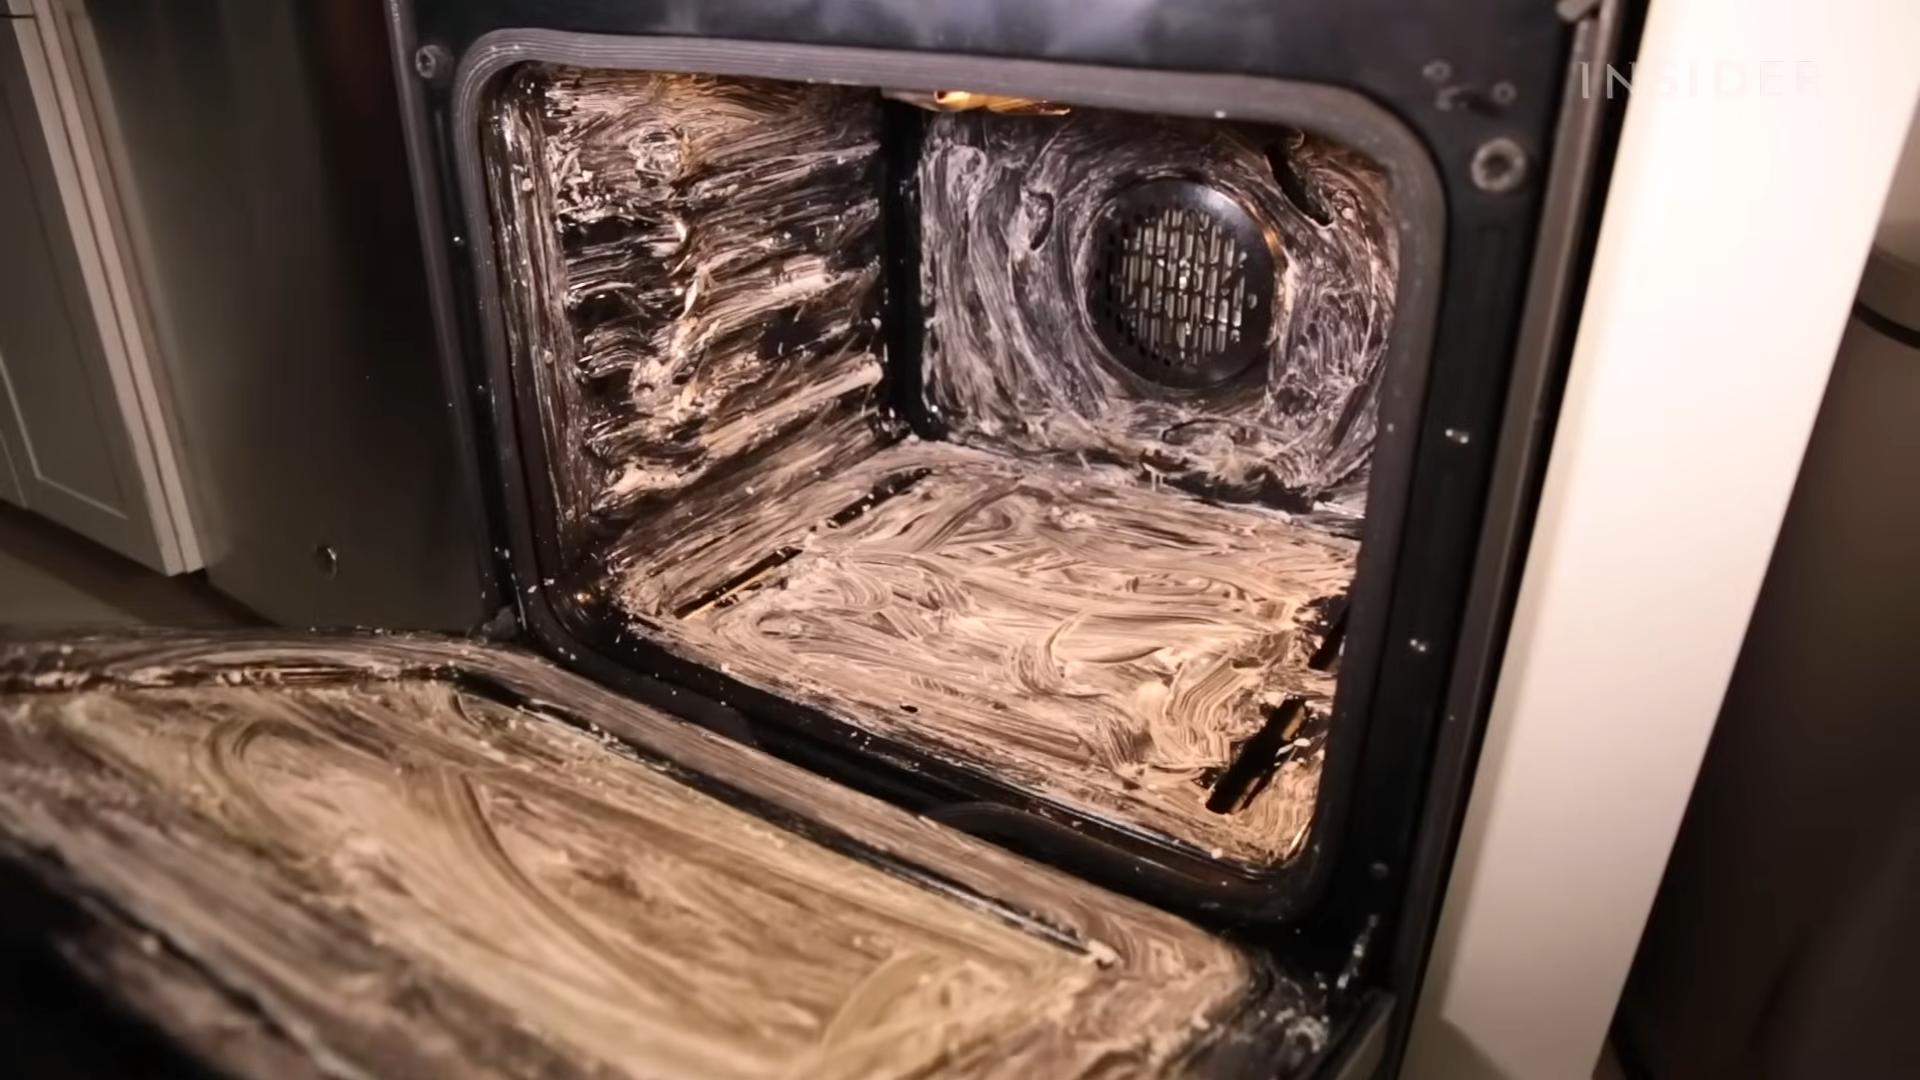
Let’s be honest, nobody *loves* cleaning the oven. It’s a chore we tend to put off, resulting in a blackened, greasy mess that seems impossible to tackle. But what if I told you there’s a way to ditch those harsh chemicals and achieve a gleaming oven with just two pantry staples? That’s right, this DIY oven cleaning trick using baking soda and vinegar is not only effective but also eco-friendly and budget-friendly.
In this article, I’m going to walk you through a step-by-step guide to using this dynamic duo to banish baked-on grime and restore your oven to its former glory. Prepare to be amazed by the cleaning power of oven cleaning baking soda vinegar and say goodbye to those toxic fumes forever!
DIY Oven Cleaning with Baking Soda and Vinegar: A Sparkling Clean Oven the Natural Way!
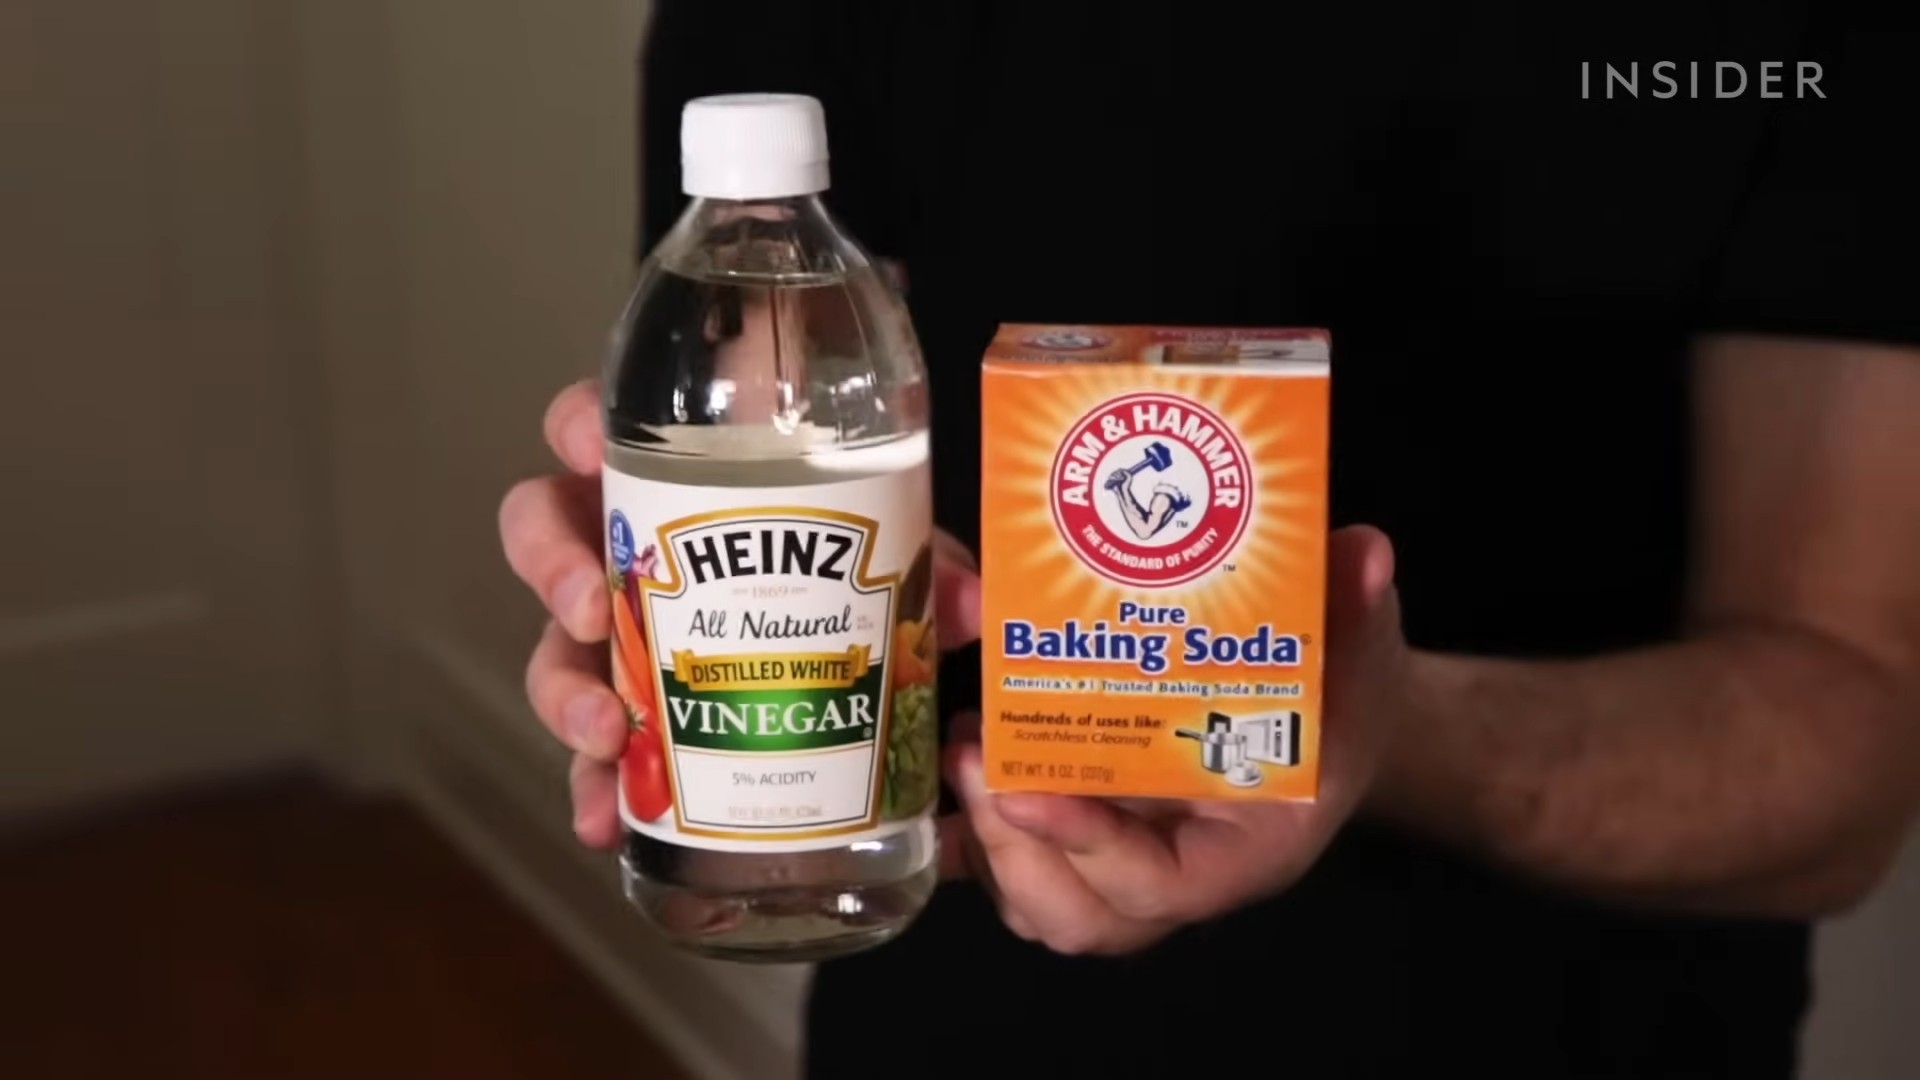
Okay, let’s face it, cleaning the oven is probably on everyone’s list of least favorite chores. But it doesn’t have to be a toxic, fume-filled nightmare! I’m going to show you how to clean your oven using just baking soda and vinegar – two ingredients you probably already have in your pantry. This method is not only effective but also eco-friendly and safe for your family and pets. Get ready to say goodbye to harsh chemicals and hello to a sparkling clean oven!
What You’ll Need:
Before we dive in, let’s gather our supplies. This is a pretty simple process, so the list is short and sweet:
* Baking Soda
* White Vinegar
* Water
* Spray Bottle
* Spatula or Scraper (plastic or silicone is best to avoid scratching)
* Sponge or Scrub Brush
* Rubber Gloves (optional, but recommended)
* Old Rags or Paper Towels
* Small Bowl
Step-by-Step Instructions:
Alright, let’s get started! I’ve broken down the process into easy-to-follow steps.
1. Prepare Your Oven: First things first, remove everything from your oven – racks, baking stones, thermometers, anything that’s in there needs to come out. This will give you a clear workspace and prevent anything from getting in the way. I usually give the racks a quick soak in hot, soapy water while I’m working on the oven itself. This helps loosen any baked-on grime.
2. Mix the Baking Soda Paste: In your small bowl, mix together about ½ cup of baking soda with enough water to form a spreadable paste. You want it to be thick enough to stick to the oven surfaces but not so thick that it’s difficult to apply. I usually start with a few tablespoons of water and add more gradually until I reach the right consistency.
3. Coat the Oven: Now, using your spatula or your hands (with gloves on, of course!), spread the baking soda paste all over the interior surfaces of your oven. This includes the back, sides, top, bottom, and even the inside of the door. Avoid the heating elements! You want a nice, even layer of paste covering all the greasy, grimy areas. Don’t be shy – really get in there and make sure everything is coated.
4. Let it Sit (and Work its Magic!): This is the most important part – patience! Let the baking soda paste sit in your oven for at least 12 hours, or even better, overnight. The longer it sits, the more time it has to loosen the baked-on grease and grime. I usually do this before I go to bed so it can work its magic while I sleep.
5. Wipe Away the Baking Soda Paste: After the baking soda has had its time to work, it’s time to wipe it away. Use a damp sponge or rag to start removing the dried baking soda paste. You might need to use a little elbow grease, especially in areas with stubborn grime. Rinse your sponge or rag frequently to avoid just spreading the grime around.
6. Spray with Vinegar: Once you’ve removed as much of the baking soda paste as possible, it’s time for the vinegar! Pour some white vinegar into your spray bottle and generously spray all the interior surfaces of your oven. The vinegar will react with any remaining baking soda, creating a fizzing action that helps to further loosen any remaining grime. It’s kind of satisfying to watch!
7. Wipe Again: After spraying with vinegar, let it sit for a few minutes (5-10 minutes should be enough) and then wipe down the oven again with a clean, damp sponge or rag. This will remove the vinegar and any remaining loosened grime.
8. Scrub Stubborn Spots: If you still have some stubborn spots that just won’t budge, use a scrub brush or a scouring pad to gently scrub them away. Be careful not to scratch the oven surfaces, especially if you have a self-cleaning oven. A plastic or nylon scrub brush is usually a good choice.
9. Rinse Thoroughly: Once you’ve removed all the grime and baking soda/vinegar residue, give your oven a final rinse with a clean, damp sponge or rag. Make sure to remove any traces of baking soda or vinegar, as they can leave a residue that can affect the taste of your food.
10. Dry the Oven: Use clean rags or paper towels to dry the interior of your oven completely. This will prevent any water spots from forming and ensure that your oven is ready to use.
11. Clean the Oven Racks: Remember those oven racks you soaked earlier? Now it’s time to give them a good scrub. Use a scrub brush or sponge to remove any remaining grime. If you have really stubborn baked-on food, you can try soaking them in a baking soda and water paste as well. Rinse the racks thoroughly and dry them completely before putting them back in the oven.
12. Reassemble and Enjoy! Once everything is clean and dry, put the oven racks back in place and you’re done! You now have a sparkling clean oven without using any harsh chemicals.
Tips and Tricks for a Super Clean Oven:
* Don’t Forget the Door: Pay special attention to the oven door, as it tends to accumulate a lot of grease and grime. You may need to repeat the baking soda and vinegar process on the door to get it completely clean.
* Tackle the Glass: If your oven door has a glass window, you can use the same baking soda and vinegar mixture to clean it. Apply the baking soda paste to the glass, let it sit for a few minutes, and then wipe it away with vinegar and a clean cloth. For really stubborn stains, you can try using a razor blade scraper (be very careful not to scratch the glass!).
* Prevent Future Messes: To prevent future messes, try using oven liners or baking sheets to catch spills and drips. You can also wipe up spills as soon as they happen to prevent them from baking onto the oven surfaces.
* Regular Cleaning is Key: The more often you clean your oven, the easier it will be to keep it clean. Try to give your oven a quick cleaning every few months to prevent grime from building up.
* For Self-Cleaning Ovens: While this method is great for regular ovens, you can also use it to supplement the self-cleaning cycle of your self-cleaning oven. After the self-cleaning cycle is complete, there may still be some ash and residue left behind. You can use the baking soda and vinegar method to remove this residue and leave your oven sparkling clean. However, always consult your oven’s manual before using any cleaning products, even natural ones, on a self-cleaning oven.
Dealing with Extra Stubborn Grime:
Sometimes, you’ll encounter grime that just doesn’t want to budge. Here are a few extra tips for dealing with those tough spots:
* Boiling Water: Before applying the baking soda paste, try placing a pot of boiling water in your oven for about 20-30 minutes. The steam will help to loosen the grime and make it easier to remove.
* Salt Scrub: For really stubborn spots, you can try making a salt scrub. Mix together equal parts salt and baking soda, and then add enough water to form a paste. Apply the paste to the stubborn spots and scrub gently with a scrub brush or scouring pad.
* Lemon Juice: Lemon juice is a natural degreaser and can be helpful for removing stubborn grime. Cut a lemon in half and rub it directly onto the grime. Let it sit for a few minutes, and then wipe it away with a clean cloth.
* Pumice Stone: For extremely stubborn baked-on food, you can try using a pumice stone. Wet the pumice stone and gently rub it over the grime. Be very careful not to scratch the oven surfaces. This method is best used as a last resort.
Safety First!
While baking soda and vinegar are generally safe, it’s always a good idea to take a few precautions:
* Wear Gloves: Baking soda can be drying to the skin, so it’s a good idea to wear rubber gloves when cleaning your oven.
* Avoid the Heating Elements: Do not apply baking soda paste or vinegar to the heating elements of your oven.
* Ventilation: Make sure your kitchen is well-ventilated when cleaning your oven. Open a window or turn on the exhaust fan.
* Eye Protection: If you’re using a spray bottle, be careful not to spray vinegar into your eyes.
I hope this guide helps you achieve a sparkling clean oven without the use of harsh chemicals! Happy cleaning!
Conclusion
So, there you have it! This simple, yet incredibly effective, DIY oven cleaning method using baking soda and vinegar is a game-changer. Forget harsh chemicals, overpowering fumes, and expensive oven cleaners. This method is not only eco-friendly and budget-friendly, but it also delivers sparkling clean results that you’ll be proud of.
Why is this a must-try? Because it works! The combination of baking soda’s gentle abrasive power and vinegar’s acidity creates a dynamic duo that tackles baked-on grease, stubborn stains, and lingering odors with ease. It’s a safe and natural alternative that won’t leave you worrying about harmful residues affecting your food. Plus, you probably already have these ingredients in your pantry!
Looking for variations? Consider adding a few drops of your favorite essential oil, like lemon or lavender, to the vinegar solution for an extra boost of freshness. For particularly stubborn spots, create a thicker paste of baking soda and water and let it sit for an extended period before scrubbing. You can also use a non-scratch scouring pad or an old toothbrush to reach those hard-to-reach corners. If you have a self-cleaning oven, this method can be used as a gentle pre-cleaner to loosen debris before running the self-cleaning cycle, or as a post-cleaner to remove any remaining residue. Remember to always consult your oven’s manual before using any cleaning method.
We’re confident that once you try this DIY oven cleaning trick, you’ll never go back to store-bought cleaners. It’s a simple, effective, and sustainable way to keep your oven looking and performing its best.
Don’t just take our word for it – give it a try! We encourage you to embrace this natural cleaning solution and experience the satisfaction of a sparkling clean oven without the harsh chemicals. Share your results with us! We’d love to hear about your experience and see your before-and-after photos. Let us know in the comments below how this baking soda and vinegar oven cleaning method worked for you, and any tips or tricks you discovered along the way. Your feedback will help others discover the magic of this simple, yet powerful cleaning solution. Happy cleaning!
Frequently Asked Questions (FAQs)
1. Is baking soda and vinegar safe to use for cleaning my oven?
Yes, baking soda and vinegar are generally considered safe for cleaning ovens. They are natural, non-toxic substances that are much safer than harsh chemical oven cleaners. However, it’s always a good idea to wear gloves to protect your skin, especially if you have sensitive skin. Also, avoid getting the mixture in your eyes. If contact occurs, rinse thoroughly with water. Ensure your oven is cool and unplugged before starting the cleaning process.
2. Can I use this method on a self-cleaning oven?
Yes, you can use this method on a self-cleaning oven, but with caution. It’s best used as a pre-cleaner to loosen debris before running the self-cleaning cycle, or as a post-cleaner to remove any remaining residue after the cycle is complete. Avoid using excessive amounts of baking soda paste, as it can potentially clog the self-cleaning mechanism. Always consult your oven’s manual before using any cleaning method, as some manufacturers may have specific recommendations or warnings.
3. How long should I leave the baking soda paste on the oven?
For best results, leave the baking soda paste on the oven for at least 12 hours, or even overnight. This allows the baking soda to penetrate and loosen the baked-on grease and grime. For particularly stubborn stains, you can leave the paste on for up to 24 hours. The longer it sits, the easier it will be to scrub away the mess.
4. What if the baking soda paste dries out and becomes hard to remove?
If the baking soda paste dries out and becomes difficult to remove, simply spray it with a generous amount of vinegar. The vinegar will react with the baking soda, causing it to fizz and loosen. Let the vinegar sit for a few minutes before scrubbing with a sponge or cloth. You may need to repeat this process a few times to fully remove the dried paste.
5. Will this method remove all the grease and stains from my oven?
While this method is highly effective, it may not remove all the grease and stains from your oven, especially if they are very old or heavily baked on. You may need to repeat the process a few times or use a bit more elbow grease to scrub away stubborn stains. For extremely difficult spots, consider using a non-scratch scouring pad or an old toothbrush to target those areas.
6. Can I use this method to clean the oven door glass?
Yes, this method is safe and effective for cleaning the oven door glass. Apply the baking soda paste to the glass and let it sit for a few hours before scrubbing it clean. You can also use a vinegar and water solution to wipe down the glass after removing the baking soda paste. For extra shine, use a glass cleaner after cleaning with baking soda and vinegar.
7. My oven has a strong odor. Will this method help remove it?
Yes, baking soda and vinegar are both excellent odor absorbers. The baking soda will help neutralize any lingering odors in your oven, while the vinegar will help disinfect and freshen it. For an extra boost of freshness, add a few drops of your favorite essential oil, like lemon or lavender, to the vinegar solution.
8. How often should I clean my oven using this method?
The frequency of cleaning your oven depends on how often you use it and how much it gets soiled. As a general rule, it’s a good idea to clean your oven every 3-6 months. However, if you notice a lot of grease and grime buildup, or if your oven is emitting a strong odor, you may need to clean it more frequently. Regular cleaning will help prevent the buildup of stubborn stains and keep your oven performing its best.
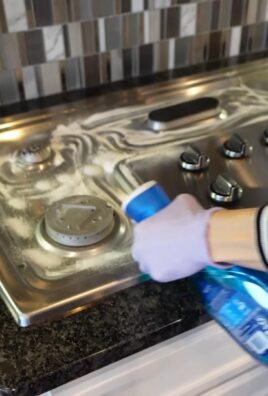
9. Can I use this method on other appliances, like my microwave or stovetop?
Yes, baking soda and vinegar can be used to clean other appliances, such as your microwave and stovetop. For the microwave, mix baking soda and water to create a paste and use it to scrub the interior. For the stovetop, sprinkle baking soda on the surface and spray with vinegar, then scrub clean. Always test a small, inconspicuous area first to ensure the method doesn’t damage the surface.
10. What type of vinegar should I use?
White distilled vinegar is the best type of vinegar to use for cleaning. It’s inexpensive, readily available, and has a high acidity level, making it effective at cutting through grease and grime. Avoid using other types of vinegar, such as apple cider vinegar or balsamic vinegar, as they may leave a residue or stain.


Leave a Comment