
Oven cleaning baking soda vinegar – sounds like a science experiment, right? Well, in a way, it is! But trust me, it’s a science experiment that will leave your oven sparkling and you feeling like a domestic goddess (or god!). I know, I know, oven cleaning is the chore we all dread. It’s messy, it’s time-consuming, and those harsh chemical cleaners? Ugh, the fumes! But what if I told you there’s a simple, natural, and incredibly effective way to tackle that baked-on grime using ingredients you probably already have in your pantry?
For generations, resourceful homemakers have relied on the power of baking soda and vinegar for countless cleaning tasks. This dynamic duo isn’t just a modern trend; it’s a time-tested method passed down through families, a testament to its effectiveness and eco-friendliness. Think of your grandmother’s cleaning secrets – chances are, baking soda and vinegar were involved!
Why is this DIY oven cleaning trick so essential? Because a clean oven isn’t just about aesthetics. A grimy oven can affect the taste of your food, create unpleasant odors, and even pose a fire hazard. Plus, who wants to spend hours scrubbing with harsh chemicals when there’s a gentler, more effective solution? So, ditch the expensive cleaners and get ready to discover the magic of oven cleaning baking soda vinegar. I’m going to walk you through a simple, step-by-step guide that will have your oven looking brand new in no time. Let’s get started!
DIY Oven Cleaning with Baking Soda and Vinegar: A Sparkling Clean Oven Awaits!
Okay, let’s face it, cleaning the oven is probably on everyone’s list of least favorite chores. But a clean oven is a happy oven (and makes for tastier food!), so let’s tackle this together. I’m going to show you how to clean your oven using just baking soda and vinegar – no harsh chemicals needed! This method is not only eco-friendly but also super effective, even on those stubborn baked-on messes.
What You’ll Need:
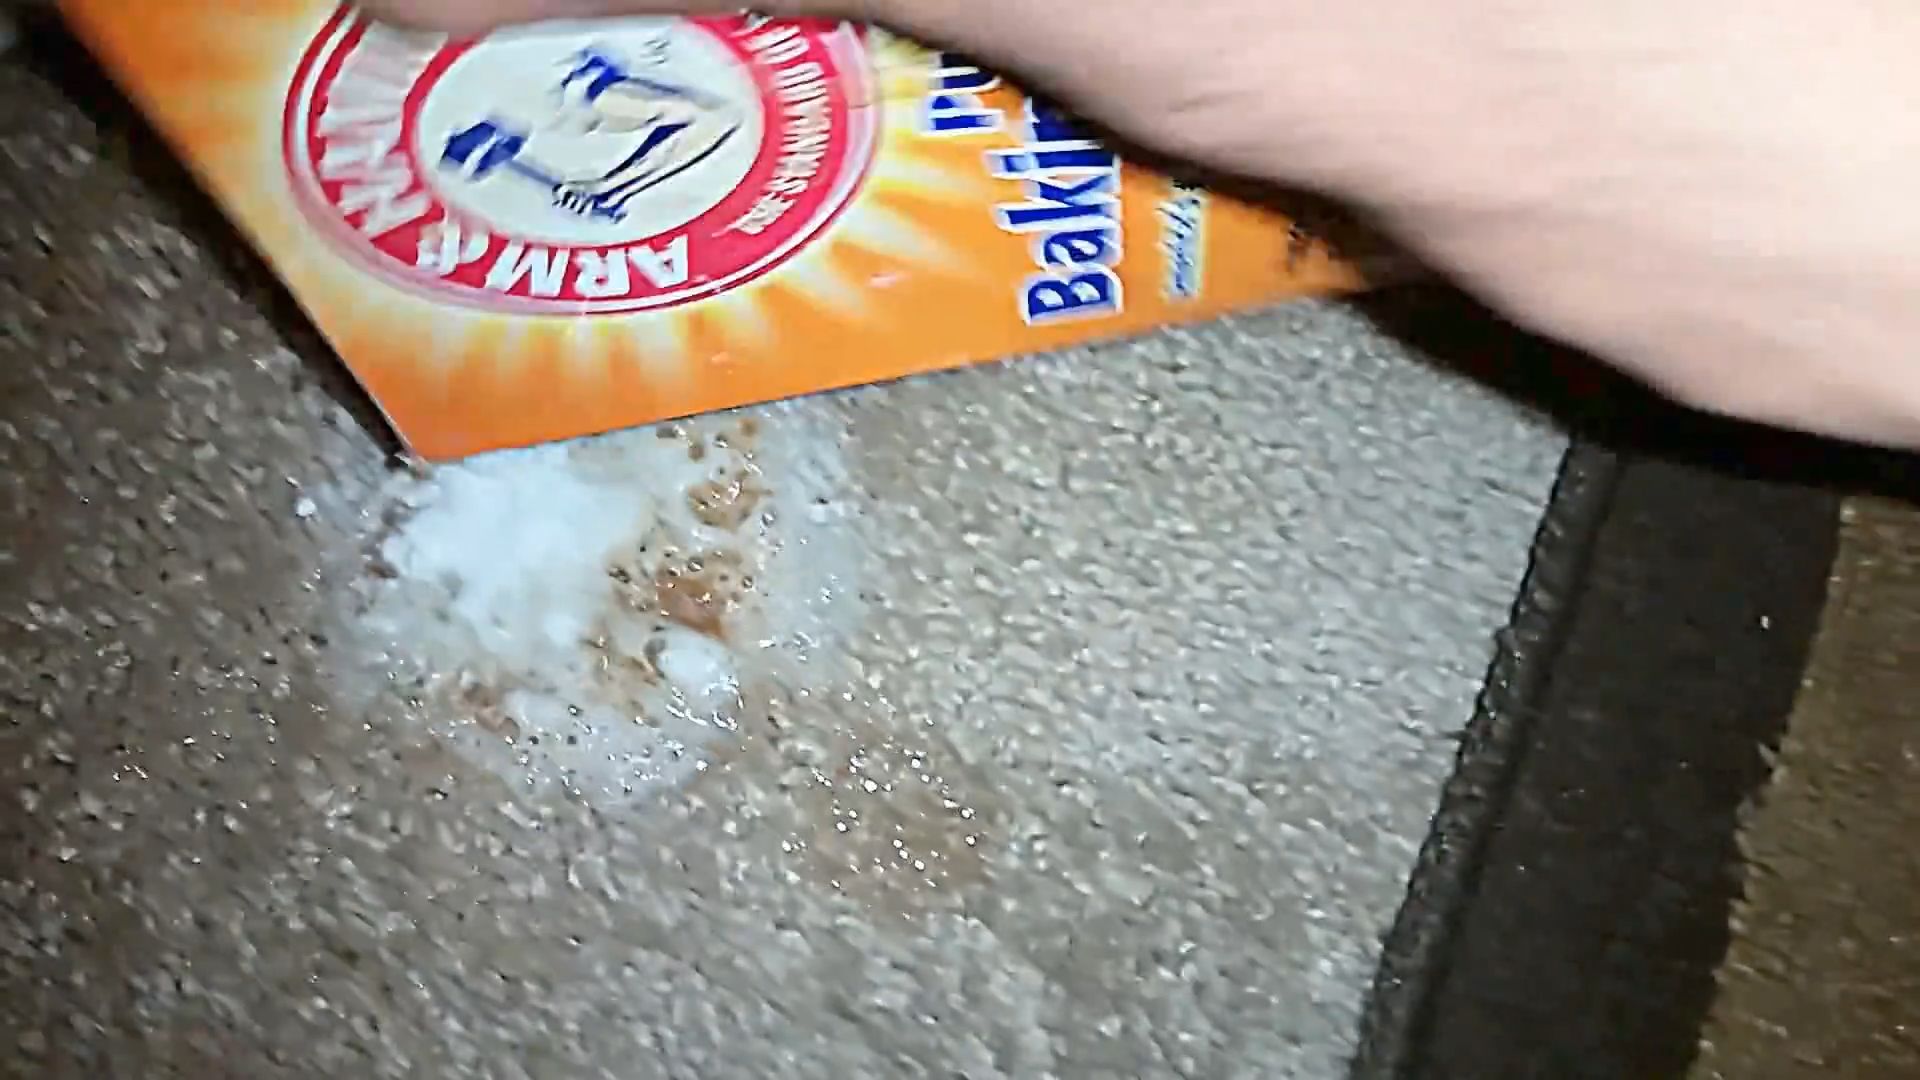
* Baking Soda
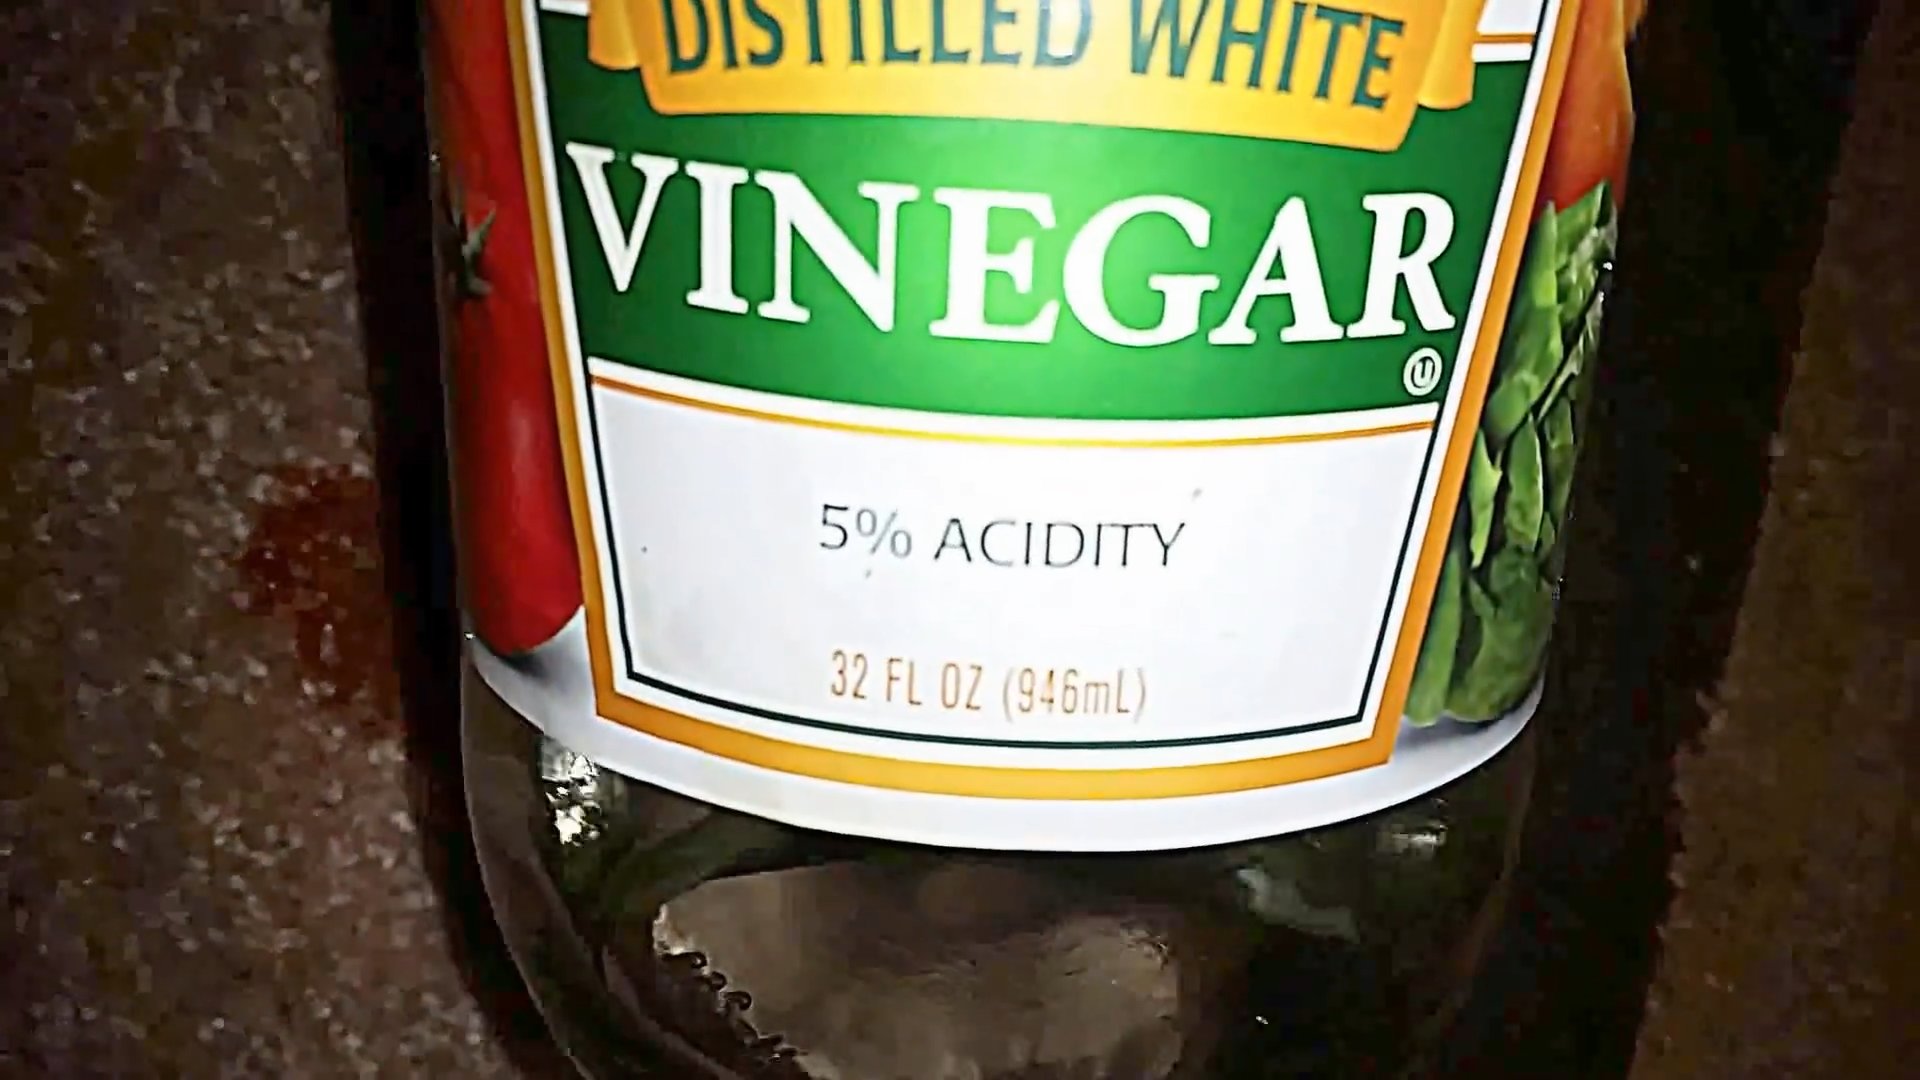
* White Vinegar
* Water
* Spray Bottle
* Spatula or Scraper (plastic is best to avoid scratching)
* Sponge or Cloth
* Rubber Gloves (optional, but recommended)
* Old Towels or Rags
Step-by-Step Guide to a Sparkling Oven
Here’s the breakdown of how we’re going to get that oven looking brand new:
1. Preparation is Key: We’ll start by emptying the oven and making a baking soda paste.
2. Applying the Paste: Next, we’ll coat the entire interior of the oven with our baking soda mixture.
3. Letting it Sit: Patience is a virtue! We’ll let the paste work its magic overnight.
4. Vinegar Time: The next day, we’ll spray the baking soda with vinegar and watch the fizzing action.
5. Scrubbing and Wiping: Time to get our hands dirty (or gloved, if you prefer!) and scrub away the loosened grime.
6. Final Touches: We’ll wipe everything down and admire our sparkling clean oven!
Phase 1: Preparing the Oven and Making the Baking Soda Paste
1. Empty the Oven: First things first, remove everything from your oven. This includes oven racks, baking stones, thermometers, and anything else you might have stored in there. We want a completely empty canvas to work with.
2. Protect the Floor: Lay down old towels or rags around the base of your oven. This will catch any drips or spills and protect your floor from the baking soda and vinegar mixture. Trust me, it’s easier to clean up a towel than your kitchen floor!
3. Make the Baking Soda Paste: In a bowl, mix together ½ cup of baking soda with enough water to form a spreadable paste. The consistency should be similar to frosting – not too runny, not too thick. I usually start with a few tablespoons of water and add more gradually until I get the right consistency.
Phase 2: Applying the Baking Soda Paste
1. Coat the Oven Interior: Using your hands (gloves recommended!), a spatula, or a sponge, spread the baking soda paste all over the interior surfaces of your oven. This includes the back, sides, top, bottom, and even the door. Be generous with the paste, especially on areas with heavy buildup.
2. Avoid the Heating Elements: Be careful not to get the paste on the heating elements (the coils at the top and bottom of the oven). While baking soda and vinegar are safe, it’s best to avoid direct contact with the heating elements.
3. Don’t Forget the Glass Door: Apply a thin layer of the baking soda paste to the inside of the oven door. This will help loosen any baked-on splatters and grime.
4. Rack Cleaning (Optional): While the baking soda paste is working its magic inside the oven, you can also clean the oven racks. Fill your bathtub with hot water and add ½ cup of dish soap and ½ cup of baking soda. Let the racks soak in the tub overnight. The next day, scrub them with a sponge or brush and rinse thoroughly.
Phase 3: Letting the Baking Soda Work its Magic (Overnight!)
1. Patience is Key: Now comes the hardest part – waiting! Let the baking soda paste sit in your oven for at least 12 hours, or preferably overnight. This allows the baking soda to penetrate and loosen the baked-on grease and grime. The longer it sits, the easier it will be to clean.
Phase 4: The Vinegar Fizzing Action
1. Fill the Spray Bottle: The next day, fill a spray bottle with white vinegar. Don’t dilute it – we want the full strength of the vinegar to react with the baking soda.
2. Spray the Baking Soda: Generously spray the baking soda paste with the vinegar. You’ll notice that the baking soda will start to fizz and bubble. This is the chemical reaction between the baking soda (a base) and the vinegar (an acid) that helps to loosen the grime.
3. Let it Fizz: Let the vinegar and baking soda fizz for a few minutes. This will give the reaction time to work its magic.
Phase 5: Scrubbing and Wiping Away the Grime
1. Scrubbing Time: Using a sponge or cloth, start scrubbing the interior of the oven. You should find that the grime is much easier to remove now that it’s been loosened by the baking soda and vinegar. For stubborn spots, use a plastic spatula or scraper to gently scrape away the buildup. Avoid using metal scrapers, as they can scratch the oven’s surface.
2. Rinse and Repeat: As you scrub, rinse your sponge or cloth frequently with clean water. This will help to remove the grime and prevent it from being spread around.
3. Tackle the Door: Don’t forget to scrub the inside of the oven door. The baking soda paste should have loosened any baked-on splatters, making them easier to remove.
4. Persistence Pays Off: Some areas may require more scrubbing than others. Be patient and persistent, and eventually, you’ll get everything clean.
Phase 6: Final Touches and Admiring Your Sparkling Oven
1. Wipe Down with Water: Once you’ve scrubbed away all the grime, wipe down the entire interior of the oven with a clean, damp cloth. This will remove any remaining baking soda and vinegar residue.
2. Dry the Oven: Use a dry towel to dry the interior of the oven. This will prevent any water spots from forming.
3. Clean the Racks: If you soaked your oven racks in the bathtub, now’s the time to scrub them with a sponge or brush and rinse them thoroughly with clean water. Dry them with a towel before placing them back in the oven.
4. Reassemble: Place the oven racks back into the oven.
5. Low-Heat Test (Optional): To ensure that all the baking soda and vinegar residue is gone, you can turn on the oven to a low temperature (around 200°F) for about 15-20 minutes. This will help to evaporate any remaining moisture and eliminate any lingering odors. Keep a close eye on the oven during this process.
6. Admire Your Work!: Step back and admire your sparkling clean oven! You did it! Now you can enjoy cooking in a clean and healthy environment.
Tips and Tricks for Oven Cleaning Success:
* Prevention is Better Than Cure: To keep your oven clean, try to wipe up spills as soon as they happen. This will prevent them from baking onto the oven’s surface and becoming difficult to remove.
* Regular Cleaning: Aim to clean your oven every few months, or more frequently if you use it often. Regular cleaning will prevent buildup and make the job easier each time.
* Heavy-Duty Cleaning: For extremely stubborn messes, you can try adding a small amount of dish soap to the baking soda paste. The dish soap will help to cut through grease and grime.
* Lemon Power: After cleaning your oven, you can freshen it up by placing a bowl of water with lemon slices in the oven and baking it at 350°F for 30 minutes. This will leave your oven smelling fresh and clean.
* Don’t Forget the Exterior: While you’re cleaning the interior of the oven, don’t forget to wipe down the exterior as well. Use a damp cloth and a mild detergent to remove any fingerprints, splatters, or grime.
* Self-Cleaning Ovens: If you have a self-cleaning oven, you can still use this baking soda and vinegar method for a gentler, more eco-friendly clean. However, be sure to consult your oven’s manual before using any cleaning products, even natural ones.
* Ventilation is Important: Make sure to ventilate your kitchen well while cleaning your oven. Open windows and turn on the exhaust fan to help remove any fumes or odors.
* Safety First: Always wear rubber gloves when cleaning your oven to protect your hands from the baking soda and vinegar mixture. Avoid getting the mixture in your eyes.
I hope this guide helps you achieve a sparkling clean oven! Happy cleaning!
Conclusion
So, there you have it! Mastering strawberry plant care doesn’t require a green thumb or expensive gardening tools. This simple, yet effective DIY trick, focusing on creating a supportive and nutrient-rich environment, can truly transform your strawberry yield. We’ve shown you how to nurture your plants from the ground up, ensuring they receive the essential elements for robust growth and abundant fruiting.
Why is this a must-try? Because it’s accessible, affordable, and yields tangible results. Imagine biting into plump, juicy, homegrown strawberries, knowing you cultivated them with your own hands, using a method that’s both sustainable and satisfying. This isn’t just about growing strawberries; it’s about connecting with nature, understanding the needs of your plants, and reaping the rewards of your efforts.
But don’t stop there! Feel free to experiment and adapt this DIY approach to suit your specific needs and environment.
Variations and Suggestions:
* Compost Tea Boost: Enhance the nutrient content by occasionally watering your strawberry plants with diluted compost tea. This provides an extra dose of beneficial microbes and essential nutrients.
* Companion Planting: Consider planting companion plants like basil, thyme, or marigolds near your strawberries. These plants can deter pests and attract beneficial insects, further protecting your precious berries.
* Vertical Gardening: If you’re short on space, adapt this DIY trick to vertical gardening. Use stacked planters or hanging baskets to create a stunning strawberry display while maximizing your growing area.
* Climate Considerations: Adjust the watering frequency based on your local climate. In hotter, drier regions, you may need to water more frequently, while in cooler, wetter regions, you may need to reduce watering to prevent root rot.
* Soil Testing: Before planting, consider testing your soil’s pH level. Strawberries thrive in slightly acidic soil (pH 5.5-6.5). Amend your soil accordingly to ensure optimal growing conditions.
* Mulching Matters: Use organic mulch like straw or pine needles around your strawberry plants. Mulch helps retain moisture, suppress weeds, and regulate soil temperature.
We are confident that by implementing this DIY trick, you’ll witness a significant improvement in the health and productivity of your strawberry plants. The key is consistency and observation. Pay attention to your plants’ needs, adjust your approach as necessary, and enjoy the process of nurturing your own delicious strawberries.
Now, it’s your turn! We encourage you to try this DIY trick and share your experience with us. Let us know what worked well for you, what challenges you faced, and any variations you discovered along the way. Your feedback will help us refine this method and empower other gardeners to achieve strawberry-growing success. Share your photos and stories on social media using #DIYStrawberryCare and let’s build a community of thriving strawberry growers! Happy gardening!
Frequently Asked Questions (FAQ)
Q: What kind of soil is best for strawberry plants?
A: Strawberries thrive in well-draining, loamy soil that is rich in organic matter. The ideal pH level is slightly acidic, between 5.5 and 6.5. If your soil is heavy clay or sandy, amend it with compost, peat moss, or other organic materials to improve drainage and fertility. A soil test can help you determine the pH and nutrient levels of your soil and guide you in making necessary amendments.
Q: How often should I water my strawberry plants?
A: The watering frequency depends on several factors, including the climate, soil type, and stage of plant growth. Generally, strawberry plants need about 1 inch of water per week. Water deeply and less frequently, rather than shallowly and more often. Avoid overhead watering, as this can promote fungal diseases. Instead, water at the base of the plants, using a soaker hose or drip irrigation system. During hot, dry periods, you may need to water more frequently. Check the soil moisture regularly by sticking your finger about an inch into the soil. If it feels dry, it’s time to water.
Q: What are the most common pests and diseases that affect strawberry plants, and how can I prevent them?
A: Common pests include aphids, spider mites, slugs, and snails. Diseases include gray mold (Botrytis), leaf spot, and root rot. To prevent pests and diseases, practice good garden hygiene. Remove dead leaves and debris regularly, and ensure good air circulation around the plants. Use organic pest control methods, such as insecticidal soap or neem oil, to control pests. Avoid overwatering to prevent root rot. Choose disease-resistant varieties of strawberries. Companion planting with herbs like basil and thyme can also help deter pests.
Q: When is the best time to plant strawberry plants?
A: The best time to plant strawberry plants depends on your climate and the type of strawberry you are planting. In general, spring and fall are the ideal planting times. Spring planting allows the plants to establish themselves before the hot summer months, while fall planting allows them to develop a strong root system before winter. June-bearing strawberries are typically planted in early spring, while everbearing and day-neutral strawberries can be planted in either spring or fall. Check with your local nursery or extension office for specific planting recommendations for your area.
Q: How do I fertilize my strawberry plants?
A: Strawberries benefit from regular fertilization. Apply a balanced fertilizer (e.g., 10-10-10) in early spring, before the plants begin to actively grow. Avoid over-fertilizing, as this can lead to excessive foliage growth and reduced fruit production. You can also use organic fertilizers, such as compost or aged manure. Side-dress the plants with fertilizer, being careful not to get any fertilizer on the leaves. Consider using a fertilizer specifically formulated for berries.
Q: How do I protect my strawberry plants from frost?
A: Strawberry blossoms are susceptible to frost damage. If a frost is predicted, cover your plants with row covers, blankets, or straw. Remove the covers in the morning, once the temperature has risen above freezing. You can also water your plants before a frost, as this can help protect the blossoms. Avoid using plastic covers, as they can trap moisture and increase the risk of fungal diseases.
Q: How often should I replace my strawberry plants?
A: Strawberry plants typically produce well for 3-5 years. After that, their productivity declines. It’s best to replace your strawberry plants every 3-5 years to maintain a consistent yield. You can propagate new plants from runners produced by your existing plants. Choose healthy, vigorous runners and plant them in a new location.
Q: Can I grow strawberries in containers?
A: Yes, strawberries grow well in containers. Choose a container that is at least 12 inches in diameter and has good drainage. Use a well-draining potting mix that is rich in organic matter. Water regularly and fertilize as needed. Container-grown strawberries may need to be watered more frequently than those grown in the ground. Place the container in a sunny location that receives at least 6 hours of sunlight per day.
Q: How do I encourage more fruit production in my strawberry plants?
A: To encourage more fruit production, ensure that your plants receive adequate sunlight, water, and nutrients. Remove any dead or diseased leaves and blossoms. Pinch off runners from June-bearing strawberries to encourage the plants to focus their energy on fruit production. Protect the blossoms from frost. Hand-pollinate the flowers if necessary. Choose varieties that are known for their high yields.
Q: What do I do with my strawberry plants in the winter?
A: In colder climates, strawberry plants need winter protection. After the first hard frost, mulch the plants with straw or pine needles to insulate the roots and protect them from freezing temperatures. In milder climates, you may not need to mulch your plants. Remove any dead or diseased leaves. Water the plants occasionally during the winter if the soil is dry. In the spring, remove the mulch gradually as the weather warms up. Proper strawberry plant care ensures a bountiful harvest.


Leave a Comment