
Pet hair removal rubber gloves: Sounds too good to be true, right? I know, I thought so too! But trust me, as a fellow pet parent constantly battling the furry fallout, this simple DIY trick has been a game-changer in my home. We’re talking about a ridiculously easy, inexpensive, and surprisingly effective way to banish pet hair from your furniture, carpets, and even your clothes.
The concept of using rubber to attract and lift debris isn’t exactly new. Think about those old-fashioned rubber brushes used for cleaning carpets – they operate on the same principle of static cling. But the brilliance of using rubber gloves lies in their versatility and accessibility. You probably already have a pair tucked away under your sink! For centuries, people have sought simple, natural ways to keep their homes clean, and this hack fits perfectly into that tradition.
Why do you need this DIY trick? Because let’s face it, pet hair is a persistent problem. It’s not just about aesthetics; excessive pet hair can trigger allergies and even affect the air quality in your home. Vacuuming alone often isn’t enough, and specialized pet hair removal tools can be expensive. This pet hair removal rubber gloves hack offers a budget-friendly, eco-conscious alternative that actually works. I’m excited to share this simple yet effective solution with you, so you can finally win the war against pet hair and reclaim your home!
DIY Pet Hair Removal Hack: Rubber Gloves to the Rescue!
Okay, fellow pet parents, let’s be honest: we love our furry friends, but the shedding? Not so much. I’ve tried everything – vacuums, lint rollers, special brushes – and sometimes it feels like I’m fighting a losing battle. But then, I stumbled upon this ridiculously simple, yet incredibly effective, hack using something you probably already have in your kitchen: rubber gloves! Yes, you read that right. Rubber gloves. Get ready to say goodbye to pet hair clinging to your furniture, carpets, and clothes.
What You’ll Need:
* A pair of rubber gloves (the kind you use for washing dishes works perfectly!)
* A spray bottle filled with water (optional, but recommended for certain surfaces)
* A bucket or trash can to collect the hair
* A little bit of elbow grease!
How It Works: The Magic of Rubber
The slightly textured surface of rubber gloves creates friction when you rub it against fabric. This friction helps to loosen and lift pet hair that’s embedded in the fibers. It’s like a gentle, static-free magnet for fur! The optional water spray adds a little extra “grip” and helps the hair clump together, making it even easier to collect.
Getting Started: Preparing for Hair-Free Bliss
Before we dive in, let’s talk about the best way to use this hack on different surfaces.
* **Upholstery (Couches, Chairs, etc.):** For upholstery, I recommend lightly misting the surface with water. Don’t soak it! Just a light spritz will do. This helps the hair cling to the glove.
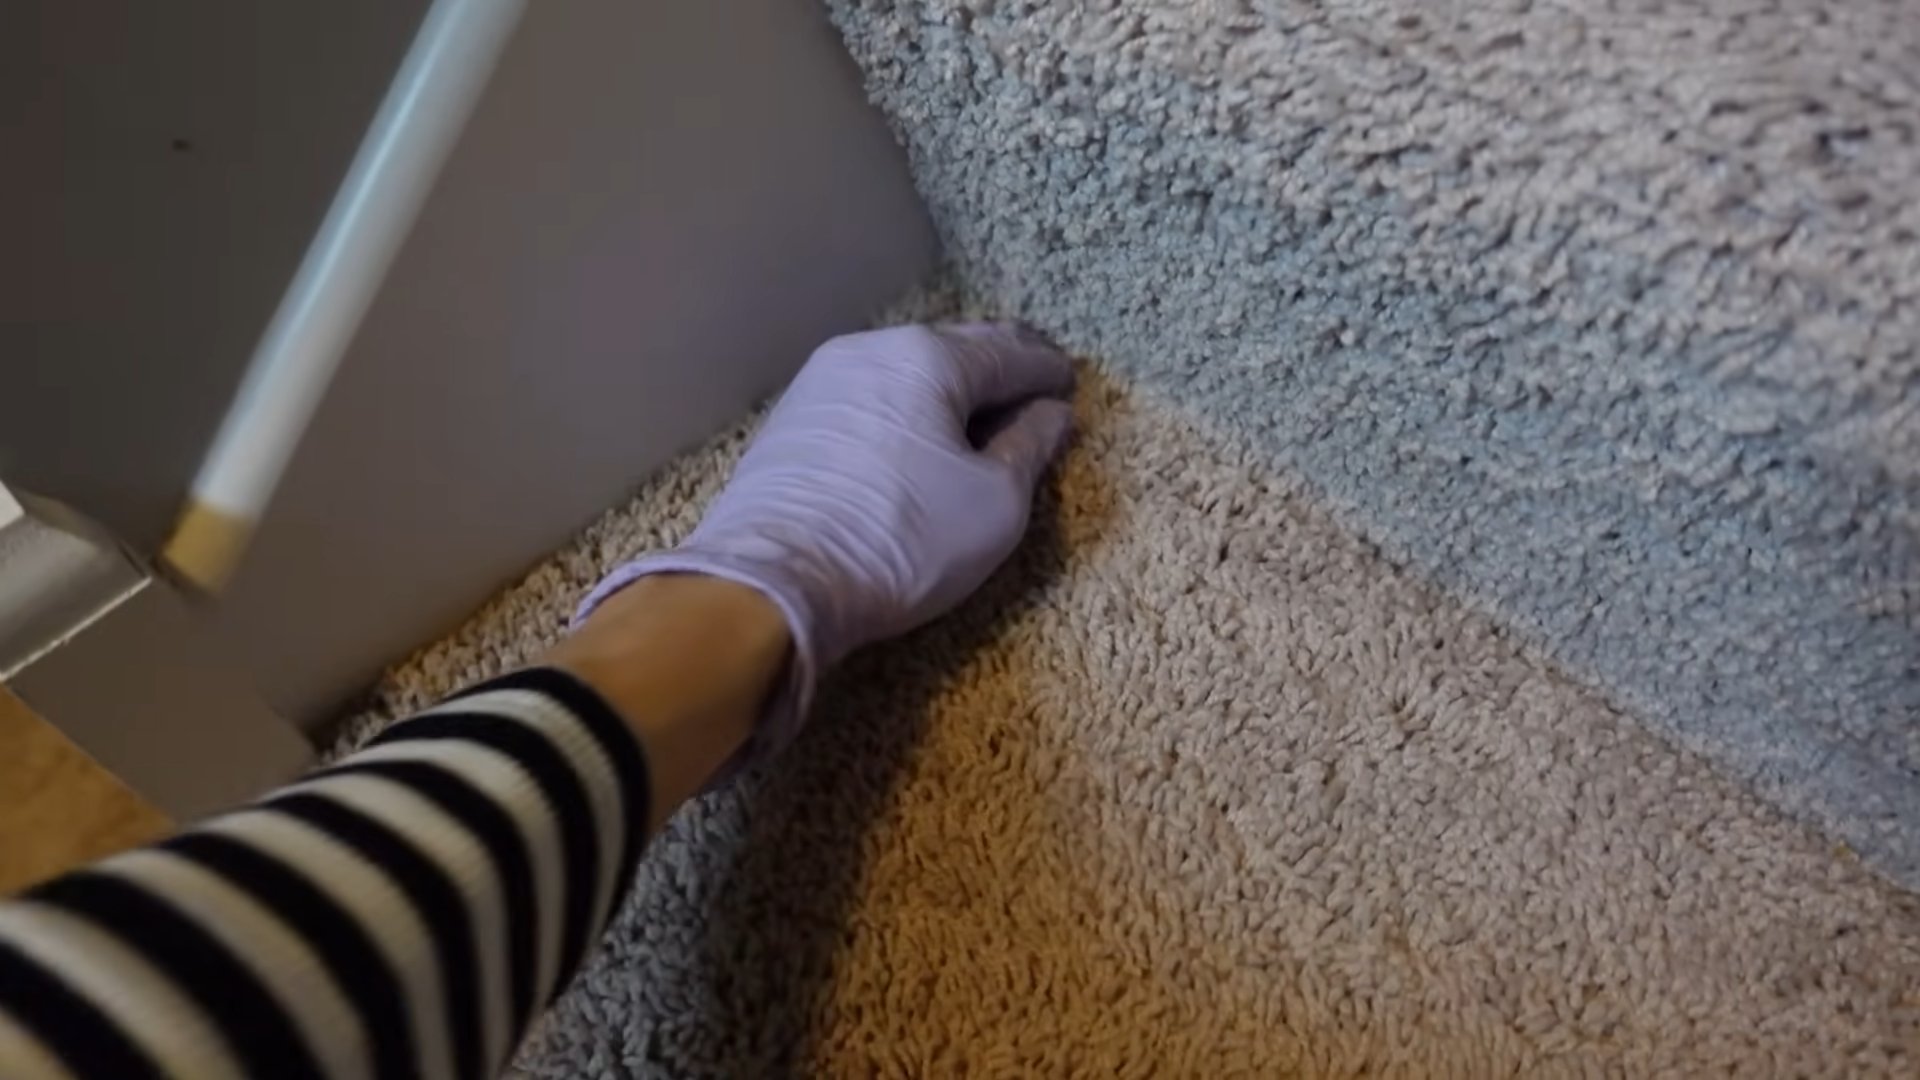
* **Carpets and Rugs:** You can use the gloves dry on carpets and rugs, but I find that a light mist of water helps here too, especially for deeply embedded hair.
* **Clothing:** For clothing, I usually use the gloves dry. Water can sometimes leave a slight residue on certain fabrics.
* **Car Interiors:** The same principles apply to car interiors as they do to upholstery. A light mist of water can be your best friend.
Step-by-Step Guide: Unleashing the Power of Rubber Gloves
Now for the fun part! Let’s get rid of that pet hair.
Phase 1: The Glove Technique
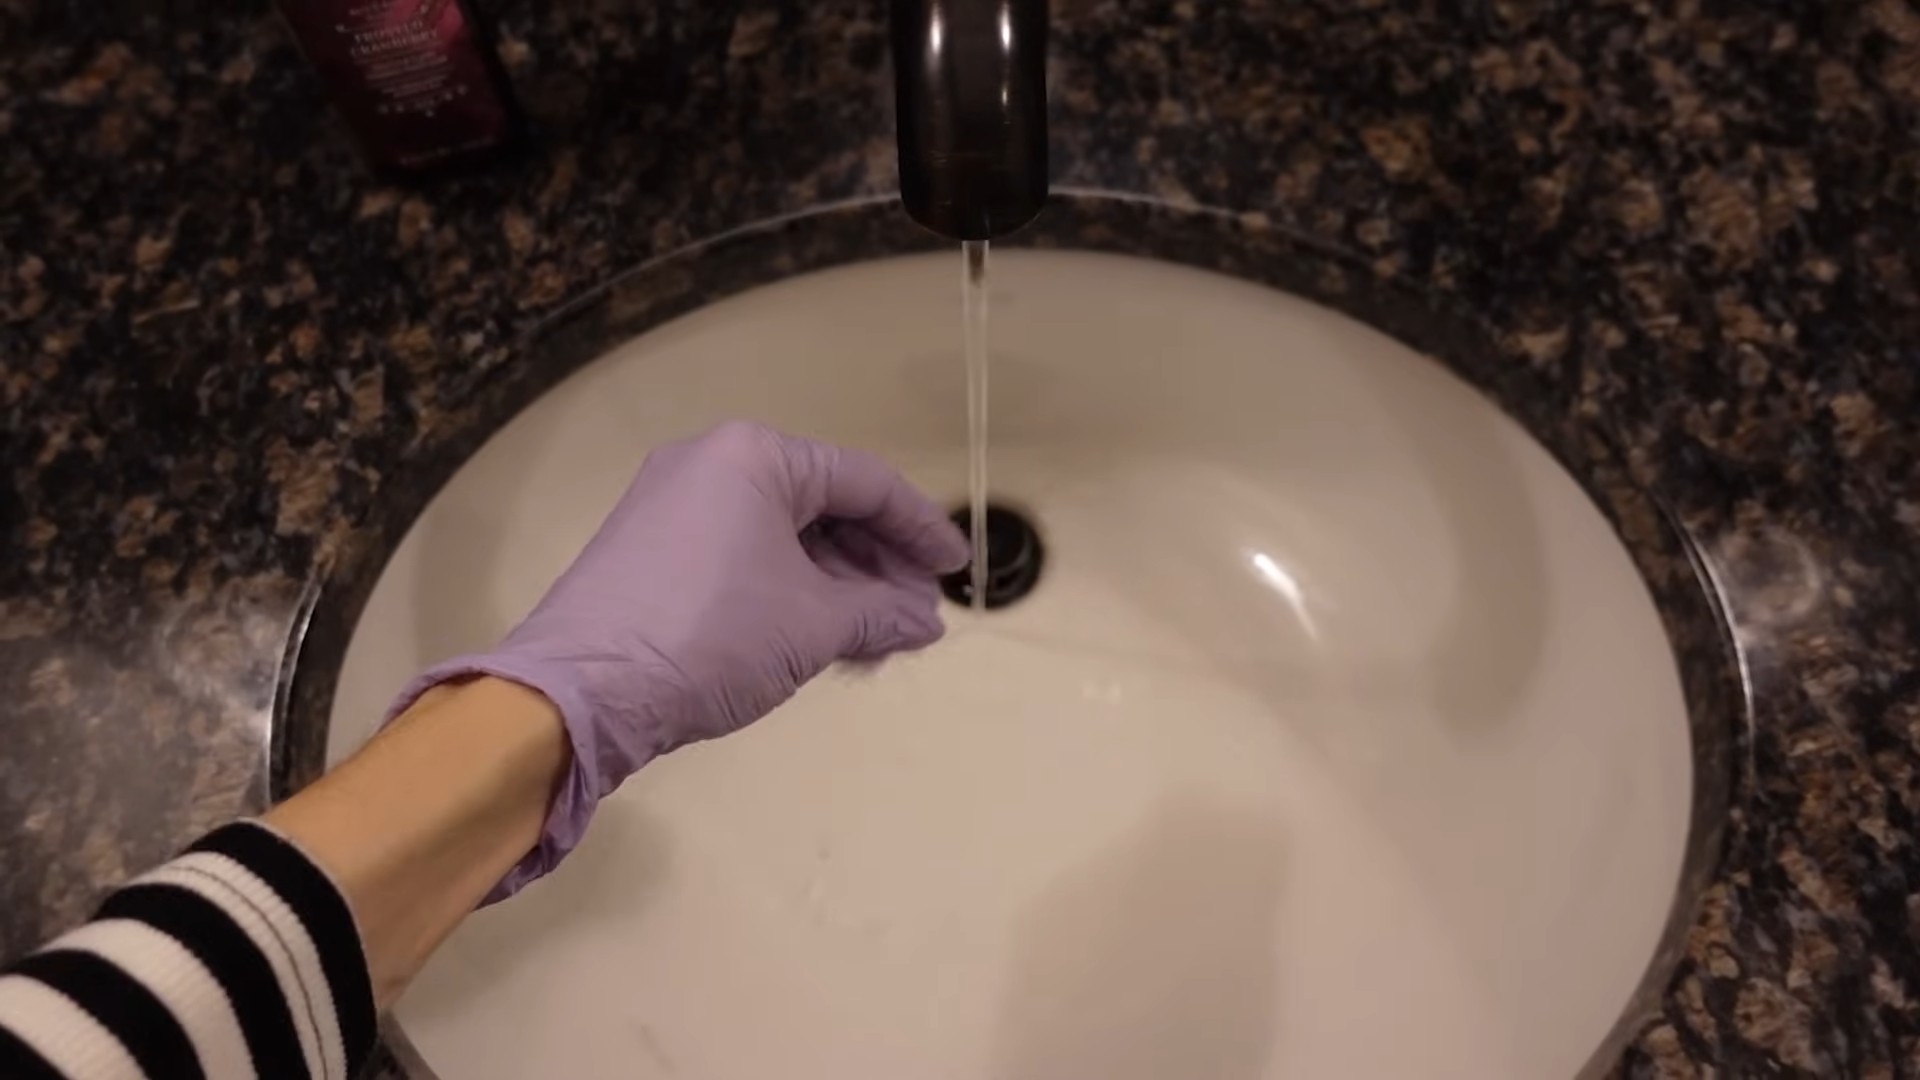
1. **Put on your rubber gloves:** Make sure they fit snugly. You want good contact between the glove and the surface you’re cleaning.
2. **(Optional) Lightly mist the surface:** If you’re working on upholstery, carpets, or car interiors, lightly spray the area with water. Remember, less is more!
3. **Start rubbing:** Using a firm, circular motion, rub the gloved hand over the surface. You’ll immediately start to see the pet hair clumping together. Don’t be afraid to apply a little pressure.
4. **Gather the hair:** As the hair clumps together, use your fingers (still gloved!) to gather it into a ball or roll.
5. **Dispose of the hair:** Toss the collected hair into your bucket or trash can.
6. **Repeat:** Continue rubbing, gathering, and disposing of the hair until you’ve covered the entire area.
Phase 2: Tackling Stubborn Areas
Sometimes, you’ll encounter areas with particularly stubborn pet hair. Here’s how to deal with them:
1. **Focus on the problem area:** Concentrate your rubbing efforts on the area with the most hair.
2. **Change your technique:** Try using shorter, more rapid strokes. This can help to dislodge hair that’s deeply embedded.
3. **Use a “scraping” motion:** Gently scrape the gloved hand across the surface to lift stubborn hairs. Be careful not to damage the fabric!
4. **Re-mist (if necessary):** If the area is drying out, re-mist it lightly with water.
5. **Persistence is key:** Don’t give up! Keep rubbing and gathering until you’ve removed as much hair as possible.
Phase 3: Finishing Touches
Once you’ve removed the bulk of the pet hair, it’s time for the finishing touches:
1. **Vacuum (optional):** After using the gloves, I sometimes like to give the area a quick vacuum to pick up any remaining loose hairs. This is especially helpful for carpets and rugs.
2. **Wipe down (if necessary):** If you used water, you might want to wipe down the surface with a clean, dry cloth to remove any excess moisture.
3. **Admire your work:** Step back and admire your hair-free furniture, carpets, or clothes!
Tips and Tricks for Pet Hair Removal Mastery
Here are a few extra tips and tricks I’ve learned along the way:
* Different Gloves, Different Results: Experiment with different types of rubber gloves. Some gloves have a more textured surface than others, which can affect their effectiveness. I’ve found that gloves with a slightly raised pattern work best.
* Clean Your Gloves: After each use, rinse your rubber gloves with water and let them air dry. This will help to keep them clean and prevent them from becoming sticky.
* Don’t Over-Wet: Remember, a little water goes a long way. Over-wetting the surface can make it harder to remove the hair and can potentially damage certain fabrics.
* Test on a Hidden Area: Before using this hack on a delicate fabric, test it on a hidden area first to make sure it doesn’t cause any damage or discoloration.
* Frequency is Key: The more often you use this hack, the less pet hair you’ll have to deal with in the long run. I try to do a quick once-over of my furniture and carpets every few days.
* Static Cling Solution: If you’re having trouble with static cling, try adding a dryer sheet to your rubber glove. The dryer sheet will help to neutralize the static and make it easier to gather the hair. Just rub the dryer sheet on the glove before you start cleaning.
* For Clothes in the Dryer: Toss a pair of clean, dry rubber gloves into the dryer with your clothes. The gloves will help to attract pet hair and lint, leaving your clothes cleaner. Just be sure to remove the gloves before you wear the clothes!
* Car Detailing Secret: This hack is amazing for car interiors! The rubber gloves can get into those tight spaces and crevices where pet hair loves to hide. Use the same technique as you would for upholstery, and you’ll be amazed at how much hair you can remove.
* Beyond Pet Hair: This hack isn’t just for pet hair! It also works great for removing lint, dust, and other debris from furniture, carpets, and clothes.
* Make it a Family Affair: Get the whole family involved in pet hair removal! It’s a quick and easy chore that everyone can help with. Put on some music and make it a fun activity.
* Consider a Pet Hair Vacuum: While the rubber glove trick is fantastic, it’s not a replacement for a good pet hair vacuum. For deep cleaning and large areas, a vacuum specifically designed for pet hair is still your best bet. Think of the rubber gloves as a quick and easy way to maintain a hair-free home between vacuuming sessions.
* Leather Furniture Care: Be extra gentle when using this hack on leather furniture. Avoid using water, and use a very light touch. You can also use a leather conditioner after cleaning to help restore moisture and prevent cracking.
* Microfiber Magic: This hack works wonders on microfiber furniture! Microfiber tends to attract pet hair like a magnet, but the rubber gloves can easily lift it away.
* Regular Grooming: The best way to reduce pet hair in your home is to groom your pet regularly. Brushing your pet several times a week will help to remove loose hair before it ends up on your furniture and carpets.
Why This Hack Rocks
I love this hack because it’s:
* **Affordable:** You probably already have rubber gloves in your kitchen!
* **Easy:** No special skills or tools required.
* **Effective:** It really works!
* **Versatile:** You can use it on a variety of surfaces.
* **Eco-friendly:** No need for disposable lint rollers or harsh chemicals.
So there you have it! My go-to pet hair removal hack using nothing but rubber gloves. Give it a try, and let me know what you think. I’m confident you’ll be amazed at how well it works. Happy cleaning!
Conclusion
Tired of battling pet hair that seems to cling to every surface in your home? From your favorite armchair to your car seats, those pesky strands can feel impossible to eradicate. But what if I told you the solution was already in your kitchen drawer? This simple, yet incredibly effective, DIY trick using ordinary rubber gloves is a game-changer for pet owners. It’s not just about removing hair; it’s about reclaiming your space and enjoying a cleaner, more comfortable living environment.
Why is this method a must-try? Because it’s affordable, readily accessible, and remarkably efficient. Forget expensive lint rollers and specialized vacuums. Rubber gloves offer a gentle yet powerful way to lift pet hair from fabrics without damaging them. The static electricity created by rubbing the gloves against the surface acts like a magnet, drawing hair out of even the deepest fibers. Plus, it’s an eco-friendly alternative to disposable cleaning products.
But the benefits don’t stop there. This DIY pet hair removal method is incredibly versatile. While we’ve focused on using rubber gloves, you can experiment with different types of gloves to find what works best for you. Some people prefer textured gloves for extra grip, while others find that thinner gloves offer more flexibility. You can also dampen the gloves slightly for even better hair collection, especially on carpets and upholstery.
Consider these variations to tailor the technique to your specific needs:
* For delicate fabrics: Use a very light touch and avoid excessive rubbing to prevent pilling or damage.
* For large areas: Work in sections, gathering the hair into piles as you go. This makes it easier to collect and dispose of.
* For stubborn hair: Combine the rubber glove method with a vacuum cleaner. Use the gloves to loosen the hair, then vacuum it up for a thorough clean.
* For car interiors: This trick works wonders on car seats and carpets. Pay special attention to crevices and hard-to-reach areas.
Beyond the practical advantages, this DIY approach empowers you to take control of your cleaning routine. You’re not relying on expensive products or complicated equipment. You’re using a simple, readily available tool to achieve remarkable results. It’s a satisfying and rewarding experience that will leave you feeling proud of your clean and hair-free home.
So, ditch the frustration and embrace the power of rubber gloves! We wholeheartedly encourage you to try this DIY pet hair removal trick and witness the difference it can make. It’s a small change that can have a big impact on your home and your peace of mind.
But don’t just take our word for it. We want to hear about your experiences! Share your tips, tricks, and before-and-after photos in the comments below. Let’s create a community of pet owners who are conquering the battle against pet hair, one rubber glove at a time. Your insights could help others discover the joy of a cleaner, happier home. Let us know how this method of **pet hair removal** worked for you!
Frequently Asked Questions (FAQ)
Q: What type of rubber gloves works best for pet hair removal?
A: While standard household rubber gloves are effective, textured gloves often provide a better grip and enhance hair collection. Experiment with different thicknesses and textures to find what works best for you and the surfaces you’re cleaning. Some users have found that nitrile gloves, while not technically rubber, also work well due to their static-inducing properties. The key is to find a glove that allows you to easily generate friction against the fabric.
Q: Will this method work on all types of pet hair?
A: This DIY trick is generally effective on most types of pet hair, including short, fine hair and long, thick hair. However, the effectiveness may vary depending on the type of fabric and the amount of hair present. For heavily soiled areas, you may need to repeat the process or combine it with other cleaning methods, such as vacuuming.
Q: Can I use this method on delicate fabrics like silk or velvet?
A: Yes, but with caution. Use a very light touch and avoid excessive rubbing to prevent pilling or damage. Test the method on an inconspicuous area first to ensure it doesn’t harm the fabric. You might also consider using a softer glove or dampening the glove very slightly to reduce friction.
Q: How do I clean the rubber gloves after using them to remove pet hair?
A: Simply rinse the gloves under running water to remove the collected hair. You can also use a mild soap to clean them thoroughly. Allow the gloves to air dry completely before storing them. For gloves with a lot of embedded hair, you can use a small brush to gently dislodge the hair before rinsing.
Q: Is this method safe for my pets?
A: Yes, this method is perfectly safe for your pets. You’re not using any harsh chemicals or abrasive materials that could harm them. In fact, some pets may even enjoy the gentle massage-like sensation of the rubber gloves being rubbed against their fur.
Q: How often should I use this method to remove pet hair?
A: The frequency depends on the amount of shedding your pet does and the level of cleanliness you desire. For heavy shedders, you may need to use this method several times a week. For lighter shedders, once a week may be sufficient. Regular maintenance will prevent hair from building up and becoming more difficult to remove.
Q: Can I use this method on clothing?
A: Yes, this method can be used on clothing, but it’s best suited for removing hair from larger items like blankets, upholstery, and car interiors. For smaller items of clothing, a lint roller may be more convenient. However, if you’re dealing with a particularly stubborn patch of hair on clothing, the rubber glove method can be a helpful alternative.
Q: Does this method work on carpets and rugs?
A: Yes, this method can be effective on carpets and rugs, especially for loosening embedded hair. Dampening the gloves slightly can improve hair collection on these surfaces. After using the gloves, vacuum the area thoroughly to remove any remaining hair. For heavily soiled carpets, you may need to use a carpet cleaner in addition to this method.
Q: What are some other uses for rubber gloves besides pet hair removal?
A: Rubber gloves are incredibly versatile and can be used for a variety of cleaning tasks, such as scrubbing bathrooms, washing dishes, and cleaning windows. They can also be used for gardening, painting, and other DIY projects. Keeping a pair of rubber gloves handy is always a good idea for any household.
Q: I’ve tried this method, and it’s not working as well as I expected. What am I doing wrong?
A: Here are a few things to consider:
* Glove type: Make sure you’re using gloves with a good grip. Textured gloves are often more effective.
* Pressure: Apply firm, even pressure as you rub the gloves against the surface.
* Direction: Try rubbing the gloves in different directions to see what works best for lifting the hair.
* Dampness: Slightly dampening the gloves can improve hair collection, especially on carpets and upholstery.
* Surface type: Some surfaces are more difficult to clean than others. You may need to repeat the process or combine it with other cleaning methods.
* Hair type: Extremely fine or deeply embedded hair may require more effort to remove.
If you’re still struggling, try experimenting with different techniques and products until you find what works best for you and your pet’s hair.

Leave a Comment