
Planting peas indoors? Absolutely! Forget waiting for the perfect spring weather; you can enjoy the sweet taste of homegrown peas even if you only have a sunny windowsill. I’m so excited to share this simple yet rewarding DIY project with you. For centuries, cultivating peas has been a staple in gardens worldwide, dating back to ancient civilizations. They’re not just delicious; they’re packed with nutrients and symbolize prosperity in some cultures.
But let’s be honest, not everyone has the space or ideal climate for a traditional outdoor garden. That’s where this fantastic trick comes in! Imagine fresh, crisp peas readily available for your salads, stir-fries, or even just a quick snack, all grown right in your kitchen. This DIY guide will walk you through every step, from selecting the right pea variety to ensuring optimal growth conditions.
Planting peas indoors is a game-changer for urban dwellers, apartment residents, or anyone looking to extend their growing season. Plus, it’s incredibly satisfying to nurture a plant from seed to harvest. So, grab your pots, soil, and pea seeds, and let’s embark on this green adventure together! You’ll be amazed at how easy and enjoyable it is to bring the garden indoors.
Planting Peas Indoors: A Kitchen Garden Delight
Hey there, fellow gardening enthusiasts! Ever dreamt of having fresh, sweet peas right at your fingertips, even when the weather outside is frightful? Well, dream no more! I’m going to walk you through the surprisingly simple process of planting peas indoors, creating your very own mini kitchen garden. Get ready to enjoy the taste of spring, no matter the season!
Why Grow Peas Indoors?
Before we dive in, let’s talk about why you might want to consider this indoor gardening adventure.
* Extended Growing Season: Say goodbye to seasonal limitations! Growing indoors allows you to enjoy fresh peas long before (or after) the typical outdoor growing season.
* Pest Control: Indoor environments offer a much-reduced risk of pests and diseases that can plague outdoor pea plants.
* Convenience: Imagine snipping fresh pea shoots or shelling plump pods right in your kitchen. Talk about farm-to-table freshness!
* Space Saving: Perfect for apartment dwellers or anyone with limited outdoor space. You don’t need a sprawling garden to enjoy homegrown peas.
* A Fun Project: It’s a rewarding and engaging activity, especially for kids!
Choosing the Right Pea Variety
Not all pea varieties are created equal when it comes to indoor growing. You’ll want to opt for bush or dwarf varieties, as they tend to stay compact and manageable. Here are a few of my favorites:
* ‘Little Marvel’: A classic dwarf variety that produces sweet, flavorful peas.
* ‘Tom Thumb’: An ultra-compact variety, perfect for small containers.
* ‘Sugar Ann’: An early-maturing snap pea variety that’s delicious eaten whole.
* ‘Snowbird’: A snow pea variety that produces flat, edible pods.
Materials You’ll Need
Alright, let’s gather our supplies! Here’s what you’ll need to get started:
* Pea Seeds: Choose your desired variety from the list above (or experiment with others!). Make sure they are fresh seeds for better germination.
* Containers: Select containers that are at least 6 inches deep and wide. Good drainage is crucial, so make sure they have drainage holes. I like using recycled plastic containers or even fabric pots.
* Potting Mix: Use a high-quality, well-draining potting mix. Avoid using garden soil, as it can compact and hinder drainage.
* Watering Can or Spray Bottle: For gentle watering.
* Grow Lights (Optional but Recommended): Peas need plenty of light, especially indoors. A grow light can supplement natural light and ensure healthy growth.
* Trellis or Support System (Optional): While bush varieties are compact, they may still benefit from some support as they grow. Small trellises, bamboo stakes, or even twigs can work.
* Seed Starting Tray (Optional): If you prefer to start your seeds in a tray before transplanting.
Step-by-Step Guide to Planting Peas Indoors
Okay, let’s get our hands dirty! Here’s a detailed guide to planting your peas indoors:
1. Soaking the Seeds (Optional but Recommended)
* Why Soak? Soaking pea seeds before planting can significantly improve germination rates. The water helps to soften the seed coat and kickstart the sprouting process.
* How to Soak: Place your pea seeds in a small bowl and cover them with lukewarm water. Let them soak for 12-24 hours. You’ll notice they plump up as they absorb water.
* Drain and Proceed: After soaking, drain the water and gently pat the seeds dry with a paper towel.
2. Preparing the Containers
* Choose Your Containers: Select the containers you’ll be using. Remember, good drainage is key!
* Fill with Potting Mix: Fill each container with your chosen potting mix, leaving about an inch of space at the top.
* Moisten the Soil: Gently water the potting mix until it’s evenly moist but not soggy.
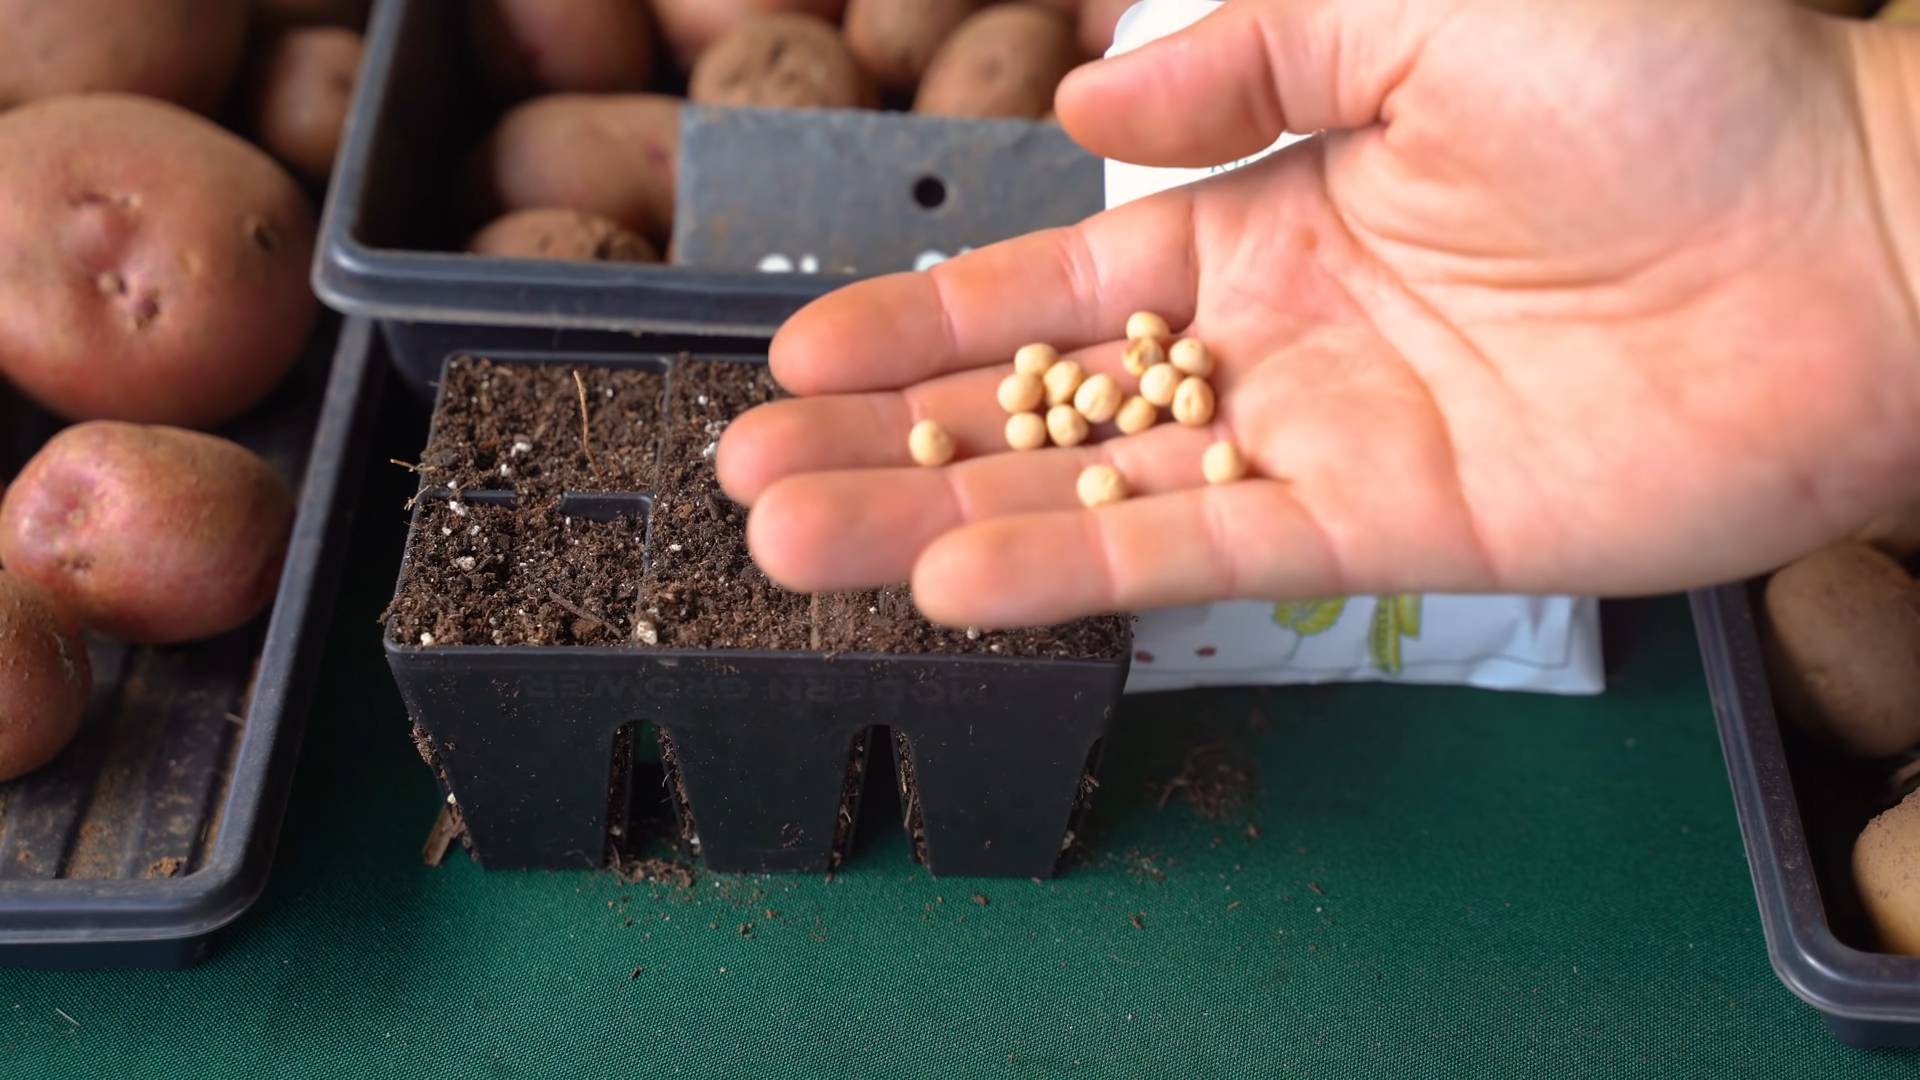
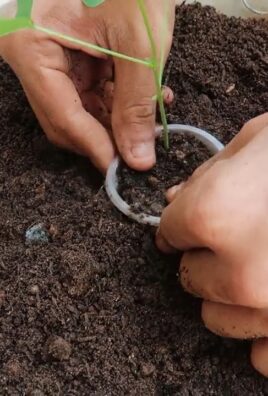
3. Planting the Seeds
* Spacing: Sow the pea seeds about 1-2 inches apart and 1 inch deep.
* Planting Technique: Make small indentations in the soil with your finger or a pencil. Place one seed in each indentation and cover it gently with soil.
* Water Again: Lightly water the soil again to settle the seeds in place.
4. Providing Light and Warmth
* Location: Place the containers in a location that receives at least 6-8 hours of direct sunlight per day. A south-facing window is ideal.
* Grow Lights: If you don’t have enough natural light, supplement with grow lights. Position the lights a few inches above the seedlings.
* Temperature: Peas prefer cooler temperatures, around 60-70°F (15-21°C).
5. Watering and Maintenance
* Watering Schedule: Keep the soil consistently moist but not waterlogged. Water when the top inch of soil feels dry to the touch.
* Fertilizing: Once the seedlings emerge, you can start fertilizing them with a balanced liquid fertilizer diluted to half strength. Fertilize every 2-3 weeks.
* Support System: If you’re growing a variety that needs support, install a small trellis or bamboo stakes when the plants are a few inches tall. Gently tie the stems to the support as they grow.
* Pest Control: Keep an eye out for any signs of pests, such as aphids or spider mites. If you spot any, treat them with insecticidal soap or neem oil.
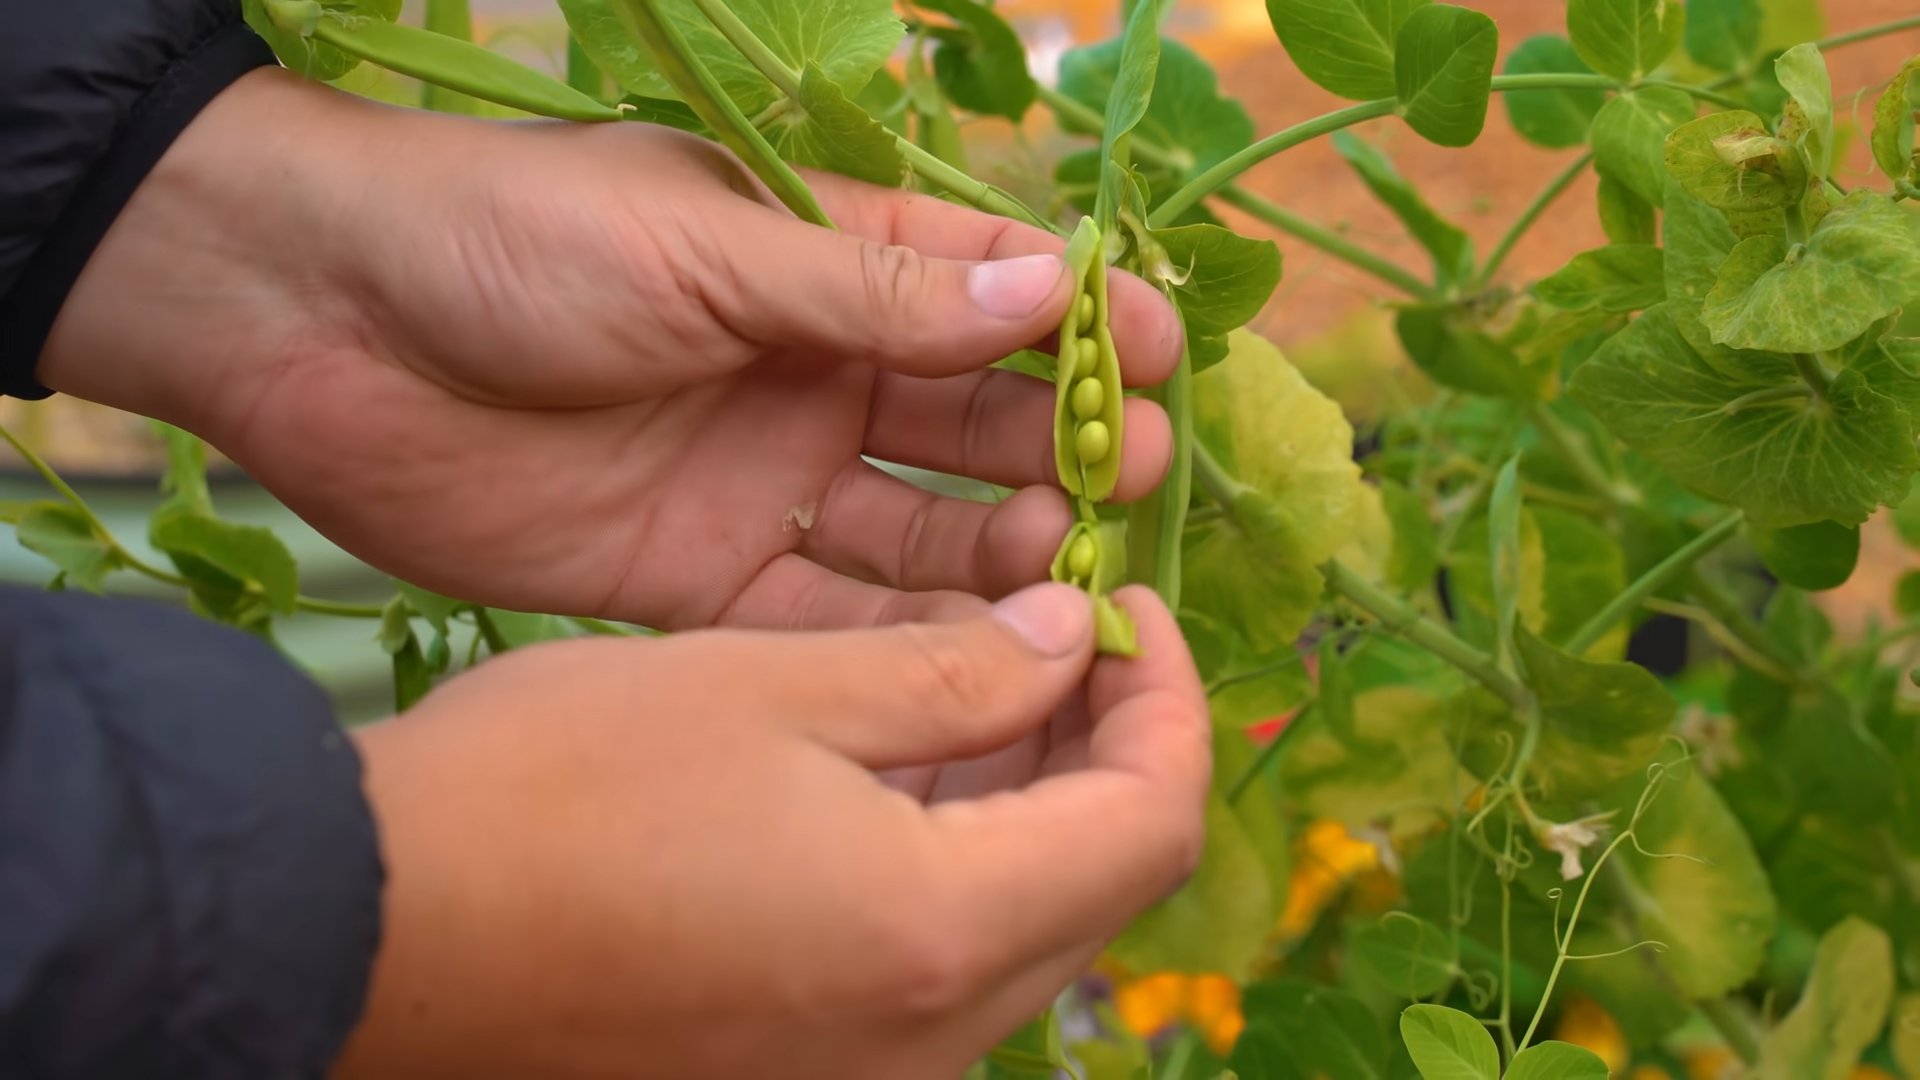
6. Harvesting Your Peas
* Harvest Time: The time it takes to harvest your peas will depend on the variety you’re growing. Generally, you can start harvesting snap peas when the pods are plump and the peas inside are still small. Shelling peas are ready when the pods are full and the peas are well-developed. Snow peas are harvested when the pods are flat and tender.
* Harvesting Technique: Gently snip the pea pods from the vine with scissors or your fingers.
* Enjoy Your Harvest: Eat your fresh peas raw, steamed, stir-fried, or added to your favorite dishes!
Troubleshooting Tips
Even with the best intentions, things can sometimes go awry. Here are a few common problems you might encounter and how to address them:
* Poor Germination: If your pea seeds aren’t germinating, make sure they’re fresh and haven’t dried out. Soaking the seeds before planting can also help. Ensure the soil is moist but not waterlogged.
* Leggy Seedlings: Leggy seedlings are tall and spindly, usually due to insufficient light. Provide more light, either by moving the plants to a sunnier location or using grow lights.
* Yellowing Leaves: Yellowing leaves can indicate a nutrient deficiency. Fertilize your plants with a balanced liquid fertilizer.
* Pests: Keep an eye out for pests and treat them promptly with insecticidal soap or neem oil.
Enjoying Your Indoor Pea Garden
Growing peas indoors is a rewarding experience that brings the taste of spring into your home, no matter the weather outside. With a little care and attention, you can enjoy fresh, delicious peas all year round. So, grab your seeds, get your hands dirty, and start your indoor pea garden today! Happy gardening!
Conclusion
So, there you have it! Planting peas indoors for your kitchen garden is not only achievable but also incredibly rewarding. We’ve walked you through the simple steps, from selecting the right pea variety to providing the optimal growing conditions. Why is this a must-try? Because imagine the sheer delight of harvesting fresh, sweet pea shoots and pods right from your windowsill, even when the weather outside is less than ideal. It’s a burst of springtime flavor available at your fingertips, adding a vibrant touch to your salads, stir-fries, and snacks.
Beyond the convenience and fresh flavor, growing your own peas indoors is a fantastic way to connect with nature, even in a small space. It’s a therapeutic activity that can reduce stress and bring a sense of accomplishment as you watch your tiny seeds sprout and flourish. Plus, it’s an excellent educational opportunity for children, teaching them about the life cycle of plants and the importance of sustainable food practices.
But the fun doesn’t stop there! Feel free to experiment with different pea varieties. Snow peas, snap peas, and shelling peas all have their unique textures and flavors. You can also try succession planting, sowing new seeds every few weeks to ensure a continuous harvest throughout the growing season. Consider using different types of containers, from repurposed yogurt containers to stylish terracotta pots, to add a personal touch to your indoor garden.
For a fun variation, try growing pea shoots specifically. These tender greens are packed with nutrients and have a delicate, sweet flavor. Simply sow the seeds densely in a shallow container and harvest the shoots when they are a few inches tall. They make a delicious addition to salads, sandwiches, and soups.
Don’t be intimidated if you’re a beginner gardener. Planting peas indoors is a forgiving and rewarding experience. With a little bit of care and attention, you’ll be enjoying fresh, homegrown peas in no time.
We wholeheartedly encourage you to give this DIY trick a try. It’s a simple, affordable, and incredibly satisfying way to bring the joy of gardening indoors. And most importantly, it allows you to enjoy the unparalleled taste of fresh, homegrown peas.
Once you’ve embarked on your indoor pea-growing adventure, we’d love to hear about your experience! Share your photos, tips, and challenges in the comments below. Let’s create a community of indoor gardeners and inspire others to discover the joys of growing their own food. What variety of peas did you choose? What challenges did you face, and how did you overcome them? Your insights could be invaluable to other aspiring indoor gardeners. So, get planting, get sharing, and get ready to enjoy the delicious rewards of your indoor pea garden! Let us know if this guide helped you with planting peas indoors.
Frequently Asked Questions (FAQ)
What are the best pea varieties to grow indoors?
While many pea varieties can be grown indoors, bush varieties tend to be more suitable due to their compact size. Some excellent choices include ‘Little Marvel,’ ‘Tom Thumb,’ ‘Sugar Ann’ (a bush snap pea), and ‘Oregon Sugar Pod II’ (another bush snow pea). These varieties don’t require extensive trellising and are well-suited for container gardening. Consider the size of your available space when selecting a variety. If you have limited vertical space, stick to the shortest bush varieties. If you have more room, you can experiment with slightly taller varieties and provide them with a small trellis or support.
How much sunlight do indoor peas need?
Peas need at least 6-8 hours of direct sunlight per day to thrive. If you don’t have a sunny windowsill, you can supplement with grow lights. Position the grow lights about 6-12 inches above the plants and keep them on for 12-16 hours per day. Rotate your pea plants regularly to ensure even light exposure on all sides. This will prevent them from leaning towards the light source and becoming leggy. If you notice your plants are stretching and becoming pale, it’s a sign that they’re not getting enough light.
What type of soil is best for planting peas indoors?
Use a well-draining potting mix that is rich in organic matter. Avoid using garden soil, as it can be too heavy and may contain pests or diseases. A good potting mix will provide the necessary nutrients and drainage for healthy pea growth. You can also amend your potting mix with compost or worm castings to further improve its fertility. Make sure your container has drainage holes to prevent waterlogging, which can lead to root rot.
How often should I water my indoor pea plants?
Water your pea plants regularly, keeping the soil consistently moist but not waterlogged. Check the soil moisture level daily and water when the top inch feels dry to the touch. Avoid overwatering, as this can lead to root rot. The frequency of watering will depend on factors such as the size of your container, the temperature, and the humidity. During warmer months, you may need to water more frequently.
Do I need to fertilize my indoor pea plants?
Peas are relatively light feeders, but they will benefit from occasional fertilization. Use a balanced liquid fertilizer diluted to half strength every 2-3 weeks. Avoid over-fertilizing, as this can lead to excessive foliage growth at the expense of pod production. You can also amend your soil with compost or worm castings to provide a slow-release source of nutrients.
How do I support my indoor pea plants?
While bush varieties are more compact, they may still benefit from some support, especially as they start to produce pods. You can use small trellises, stakes, or even chopsticks to provide support. Tie the pea plants to the support with soft twine or plant clips. This will help prevent them from falling over and ensure that they receive adequate sunlight and air circulation.
When can I harvest my indoor peas?
The harvesting time will depend on the variety of peas you are growing. Snow peas and snap peas are typically ready to harvest when the pods are plump and the peas inside are still small. Shelling peas are ready when the pods are full and the peas inside are large and well-developed. Pea shoots can be harvested when they are a few inches tall. Simply snip them off with scissors just above a leaf node.
How do I deal with pests and diseases on my indoor pea plants?
Indoor pea plants are generally less susceptible to pests and diseases than outdoor plants. However, they can still be affected by common pests such as aphids and spider mites. Inspect your plants regularly for signs of infestation and take action promptly. You can control aphids and spider mites by spraying them with a strong stream of water or by using insecticidal soap. Ensure good air circulation around your plants to prevent fungal diseases.
Can I grow peas indoors year-round?
Yes, you can grow peas indoors year-round, provided you can provide them with adequate light and temperature. Peas prefer cooler temperatures, so avoid placing them near heat sources. With proper care, you can enjoy a continuous harvest of fresh peas throughout the year. Succession planting, as mentioned earlier, is key to maintaining a steady supply.
What do I do with the pea plants after they finish producing?
Once your pea plants have finished producing, you can compost them or add them to your garden soil as a green manure. Peas are nitrogen-fixing plants, which means they can help improve the soil fertility. Alternatively, you can simply discard the plants. Remember to clean your containers thoroughly before reusing them for other plants.
Leave a Comment