
Radish Growing for Beginners can seem daunting, but trust me, it’s one of the most rewarding and quickest wins you can achieve in your home garden! Imagine this: just weeks after sowing tiny seeds, you’re pulling up vibrant, peppery radishes, ready to add a zesty crunch to your salads or a spicy kick to your tacos. Sounds good, right?
Radishes have a surprisingly long and fascinating history. Believed to have originated in Asia, they were cultivated in ancient Egypt and Greece, prized for their nutritional value and medicinal properties. They were even used as currency at one point! Today, while we might not be bartering with radishes, their appeal remains strong.
So, why should you dive into radish growing for beginners? Well, in today’s fast-paced world, we’re all looking for ways to connect with nature, eat healthier, and maybe even save a few bucks. Growing your own radishes ticks all those boxes! Plus, let’s be honest, there’s something incredibly satisfying about nurturing a plant from seed to harvest. This DIY guide will provide you with simple, effective tricks and hacks to ensure a bountiful radish crop, even if you’re a complete newbie. I’m here to guide you through every step, from choosing the right variety to troubleshooting common problems. Let’s get our hands dirty and grow some delicious radishes!
Growing Radishes: A Beginner’s Guide to Crunchy Success
Hey there, fellow gardening enthusiasts! I’m so excited to share my experience with growing radishes. They’re one of the easiest and fastest vegetables to cultivate, making them perfect for beginners like we all once were! Plus, that peppery bite is just fantastic in salads, on tacos, or even just munched on straight from the garden. Let’s dive into how you can grow your own delicious radishes.
Choosing the Right Radish Variety
First things first, let’s talk about radish varieties. There are tons to choose from, each with its own unique flavor, size, and color. Here are a few of my favorites:
* Cherry Belle: These are classic, round, bright red radishes. They mature quickly and have a mild flavor. Perfect for beginners!
* French Breakfast: These are elongated, red radishes with a white tip. They have a slightly milder flavor than Cherry Belle and are great in salads.
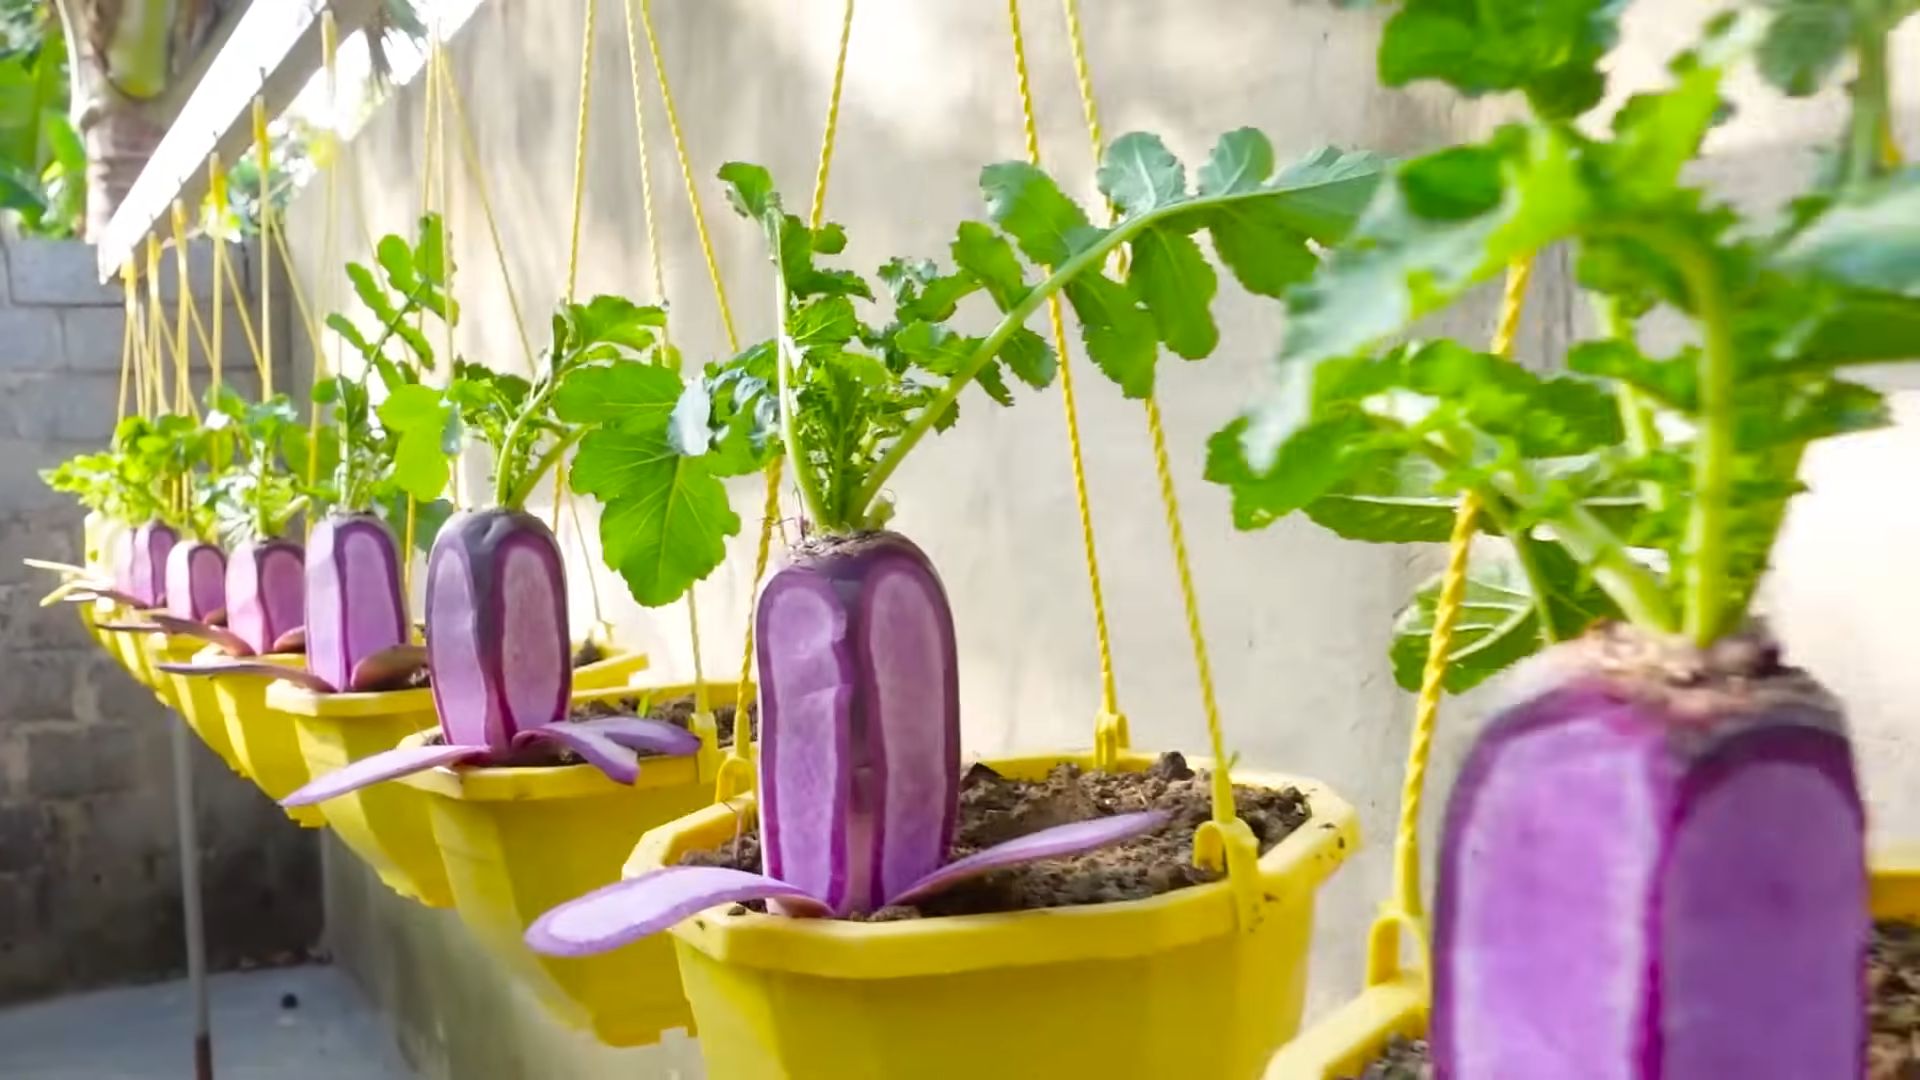
* Easter Egg: This is a mix of radishes in different colors – red, pink, purple, and white. It’s a fun option for adding visual interest to your garden and your plate.
* Black Spanish: These are larger, round radishes with black skin and white flesh. They have a stronger, more pungent flavor and take a bit longer to mature.
* Daikon: While technically a radish, Daikon radishes are much larger and milder than the smaller varieties. They’re often used in Asian cuisine.
My recommendation? Start with Cherry Belle or French Breakfast. They’re reliable and easy to grow, giving you a quick win and boosting your confidence!
Preparing Your Radish Bed
Radishes are pretty adaptable, but they do best in well-drained soil that’s rich in organic matter. Here’s how I prepare my radish bed:
* Sunlight: Radishes need at least 6 hours of sunlight per day. Choose a spot in your garden that gets plenty of sunshine.
* Soil: Radishes prefer loose, well-drained soil. If your soil is heavy clay, amend it with compost or other organic matter to improve drainage.
* pH: Radishes prefer a soil pH between 6.0 and 7.0. You can test your soil pH with a soil testing kit.
* Fertilizer: Radishes don’t need a lot of fertilizer. A light application of compost or a balanced fertilizer at planting time is usually sufficient. Avoid high-nitrogen fertilizers, as they can promote leafy growth at the expense of root development.
Important Tip: Remove any rocks or debris from the soil before planting. Radishes need to grow straight down, and obstacles can cause them to become misshapen.
Planting Radish Seeds
Now for the fun part – planting! Radishes are cool-season crops, so the best time to plant them is in early spring or late summer/early fall.
* Timing: In spring, plant radishes as soon as the soil can be worked. In fall, plant them about 4-6 weeks before the first expected frost.
* Spacing: Sow radish seeds about ½ inch deep and 1 inch apart in rows that are 6 inches apart.
* Sowing: I like to make a shallow trench with my finger, sprinkle the seeds in, and then gently cover them with soil.
* Watering: Water the soil gently after planting to keep it moist.
Succession Planting: To enjoy a continuous harvest of radishes, plant a new batch of seeds every 1-2 weeks. This is called succession planting, and it’s a great way to keep your garden productive.
Caring for Your Radishes
Radishes are relatively low-maintenance, but there are a few things you can do to help them thrive:
* Watering: Keep the soil consistently moist, but not soggy. Radishes need regular watering to develop properly.
* Weeding: Keep the radish bed free of weeds. Weeds can compete with radishes for nutrients and water.
* Thinning: Once the radish seedlings are a few inches tall, thin them to about 2 inches apart. This will give them enough space to grow.
* Pest Control: Radishes are generally pest-resistant, but they can be susceptible to flea beetles. These tiny beetles can chew small holes in the leaves. You can control flea beetles with insecticidal soap or by covering the plants with row covers.
My Watering Secret: I prefer to water my radishes in the morning. This gives the leaves time to dry out before nightfall, which can help prevent fungal diseases.
Harvesting Your Radishes
This is the moment we’ve all been waiting for! Radishes are ready to harvest when they reach the size specified on the seed packet. This is usually about 3-4 weeks after planting for most varieties.
* Checking for Readiness: Gently brush away the soil around the top of the radish to check its size.
* Harvesting Technique: To harvest, simply pull the radishes out of the ground.
* Washing and Storing: Wash the radishes thoroughly and remove the tops. Store them in a plastic bag in the refrigerator for up to a week.
Don’t Wait Too Long! Radishes can become woody and bitter if they’re left in the ground too long. Harvest them as soon as they’re ready.
Troubleshooting Common Radish Problems
Even with the best care, you might encounter a few problems when growing radishes. Here are some common issues and how to address them:
* Radishes are all tops and no bottoms: This is usually caused by too much nitrogen in the soil. Avoid using high-nitrogen fertilizers.
* Radishes are small and stunted: This can be caused by overcrowding, poor soil, or lack of water. Thin the seedlings, amend the soil with compost, and water regularly.
* Radishes are cracked: This is usually caused by inconsistent watering. Keep the soil consistently moist.
* Radishes are bitter: This can be caused by hot weather or letting the radishes grow too large. Harvest them when they’re young and tender.
My Go-To Solution: If I’m having trouble with my radishes, I always start by checking the soil moisture. Consistent watering is key to healthy radish growth.
Radish Recipes and Uses
Now that you’ve harvested your radishes, it’s time to enjoy them! Here are a few of my favorite ways to use radishes:
* Salads: Thinly sliced radishes add a peppery crunch to salads.
* Tacos: Radishes are a great topping for tacos.
* Sandwiches: Add sliced radishes to sandwiches for a bit of zing.
* Butter and Salt: This is a classic way to enjoy radishes. Simply spread butter on a slice of bread, top with sliced radishes and a sprinkle of salt.
* Roasted Radishes: Roasting radishes mellows out their flavor and makes them surprisingly sweet.
* Radish Greens: Don’t throw away the radish greens! They’re edible and can be used in salads, soups, or stir-fries.
My Favorite Recipe: Radish and Cucumber Salad with Dill Vinaigrette
This salad is so refreshing and easy to make. Here’s what you’ll need:
* 1 bunch radishes, thinly sliced
* 1 cucumber, thinly sliced
* 1/4 cup chopped fresh dill
* 2 tablespoons olive oil
* 1 tablespoon lemon juice
* Salt and pepper to taste
Instructions:
1. Combine the radishes, cucumber, and dill in a bowl.
2. In a separate bowl, whisk together the olive oil, lemon juice, salt, and pepper.
3. Pour the dressing over the salad and toss to combine.
4. Serve immediately or chill for later.
Final Thoughts
Growing radishes is a rewarding experience, and I hope this guide has given you the confidence to try it yourself. Remember to choose the right variety, prepare your soil, plant your seeds carefully, and provide consistent care. With a little bit of effort, you’ll be enjoying fresh, crunchy radishes in no time! Happy gardening!
Conclusion
So, there you have it! Radish growing for beginners doesn’t have to be intimidating. With a little planning, the right conditions, and these simple steps, you can enjoy a crisp, peppery harvest in just a few weeks. This DIY approach to radish cultivation is a must-try for several reasons. First, it’s incredibly rewarding to nurture something from seed to table. Second, homegrown radishes taste significantly better than store-bought ones – the flavor is fresher, the texture is crisper, and you know exactly what went into growing them. Finally, it’s a fantastic way to introduce gardening to children or anyone who’s hesitant to get their hands dirty.
But the best part? The possibilities are endless! Experiment with different radish varieties. Try French Breakfast for a mild flavor, Cherry Belle for a classic red radish, or Daikon for a larger, more pungent option. You can also play around with companion planting. Radishes are known to deter pests from other vegetables, making them excellent neighbors for carrots, lettuce, and cucumbers. Consider interplanting them in your garden beds to maximize space and create a healthier ecosystem.
Don’t be afraid to get creative with your radish harvest, too. Beyond salads, radishes can be roasted, pickled, or even used in soups and stews. The greens are also edible and can be sautéed or added to salads for a peppery kick.
We wholeheartedly encourage you to give this DIY radish growing method a try. It’s a simple, satisfying, and delicious way to connect with nature and enjoy fresh, homegrown produce. Once you’ve experienced the joy of harvesting your own radishes, you’ll be hooked!
We’re confident that you’ll find success with this guide. Remember to pay attention to your radishes’ needs, adjust your watering schedule as needed, and don’t be afraid to experiment. The most important thing is to have fun and enjoy the process.
Now, it’s your turn! Plant those seeds, nurture those seedlings, and watch your radishes grow. And most importantly, share your experience with us! We’d love to hear about your successes, your challenges, and any tips or tricks you discover along the way. Post photos of your radish harvest on social media using [Your Hashtag Here] or leave a comment below. Let’s build a community of radish-growing enthusiasts and inspire others to get their hands dirty! Happy gardening!
Frequently Asked Questions (FAQ)
What is the best time of year to plant radishes?
Radishes are cool-season crops, meaning they thrive in cooler temperatures. The best time to plant radishes is in early spring or late summer/early fall. In spring, plant them as soon as the soil can be worked. For a fall harvest, sow seeds about 4-6 weeks before the first expected frost. Avoid planting radishes during the hottest months of summer, as they tend to bolt (go to seed) in high temperatures, resulting in poor-tasting roots.
How much sunlight do radishes need?
Radishes need at least 6 hours of sunlight per day to grow properly. However, they can tolerate partial shade, especially in warmer climates. If you live in an area with hot summers, providing some afternoon shade can help prevent bolting.
What kind of soil is best for radishes?
Radishes prefer well-drained, loose soil that is rich in organic matter. Amend heavy clay soil with compost or other organic materials to improve drainage and aeration. A slightly acidic to neutral soil pH (around 6.0 to 7.0) is ideal.
How often should I water radishes?
Radishes need consistent moisture to grow quickly and develop crisp, flavorful roots. Water them regularly, especially during dry periods. Aim to keep the soil consistently moist but not waterlogged. Overwatering can lead to root rot. A good rule of thumb is to water deeply once or twice a week, depending on the weather and soil conditions.
How long does it take for radishes to mature?
One of the great things about radishes is that they mature very quickly. Most varieties are ready to harvest in just 3-4 weeks from planting. Check the seed packet for the specific maturity time of the variety you are growing.
How do I know when radishes are ready to harvest?
Radishes are ready to harvest when the roots reach the size specified on the seed packet. Gently loosen the soil around the radish and pull it out. If the roots are too small, leave them in the ground for a few more days. If they are too large, they may become woody and less flavorful.
Why are my radishes cracking?
Radish roots can crack if they experience inconsistent watering. This is often caused by periods of drought followed by heavy watering. To prevent cracking, water your radishes regularly and consistently, especially during dry spells.
Why are my radishes all tops and no roots?
There are several reasons why radishes might produce abundant foliage but small or non-existent roots. These include:
* **Overcrowding:** Thin seedlings properly to ensure they have enough space to develop.
* **Poor soil:** Radishes need loose, well-drained soil to form good roots. Amend heavy soil with compost.
* **Too much nitrogen:** Excessive nitrogen fertilizer can promote leafy growth at the expense of root development. Use a balanced fertilizer or one that is lower in nitrogen.
* **Hot weather:** High temperatures can cause radishes to bolt, which inhibits root growth. Plant radishes in early spring or late summer to avoid the hottest months.
Can I eat radish greens?
Yes, radish greens are edible and nutritious! They have a peppery flavor similar to the roots. You can add them to salads, sauté them, or use them in soups and stews. Choose young, tender greens for the best flavor.
How do I store radishes?
To store radishes, remove the greens (leaving about an inch of stem) and wash the roots. Place them in a plastic bag or container with a damp paper towel and store them in the refrigerator. They should keep for about a week.
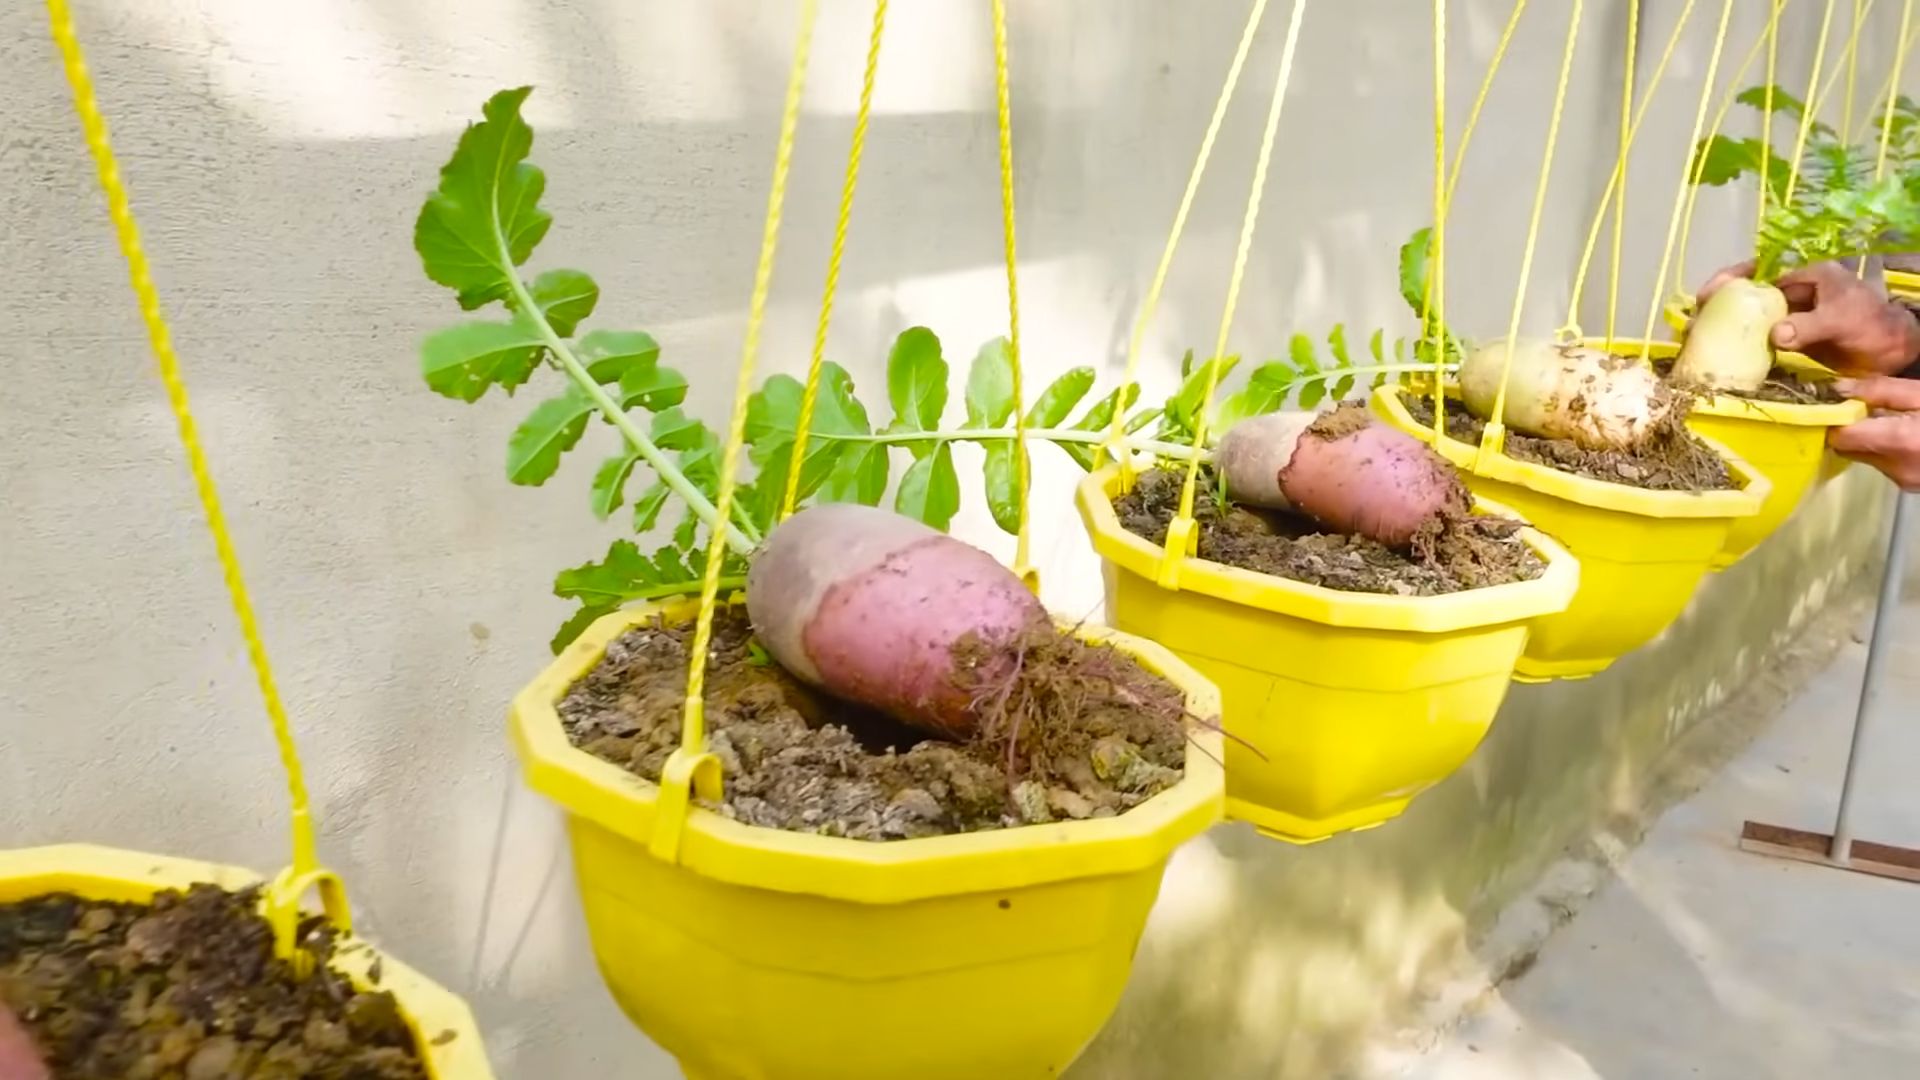
Can I grow radishes in containers?
Yes, radishes are well-suited for container gardening. Choose a container that is at least 6 inches deep and has drainage holes. Use a good-quality potting mix and follow the same planting and care instructions as for growing radishes in the ground.
What are some common radish pests and diseases?
Radishes are generally pest-resistant, but they can be susceptible to flea beetles, root maggots, and aphids. Cover your plants with row covers to protect them from pests. Diseases are less common, but root rot can occur in poorly drained soil.
Can I save radish seeds?
Saving radish seeds is possible, but it requires allowing the plants to bolt and produce seed pods. This typically takes longer than the radish root growing cycle. Radishes are also cross-pollinated, so if you are growing multiple varieties, the seeds may not be true to type.
What are some good companion plants for radishes?
Radishes are excellent companion plants for many vegetables, including carrots, lettuce, spinach, cucumbers, and beans. They can help deter pests and improve soil health. Avoid planting radishes near hyssop.
Leave a Comment