
Rubber Band Life Hacks: Who knew these humble little loops could be the secret weapon in your home gardening arsenal? I’m always on the lookout for clever, budget-friendly ways to make my gardening life easier, and let me tell you, rubber bands are a game-changer! From ancient civilizations using natural rubber-like substances for various purposes to the modern-day marvel of mass-produced rubber bands, these stretchy wonders have a surprisingly rich history.
But beyond their historical significance, why should you, a fellow gardening enthusiast, care about rubber band life hacks? Well, think about it: are you tired of struggling with unruly tomato plants? Do you wish there was a simple way to keep your seedlings upright? Or maybe you’re just looking for a creative and inexpensive way to label your herbs? That’s where these ingenious tricks come in!
This article is packed with easy-to-follow DIY solutions that will save you time, money, and frustration in the garden. I’m going to share my favorite ways to use rubber bands for everything from pest control to plant support. Get ready to unlock the full potential of these everyday items and transform your gardening experience!
Rubber Band Life Hacks: Unleash the Power of Elasticity!
Hey there, fellow DIY enthusiasts! I’m always on the lookout for clever ways to simplify life, and let me tell you, rubber bands are unsung heroes in the world of hacks. They’re cheap, readily available, and surprisingly versatile. I’ve compiled a list of my favorite rubber band life hacks that I think you’ll find incredibly useful. Get ready to be amazed by the power of elasticity!
Preventing Slippage and Improving Grip
Rubber bands are fantastic for adding grip and preventing things from slipping. Here’s how I use them:
* **Slippery Hangers:** Those satin or silk blouses always seem to slide right off hangers, don’t they?
* **Cutting Boards on the Move:** Keep your cutting board from sliding around while you’re chopping veggies.
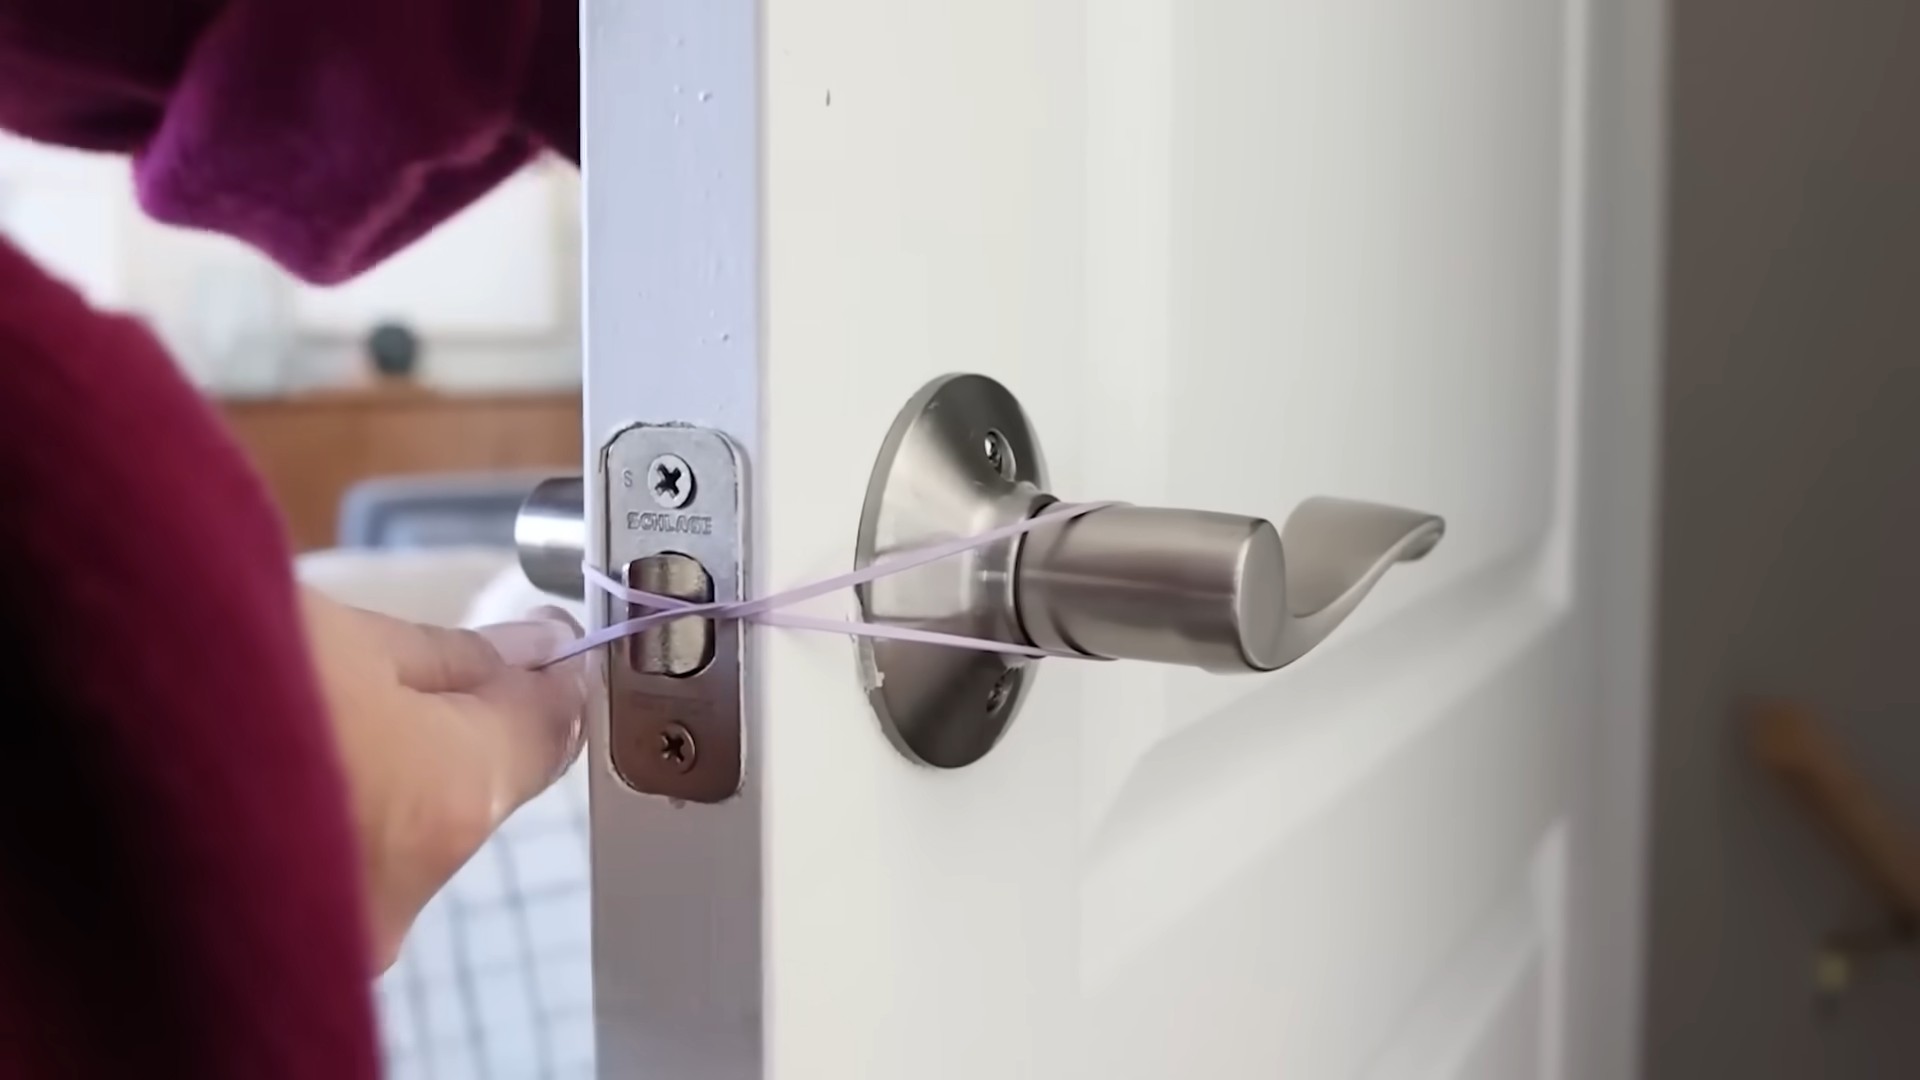
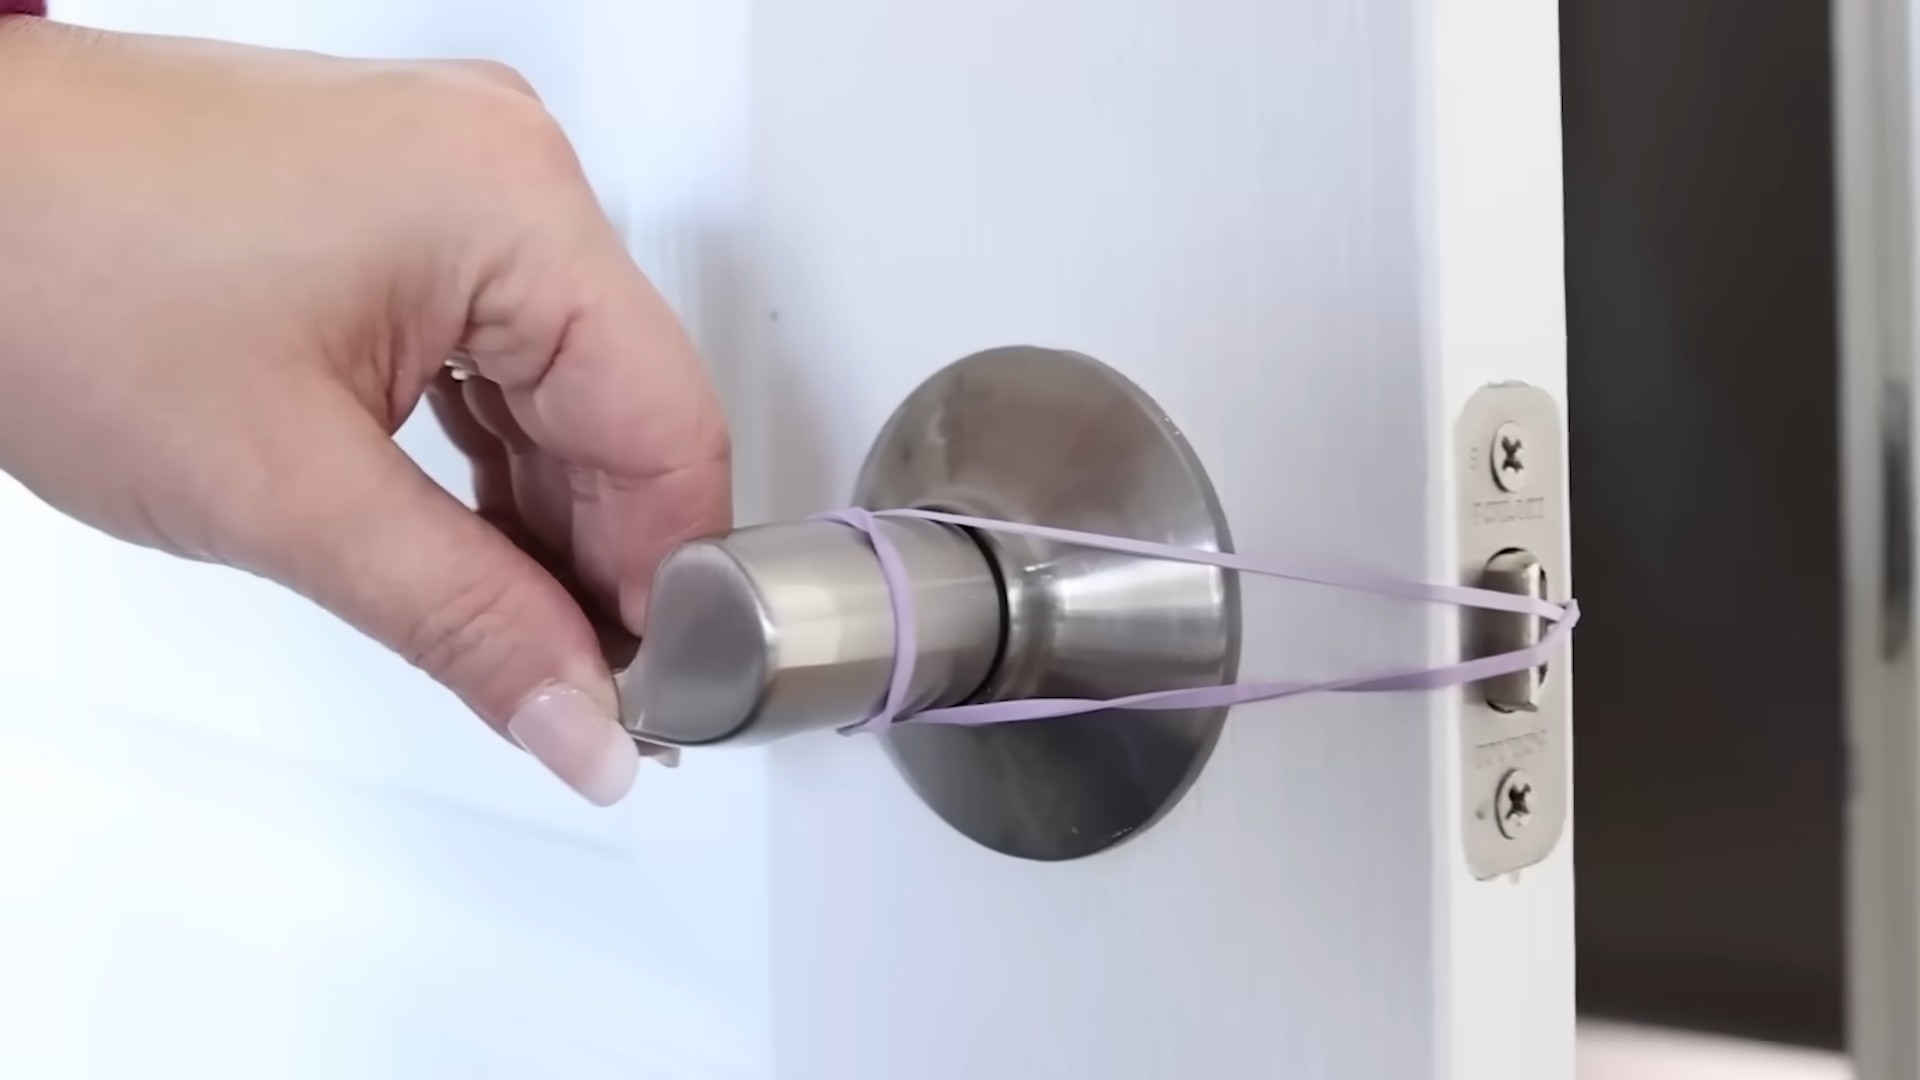
* **Jar Lids That Won’t Budge:** Struggling to open a stubborn jar?
* **Loose Glasses:** Keep your glasses from sliding down your nose.
Hack 1: No-Slip Hangers
Step-by-step Instructions:
1. Gather your supplies: You’ll need a few rubber bands (the thicker, the better) and the slippery hanger you want to fix.
2. Wrap the rubber bands: Take one rubber band and wrap it tightly around one end of the hanger, near where the garment would sit. Make sure to cover a good portion of the hanger arm.
3. Repeat on the other side: Do the same thing on the other end of the hanger.
4. Test it out: Hang your slippery garment on the hanger. The rubber bands should provide enough friction to keep it in place. If it still slips a bit, add more rubber bands! I sometimes use two or three on each side for extra grip.
Hack 2: Stationary Cutting Board
Step-by-step Instructions:
1. Find the right size: Choose four rubber bands that are large enough to stretch around the corners of your cutting board.
2. Attach to the corners: Place one rubber band around each corner of the cutting board, making sure they’re snug but not so tight that they’ll snap.
3. Chop away! Place your cutting board on your countertop. The rubber bands will grip the surface and prevent the board from sliding while you’re chopping. I find this especially helpful when I’m working with wet ingredients.
Hack 3: Jar Opener Extraordinaire
Step-by-step Instructions:
1. Grab a thick rubber band: You’ll want a wide, sturdy rubber band for this one.
2. Wrap it around the lid: Wrap the rubber band tightly around the edge of the jar lid. Make sure it covers the entire circumference of the lid.
3. Get a grip: The rubber band will provide extra grip, making it easier to twist the lid open. If it’s still tough, try running the lid under warm water for a few seconds to help loosen it. I’ve saved myself so much frustration with this simple trick!
Hack 4: Glasses That Stay Put
Step-by-step Instructions:
1. Small rubber bands are key: You’ll need two small, thin rubber bands for this hack. Clear ones are the most discreet.
2. Position the rubber bands: Slide one rubber band onto each arm of your glasses, near the point where they rest on your ears.
3. Adjust for comfort: Adjust the position of the rubber bands until your glasses feel secure and comfortable. The rubber bands will add a bit of friction, preventing your glasses from sliding down your nose. I use this trick all the time, especially when I’m working out or doing anything active.
Organization and Storage Solutions
Rubber bands aren’t just for grip; they’re also amazing for organization. I use them to keep things tidy all over my house.
* Bundling Cables: Tame those tangled messes of cords behind your TV or computer.
* Securing Food Storage Containers: Prevent spills and keep your leftovers fresh.
* Holding Paintbrushes Together: Keep your paintbrushes organized and prevent them from fraying.
* Bookmarking Pages: A simple and effective way to mark your place in a book.
Hack 5: Cable Management Master
Step-by-step Instructions:
1. Gather your cables: Identify the cables you want to bundle together.
2. Wrap them up: Use a rubber band to wrap around the cables, keeping them neatly organized. You can use multiple rubber bands for larger bundles.
3. Label if needed: For extra organization, label each bundle with a small piece of tape so you know what each cable is for. I can’t tell you how much time this has saved me when I’m trying to find the right cable!
Hack 6: Spill-Proof Food Storage
Step-by-step Instructions:
1. Choose the right size: Select a rubber band that fits snugly around the lid of your food storage container.
2. Secure the lid: Place the lid on the container and then wrap the rubber band around the lid and the container to create a secure seal.
3. Say goodbye to spills: This is especially useful for transporting liquids or sauces. I always use this trick when I’m packing my lunch.
Hack 7: Paintbrush Perfection
Step-by-step Instructions:
1. Clean your brushes: Make sure your paintbrushes are clean and dry before storing them.
2. Bundle them together: Gather your paintbrushes and wrap a rubber band around the bristles to keep them together.
3. Prevent fraying: This will help prevent the bristles from fraying and keep your brushes in good condition. I’ve found that this extends the life of my paintbrushes significantly.
Hack 8: The Ultimate Bookmark
Step-by-step Instructions:
1. Grab a rubber band: Any size will do, but I prefer a medium-sized one.
2. Place it around the page: Simply place the rubber band around the page you want to mark.
3. Easy to find: The rubber band will keep your place and prevent the pages from getting dog-eared. I always have a rubber band handy when I’m reading.
Creative and Unexpected Uses
Beyond the practical, rubber bands can also be used in some pretty creative ways. Here are a few of my favorite unexpected uses:
* Emergency Phone Stand: Prop up your phone for hands-free viewing.
* DIY Screen Printing: Create custom designs on fabric.
* Opening Stuck Zippers: Get a better grip on stubborn zippers.
* Temporary Tattoo Stencils: Create fun and temporary body art.
Hack 9: Instant Phone Stand
Step-by-step Instructions:
1. Find a thick rubber band: You’ll need a rubber band that’s thick enough to support your phone.
2. Create a loop: Fold the rubber band in half and then twist the ends together to create a loop.
3. Prop up your phone: Place your phone inside the loop, using the rubber band as a stand. Adjust the angle as needed. I use this all the time when I’m watching videos on my phone.
Hack 10: Screen Printing at Home
Step-by-step Instructions:
1. Gather your materials: You’ll need a picture frame, sheer fabric (like tulle), rubber bands, fabric paint, and a stencil.
2. Attach the fabric: Stretch the sheer fabric tightly over the picture frame and secure it with rubber bands.
3. Create your stencil: Place your stencil on top of the fabric.
4. Apply the paint: Use a squeegee or a piece of cardboard to spread fabric paint over the stencil.
5. Remove the stencil: Carefully remove the stencil and let the paint dry. This is a fun and creative way to personalize clothing or other fabric items.
Hack 11: Zipper Savior
Step-by-step Instructions:
1. Attach the rubber band: Loop a rubber band through the zipper pull.
2. Get a better grip: The rubber band will provide a larger, easier-to-grip surface.
3. Pull the zipper: Gently pull on the rubber band to move the zipper up or down. I’ve saved many stuck zippers with this simple trick.
Hack 12: Temporary Tattoo Fun
Step-by-step Instructions:
1. Create your stencil: Cut out a design from a piece of paper or cardstock.
2. Attach the stencil: Use rubber bands to hold the stencil in place on your skin.
3. Apply the ink
Conclusion
So, there you have it! A collection of incredibly simple yet remarkably effective rubber band life hacks that can truly transform your daily routine. From the mundane to the mildly frustrating, these clever uses for rubber bands offer solutions that are both budget-friendly and surprisingly impactful.
Why is this a must-try? Because these hacks are about more than just convenience; they’re about resourcefulness and problem-solving. They empower you to think creatively about everyday objects and find innovative ways to make your life easier. Forget expensive gadgets or complicated tools – a simple rubber band can often be the perfect answer.
Consider the possibilities! Imagine never struggling to open a stubborn jar again, thanks to the extra grip provided by a strategically placed rubber band. Picture your clothes staying neatly on their hangers, no longer slipping and sliding into a crumpled heap. Envision your paintbrushes standing upright, preventing messy spills and preserving their bristles. These are just a few examples of the countless ways rubber bands can simplify your life.
But the beauty of these hacks lies in their adaptability. Feel free to experiment and tailor them to your specific needs. For example, instead of using a single rubber band to secure a stack of papers, try using multiple bands for added security, especially if the stack is particularly thick. Or, if you’re using a rubber band to improve your grip, consider using a wider, thicker band for even better results.
Variations and Suggestions:
* Color-Coding: Use different colored rubber bands to organize your belongings. For example, use red rubber bands for kitchen items, blue for office supplies, and green for gardening tools.
* Textured Grip: For an even better grip on slippery surfaces, try wrapping multiple rubber bands around the object, creating a textured surface.
* DIY Phone Stand: Create a simple phone stand by looping two rubber bands around a small, sturdy object like a block of wood.
* Cable Management: Use rubber bands to neatly bundle and organize your cables, preventing tangles and clutter.
* Emergency Repair: In a pinch, a rubber band can be used to temporarily repair a broken zipper pull or hold together a cracked phone case.
We wholeheartedly encourage you to try these rubber band life hacks and discover the many ways they can improve your daily life. Don’t be afraid to get creative and experiment with different applications. The possibilities are truly endless!
And most importantly, we want to hear about your experiences! Share your own rubber band hacks and tips in the comments below. Let us know which hacks worked best for you, and if you discovered any new and innovative uses for these humble little bands. Your feedback will not only help other readers but also contribute to a growing community of resourceful individuals who are committed to making life a little bit easier, one rubber band at a time. Embrace the power of the rubber band and unlock its hidden potential! Let’s all become rubber band masters!
FAQ
What types of rubber bands work best for these hacks?
The best type of rubber band depends on the specific hack you’re trying to accomplish. In general, a variety pack of rubber bands in different sizes and thicknesses is a good investment. Thicker rubber bands are ideal for tasks that require more strength and durability, such as securing heavy objects or providing a strong grip. Thinner rubber bands are better suited for more delicate tasks, such as holding papers together or creating a temporary fix. Experiment with different types of rubber bands to see what works best for each application. Consider using silicone rubber bands for applications where heat or chemicals are involved, as they are more resistant to degradation.
Are there any safety precautions I should take when using rubber bands?
Yes, there are a few safety precautions to keep in mind. First, avoid stretching rubber bands too far, as they can snap and potentially cause injury, especially to the eyes. Always wear safety glasses when working with rubber bands that are under tension. Second, be mindful of small children and pets, as rubber bands can be a choking hazard. Keep rubber bands out of their reach. Finally, avoid using rubber bands on delicate surfaces, as they can sometimes leave marks or cause damage.
How can I prevent rubber bands from drying out and cracking?
To prolong the life of your rubber bands, store them in a cool, dark, and dry place. Exposure to sunlight, heat, and humidity can cause rubber bands to dry out and become brittle. You can also try storing them in an airtight container with a small amount of talcum powder or cornstarch. This will help to absorb moisture and prevent the rubber bands from sticking together. Another tip is to occasionally dust them with a silicone-based lubricant.
Can I reuse rubber bands, or should I discard them after one use?
In most cases, you can definitely reuse rubber bands. However, it’s important to inspect them for any signs of wear and tear before reusing them. If a rubber band is stretched out, cracked, or torn, it’s best to discard it. Reusing damaged rubber bands can compromise their effectiveness and potentially lead to failure. For tasks that require a high level of reliability, it’s always best to use a fresh rubber band.
Are there any eco-friendly alternatives to traditional rubber bands?
Yes, there are several eco-friendly alternatives to traditional rubber bands. One option is to use natural rubber bands, which are made from sustainably harvested rubber trees. Another option is to use silicone rubber bands, which are more durable and longer-lasting than traditional rubber bands, reducing the need for frequent replacements. You can also consider using reusable alternatives, such as fabric ties or twine. When discarding rubber bands, consider recycling them if possible. Some recycling centers accept rubber bands as part of their mixed recycling program.
How can I remove a rubber band that’s stuck to something?
Removing a stuck rubber band can be tricky, but there are a few methods you can try. First, try gently peeling the rubber band away from the surface, using your fingers or a plastic scraper. If the rubber band is particularly stubborn, you can try using a lubricant, such as WD-40 or vegetable oil. Apply a small amount of lubricant to the area around the rubber band and let it sit for a few minutes before attempting to peel it off. You can also try using a hair dryer to gently heat the rubber band, which can make it more pliable and easier to remove. Be careful not to overheat the rubber band, as this can cause it to melt or damage the surface it’s stuck to.
What are some other unexpected uses for rubber bands?
Beyond the hacks mentioned in the article, rubber bands have a surprising number of other uses. They can be used to create a makeshift grip for pens and pencils, to secure loose buttons, to create a temporary bookmark, to prevent drawers from sliding open during transport, and even to create a simple musical instrument. The possibilities are truly endless! Let your imagination run wild and see what other creative uses you can discover for these versatile little bands. Remember, the best rubber band life hacks are often the ones you invent yourself!

Leave a Comment