
Scented sink cleaner DIY: Who knew tackling a smelly sink could be so rewarding? Let’s be honest, we’ve all been there – that lingering, unpleasant odor wafting up from the kitchen or bathroom sink. It’s not just annoying; it can feel downright unsanitary! But before you reach for those harsh, chemical-laden cleaners, I’m here to tell you there’s a better, fresher, and surprisingly simple solution: a DIY scented sink cleaner.
For generations, resourceful homemakers have relied on natural ingredients to keep their homes clean and smelling delightful. Think of your grandmother’s lemon-infused cleaning solutions or her potpourri simmering on the stove. This tradition of using natural scents and ingredients is not only effective but also connects us to a simpler, more sustainable way of living.
Why do you need this scented sink cleaner DIY in your life? Because it’s a game-changer! Not only will it eliminate those nasty odors, but it will also leave your sink smelling fresh and clean without exposing you or your family to harsh chemicals. Plus, it’s incredibly cost-effective and uses ingredients you probably already have in your pantry. I’m excited to share this easy and effective method to keep your sink smelling amazing!
DIY Scented Sink Cleaner: A Sparkling Clean and Fresh-Smelling Drain!
Okay, friends, let’s be honest. Sink drains are gross. They’re a breeding ground for gunk, grime, and smells that nobody wants wafting through their kitchen or bathroom. But fear not! I’m going to show you how to create your own powerful, scented sink cleaner that will not only banish those nasty odors but also help keep your drains clear and flowing smoothly. And the best part? It’s all-natural, budget-friendly, and super easy to make!
What You’ll Need: The Arsenal of Clean
Before we dive in, let’s gather our supplies. You probably already have most of these items in your pantry!
* 1 cup Baking Soda
* 1/2 cup Salt (Table salt or coarse salt works fine)
* 1/4 cup Borax (Optional, but adds extra cleaning power)
* 1/4 cup Cream of Tartar (Optional, for extra scrubbing action)
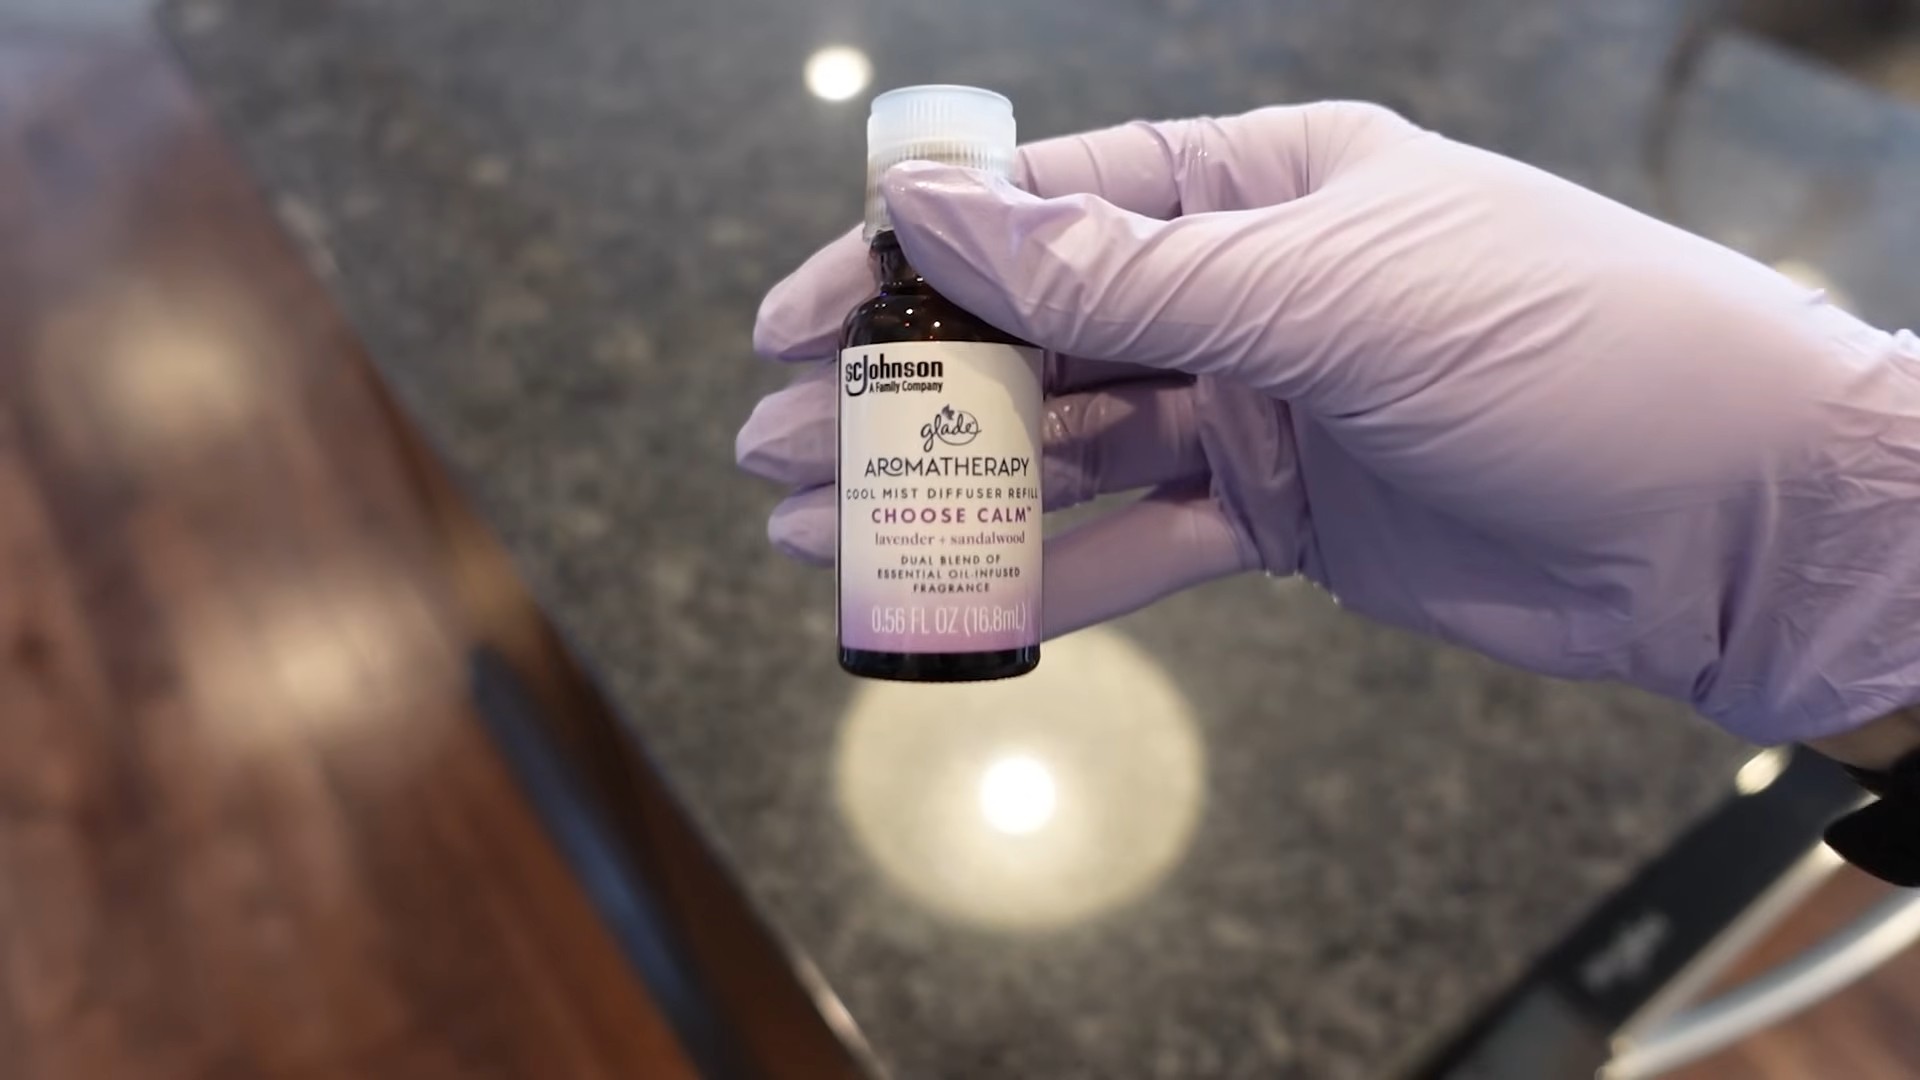
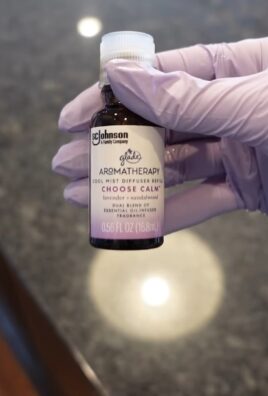
* 20-30 drops Essential Oils (Your choice! I love lemon, tea tree, lavender, or a blend)
* White Vinegar
* Boiling Water
* Measuring cups and spoons
* Airtight container for storage (Glass jars work great!)
* Spoon or whisk for mixing
* Funnel (Optional, for easier pouring into the container)
Why These Ingredients? The Science Behind the Sparkle
Let’s quickly break down why each of these ingredients is a superstar in our sink-cleaning concoction:
* Baking Soda: This is our workhorse! It’s a mild alkali that helps to dissolve grease and grime. It’s also a natural deodorizer, neutralizing those unpleasant smells.
* Salt: Salt acts as a gentle abrasive, helping to scrub away stubborn buildup. It also has some disinfecting properties.
* Borax: This is an optional ingredient, but it adds a significant boost to the cleaning power. Borax is a natural mineral that helps to break down grease and kill mold and mildew. Important Note: While generally safe, some people are sensitive to borax. If you have concerns, feel free to omit it.
* Cream of Tartar: Another optional ingredient, cream of tartar adds a bit of extra scrubbing power. It’s a mild acid that can help to dissolve mineral deposits and hard water stains.
* Essential Oils: These are what give our cleaner its amazing scent! They also have some antibacterial and antifungal properties. Lemon and tea tree are particularly good for cleaning.
* White Vinegar: The acid in vinegar reacts with the baking soda, creating a fizzing action that helps to loosen debris and flush out the drain.
* Boiling Water: This helps to dissolve the ingredients and flush everything down the drain.
Mixing the Magic: Creating Your Scented Sink Cleaner
Now for the fun part! Let’s get mixing.
1. Combine the Dry Ingredients: In your mixing bowl, combine the baking soda, salt, borax (if using), and cream of tartar (if using). Whisk or stir well to ensure everything is evenly distributed.
2. Add the Essential Oils: This is where you get to customize your cleaner! Add your chosen essential oils, one drop at a time, stirring well after each addition. I usually aim for around 20-30 drops total, but you can adjust the amount to your liking. Remember, a little goes a long way!
3. Mix Thoroughly: Continue stirring until the essential oils are evenly dispersed throughout the dry mixture. You should be able to smell the lovely fragrance!
4. Transfer to Storage: Using a funnel (if desired), carefully pour the mixture into your airtight container. Label the container with the name of the cleaner and the date you made it. This will help you keep track of when you need to make a new batch.
Using Your Scented Sink Cleaner: A Step-by-Step Guide to a Sparkling Drain
Alright, you’ve got your cleaner ready to go. Now let’s put it to work!
1. Clear the Sink: Remove any dishes, utensils, or other items from the sink. You want to make sure the drain is clear and accessible.
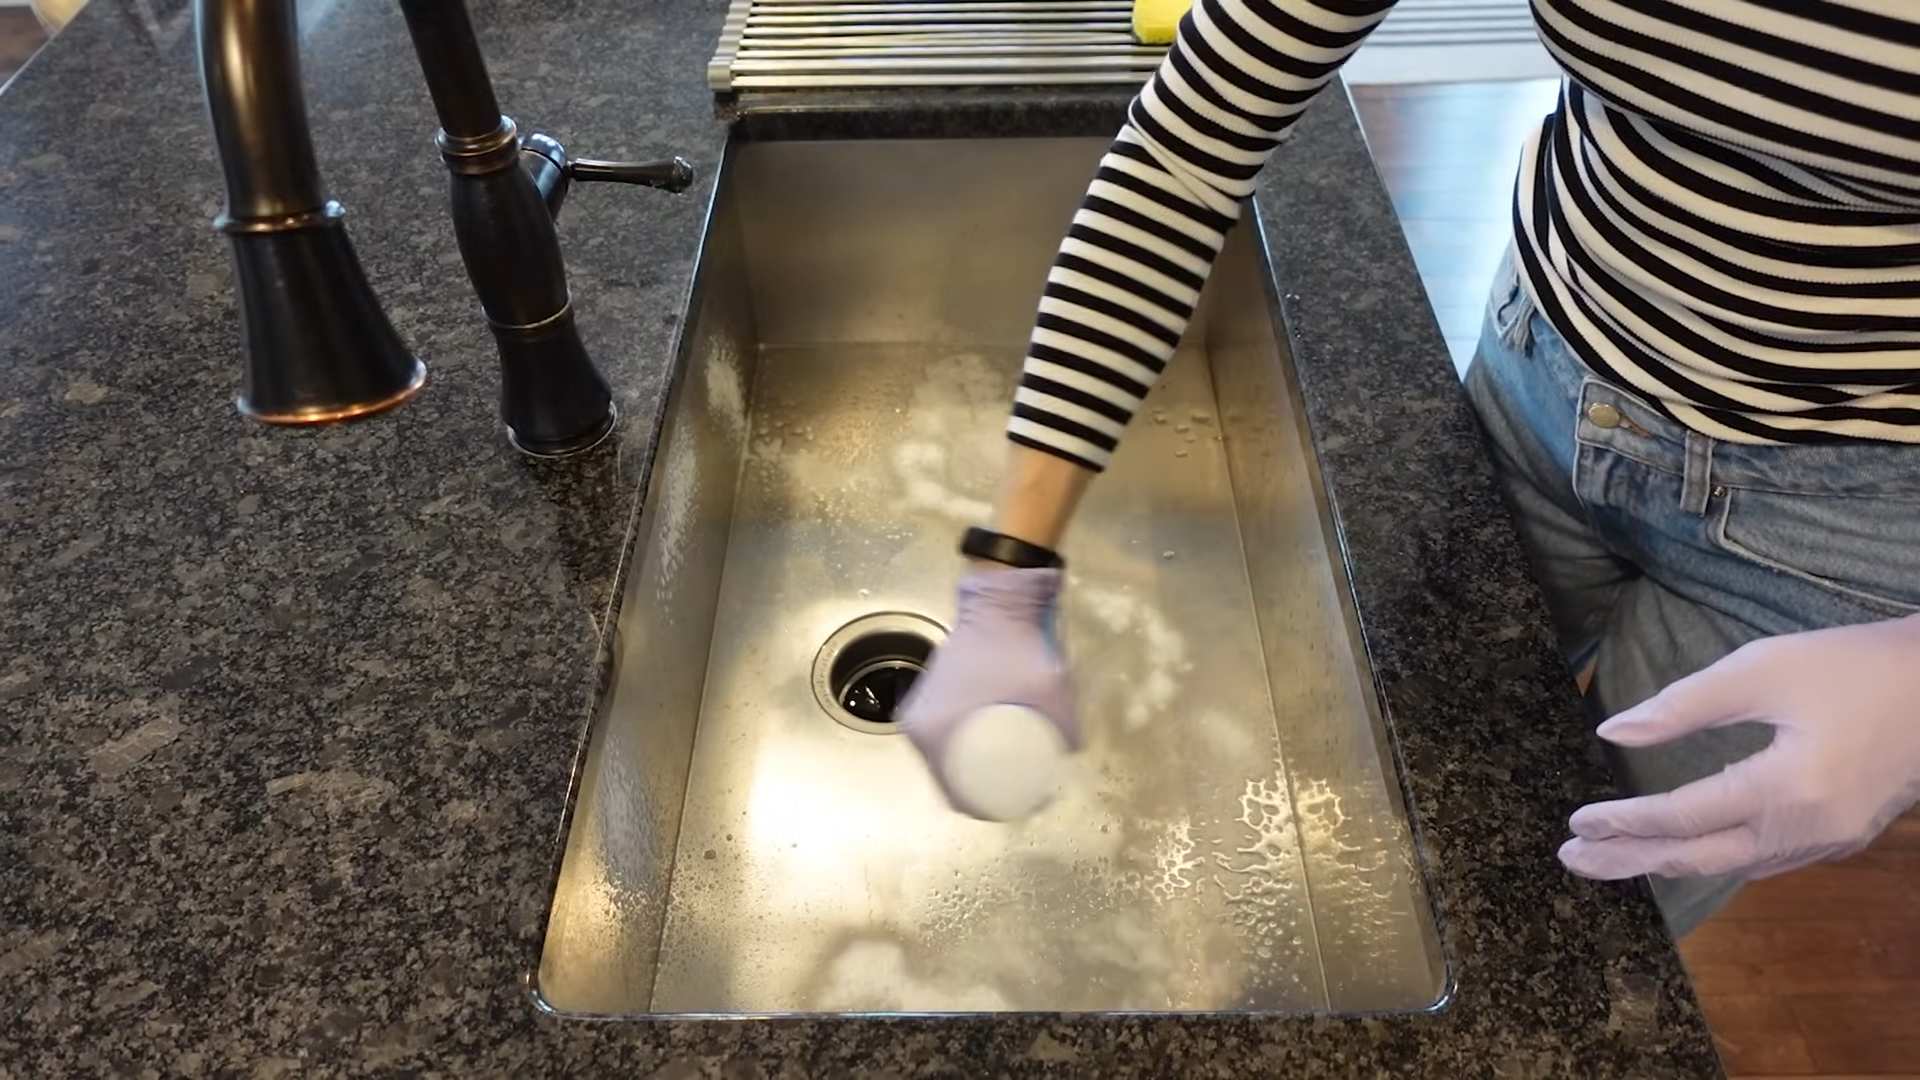
2. Pour in the Dry Mixture: Pour about 1/2 cup of your scented sink cleaner down the drain. Try to get it as close to the drain opening as possible.
3. Add the Vinegar: Slowly pour about 1 cup of white vinegar down the drain. You should see and hear a fizzing reaction as the vinegar reacts with the baking soda.
4. Let it Fizz: Allow the mixture to fizz and bubble for about 30 minutes. This gives the ingredients time to break down grease, grime, and odors. For really stubborn clogs, you can let it sit for up to an hour.
5. Flush with Boiling Water: After the fizzing has subsided, carefully pour a kettle of boiling water down the drain. This will help to flush away any remaining debris and leave your drain sparkling clean.
6. Repeat if Necessary: If your drain is particularly clogged or smelly, you may need to repeat the process.
Troubleshooting Tips: When Things Don’t Go According to Plan
Sometimes, even with the best intentions, things don’t always go as planned. Here are a few troubleshooting tips to help you tackle common sink drain issues:
* Slow Draining: If your sink is draining slowly, it could be a sign of a more significant clog. In this case, you may need to use a plunger or a drain snake to remove the blockage before using the scented sink cleaner.
* Persistent Odors: If the odors persist after using the cleaner, it could be due to a buildup of grease and grime further down the drainpipe. You may need to repeat the cleaning process several times or consider using a commercial drain cleaner for a more powerful solution.
* No Fizzing Reaction: If you don’t see a fizzing reaction when you add the vinegar, it could be because the baking soda has lost its potency. Make sure you’re using fresh baking soda for the best results.
* Essential Oil Sensitivity: If you experience any skin irritation or respiratory issues after using the cleaner, it could be due to a sensitivity to the essential oils. Try using a different blend of essential oils or reducing the amount you use.
Extra Tips and Tricks: Taking Your Sink Cleaning to the Next Level
Here are a few extra tips and tricks to help you keep your sink drains clean and fresh:
* Preventative Maintenance: The best way to keep your sink drains clean is to prevent clogs from forming in the first place. Avoid pouring grease, oil, or food scraps down the drain. Use a drain strainer to catch hair and other debris.
* Regular Cleaning: Make it a habit to clean your sink drains regularly, even if they don’t seem to be clogged or smelly. This will help to prevent buildup and keep your drains flowing smoothly. I try to do this once a month.
* Ice and Salt: Another great way to clean your garbage disposal and freshen your sink drain is to pour a cup of ice cubes and a cup of salt down the drain while running cold water. The ice and salt will help to scrub away any buildup and dislodge any debris.
* Lemon Peels: For a natural and refreshing scent, toss a few lemon peels down the drain and run the garbage disposal. The lemon peels will help to deodorize the drain and leave a pleasant citrus aroma.
* Vinegar Ice Cubes: Freeze vinegar in ice cube trays and then drop a few down the drain. As the vinegar ice melts, it will help to clean and deodorize the drain.
Safety First: A Few Words of Caution
While this DIY sink cleaner is generally safe, it’s always a good idea to take a few precautions:
* Avoid Mixing with Other Cleaners: Never mix this cleaner with other commercial drain cleaners, as this could create dangerous fumes.
* Wear Gloves: If you have sensitive skin, it’s a good idea to wear gloves when handling the cleaner.
* Ventilation: Make sure the area is well-ventilated when using the cleaner.
* Keep Out of Reach of Children and Pets: Store the cleaner in a safe place, out of reach of children and pets.
* Borax Caution: As mentioned earlier, some people are sensitive to borax. If you have concerns, feel free to omit it.
Enjoy Your Sparkling Clean and Fresh-Smelling Sink!
There you have it! A simple, effective, and all-natural way to keep your sink drains clean, clear, and smelling amazing. I hope you enjoy this DIY project as much as I do. Happy cleaning!
Conclusion
So, there you have it! This simple, yet incredibly effective, scented sink cleaner DIY is more than just a way to freshen up your drains; it’s a game-changer for your entire home. Forget harsh chemicals and expensive store-bought cleaners that often mask odors instead of eliminating them. This homemade solution tackles the root cause of unpleasant smells, leaving your sink sparkling clean and your kitchen smelling divine.
Why is this DIY trick a must-try? Because it’s economical, eco-friendly, and customizable. You likely already have most of the ingredients in your pantry, saving you a trip to the store and reducing your environmental impact. Plus, you have complete control over the scent! Experiment with different essential oil combinations to create a fragrance that perfectly suits your taste and complements your home’s ambiance. Imagine a burst of citrusy freshness every time you run the water, or the calming aroma of lavender filling your kitchen. The possibilities are endless!
Beyond the basic recipe, there are several variations you can explore. For a more powerful cleaning boost, add a tablespoon of borax to the mixture. Borax is a natural mineral that helps to disinfect and deodorize. If you’re dealing with a particularly stubborn clog, try adding a cup of baking soda followed by a cup of vinegar before pouring in the hot water. This classic combination creates a fizzing action that can help to break down grease and grime.
Another variation involves using different types of citrus peels. While lemon and orange peels are the most common, you can also use grapefruit or lime peels for a unique and refreshing scent. You can even combine different citrus peels for a more complex fragrance. Don’t be afraid to get creative and experiment with different combinations until you find your perfect signature scent.
For those who prefer a more floral scent, consider adding dried flower petals to the mixture. Lavender, rose, and chamomile petals are all excellent choices. Simply grind the petals into a fine powder and add them to the baking soda and salt mixture. The flower petals will not only add a beautiful fragrance but also provide a gentle exfoliating action that helps to scrub away dirt and grime.
We are confident that once you try this scented sink cleaner DIY, you’ll never go back to store-bought cleaners again. It’s a simple, effective, and affordable way to keep your sink clean, fresh, and smelling amazing. So, gather your ingredients, follow the instructions, and prepare to be amazed by the results.
But don’t just take our word for it! We encourage you to try this DIY trick for yourself and share your experience with us. Let us know what scent combinations you tried, what variations you experimented with, and how well it worked for you. We love hearing from our readers and learning about your creative ideas. Share your photos and stories on social media using #ScentedSinkCleanerDIY and let’s inspire others to ditch the harsh chemicals and embrace the power of natural cleaning. We can’t wait to see what you come up with!
Frequently Asked Questions (FAQ)
1. How often should I use this scented sink cleaner DIY?
The frequency of use depends on how often you use your sink and how prone it is to developing odors. As a general guideline, we recommend using this cleaner once or twice a week to maintain a fresh and clean sink. If you notice unpleasant odors returning more frequently, you can increase the frequency of use. Conversely, if your sink stays fresh for longer periods, you can reduce the frequency. Regular use of this cleaner will help to prevent the buildup of grease, grime, and other debris that can cause odors.
2. Can I use this scented sink cleaner DIY in all types of sinks?
This cleaner is generally safe for use in most types of sinks, including stainless steel, porcelain, and ceramic. However, it’s always a good idea to test it in an inconspicuous area first, especially if you have a more delicate or unusual sink material. Avoid using abrasive scrub brushes or pads, as these can scratch the surface of your sink. If you have any concerns about using this cleaner in your sink, consult with the manufacturer or a professional plumber.
3. What essential oils are best for this scented sink cleaner DIY?
The best essential oils for this cleaner are those that have antibacterial, antifungal, and deodorizing properties. Some popular choices include lemon, orange, tea tree, eucalyptus, lavender, and peppermint. Lemon and orange essential oils are known for their bright, citrusy scents and their ability to cut through grease and grime. Tea tree oil is a powerful antibacterial and antifungal agent that can help to kill germs and prevent mold growth. Eucalyptus oil has a refreshing, medicinal scent and can help to clear congestion. Lavender oil has a calming, floral scent and can help to reduce stress. Peppermint oil has a invigorating, minty scent and can help to freshen the air. You can use a single essential oil or a combination of several to create your own custom scent.
4. Can I use this scented sink cleaner DIY to unclog a drain?
While this cleaner can help to prevent clogs from forming, it may not be effective for clearing a severely clogged drain. For minor clogs, you can try adding a cup of baking soda followed by a cup of vinegar before pouring in the hot water. This combination creates a fizzing action that can help to break down grease and grime. However, for more stubborn clogs, you may need to use a plunger, drain snake, or chemical drain cleaner. If you’re using a chemical drain cleaner, be sure to follow the manufacturer’s instructions carefully and wear appropriate safety gear.
5. How long will the scent last after using this scented sink cleaner DIY?
The longevity of the scent depends on several factors, including the type of essential oils you use, the amount of ventilation in your kitchen, and how often you use your sink. In general, the scent should last for several hours to a day or two. To prolong the scent, you can try adding a few drops of essential oil to a cotton ball and placing it in the drain. You can also try using a diffuser in your kitchen to help to disperse the scent throughout the room.
6. Is this scented sink cleaner DIY safe for septic systems?
Yes, this cleaner is generally safe for septic systems. The ingredients used in this cleaner, such as baking soda, salt, and essential oils, are all biodegradable and will not harm the beneficial bacteria in your septic tank. However, it’s important to avoid pouring large amounts of grease or oil down the drain, as these can clog your septic system. If you have any concerns about using this cleaner with your septic system, consult with a professional plumber or septic system specialist.
7. Can I store the leftover scented sink cleaner DIY for later use?
Yes, you can store the leftover cleaner in an airtight container for later use. However, it’s important to note that the scent may fade over time. To prevent the scent from fading, store the cleaner in a cool, dark place away from direct sunlight. You can also add a few extra drops of essential oil to the container to help to maintain the scent. The cleaner should be good for several weeks or even months if stored properly.

Leave a Comment