
Shower Mold Removal DIY: Is your shower looking less like a spa and more like a science experiment gone wrong? Don’t worry, you’re not alone! That unsightly shower mold can be a real pain, turning a relaxing ritual into a frustrating chore. But before you reach for those harsh chemicals or consider a costly bathroom renovation, let’s talk DIY.
For centuries, humans have battled mold in their homes, from ancient civilizations dealing with damp dwellings to modern homeowners facing the challenges of humid bathrooms. While the materials and methods have evolved, the underlying problem remains the same: mold thrives in moisture. And let’s be honest, who has time to scrub grout lines every single day?
That’s where this guide comes in. I’m going to share some simple, effective, and budget-friendly shower mold removal DIY tricks that will have your shower sparkling again in no time. We’ll explore natural solutions, easy-to-follow steps, and preventative measures to keep that pesky mold at bay. Because let’s face it, nobody wants to start their day staring at a fuzzy, discolored shower. Let’s get cleaning!
DIY Shower Mold Removal: A Comprehensive Guide
Alright, let’s tackle that pesky shower mold! I know, it’s unsightly and can even be a bit concerning. But don’t worry, you don’t need to call in a professional (unless it’s a *really* bad case). I’m going to walk you through a few different methods for removing shower mold, from natural solutions to stronger chemical options. We’ll cover everything from prep work to prevention, so you can say goodbye to mold and hello to a sparkling clean shower!
What You’ll Need
Before we dive in, let’s gather our supplies. Having everything ready will make the process much smoother. Here’s a list of essentials:
* Safety Gear: This is super important!
* Gloves (rubber or disposable)
* Eye protection (goggles or safety glasses)
* Mask (especially if you’re using bleach or have sensitivities)
* Cleaning Solutions: Choose one or more of these, depending on your preference and the severity of the mold:
* White vinegar
* Baking soda
* Hydrogen peroxide (3% solution)
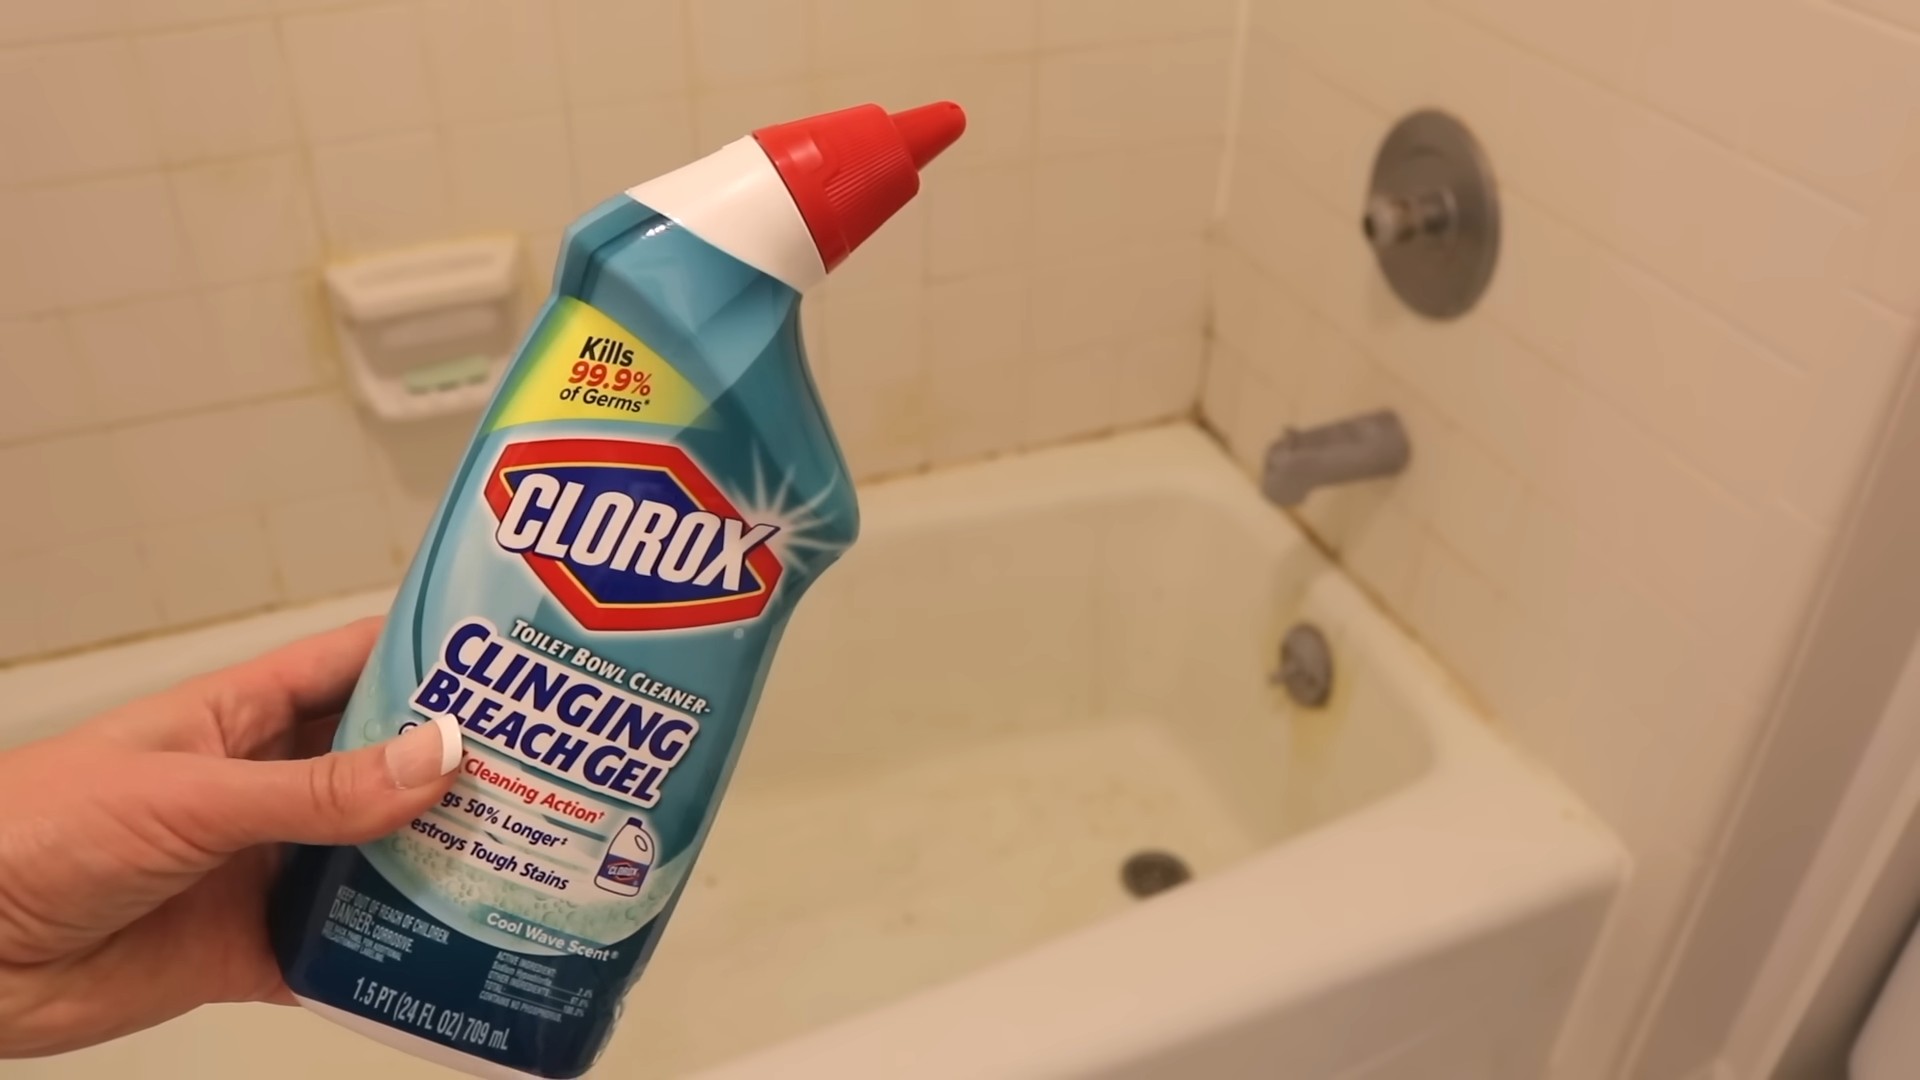
* Bleach (sodium hypochlorite) – use with caution!
* Commercial mold and mildew remover (follow the product instructions carefully)
* Tools:
* Spray bottle (for applying cleaning solutions)
* Scrub brush (stiff-bristled, but not so abrasive that it will scratch surfaces)
* Old toothbrush (for grout and tight spaces)
* Sponge or cloth
* Paper towels
* Putty knife or scraper (for stubborn mold)
* Caulk remover (if you need to replace caulk)
* Caulking gun and new caulk (for replacing caulk)
* Small bucket or container
* Fan or ventilation (to help dry the shower)
Prepping Your Shower
Before you start scrubbing, let’s get the shower ready for its makeover.
1. Ventilate the Area: Open a window or turn on the bathroom fan. Good ventilation is crucial, especially when using strong cleaning solutions like bleach.
2. Remove Loose Items: Take out shampoo bottles, soap dishes, and anything else that might be in the way. This will give you a clear workspace.
3. Rinse the Shower: Give the shower walls and floor a quick rinse with water. This will help loosen any surface dirt and grime.
4. Protect Yourself: Put on your gloves, eye protection, and mask. Safety first!
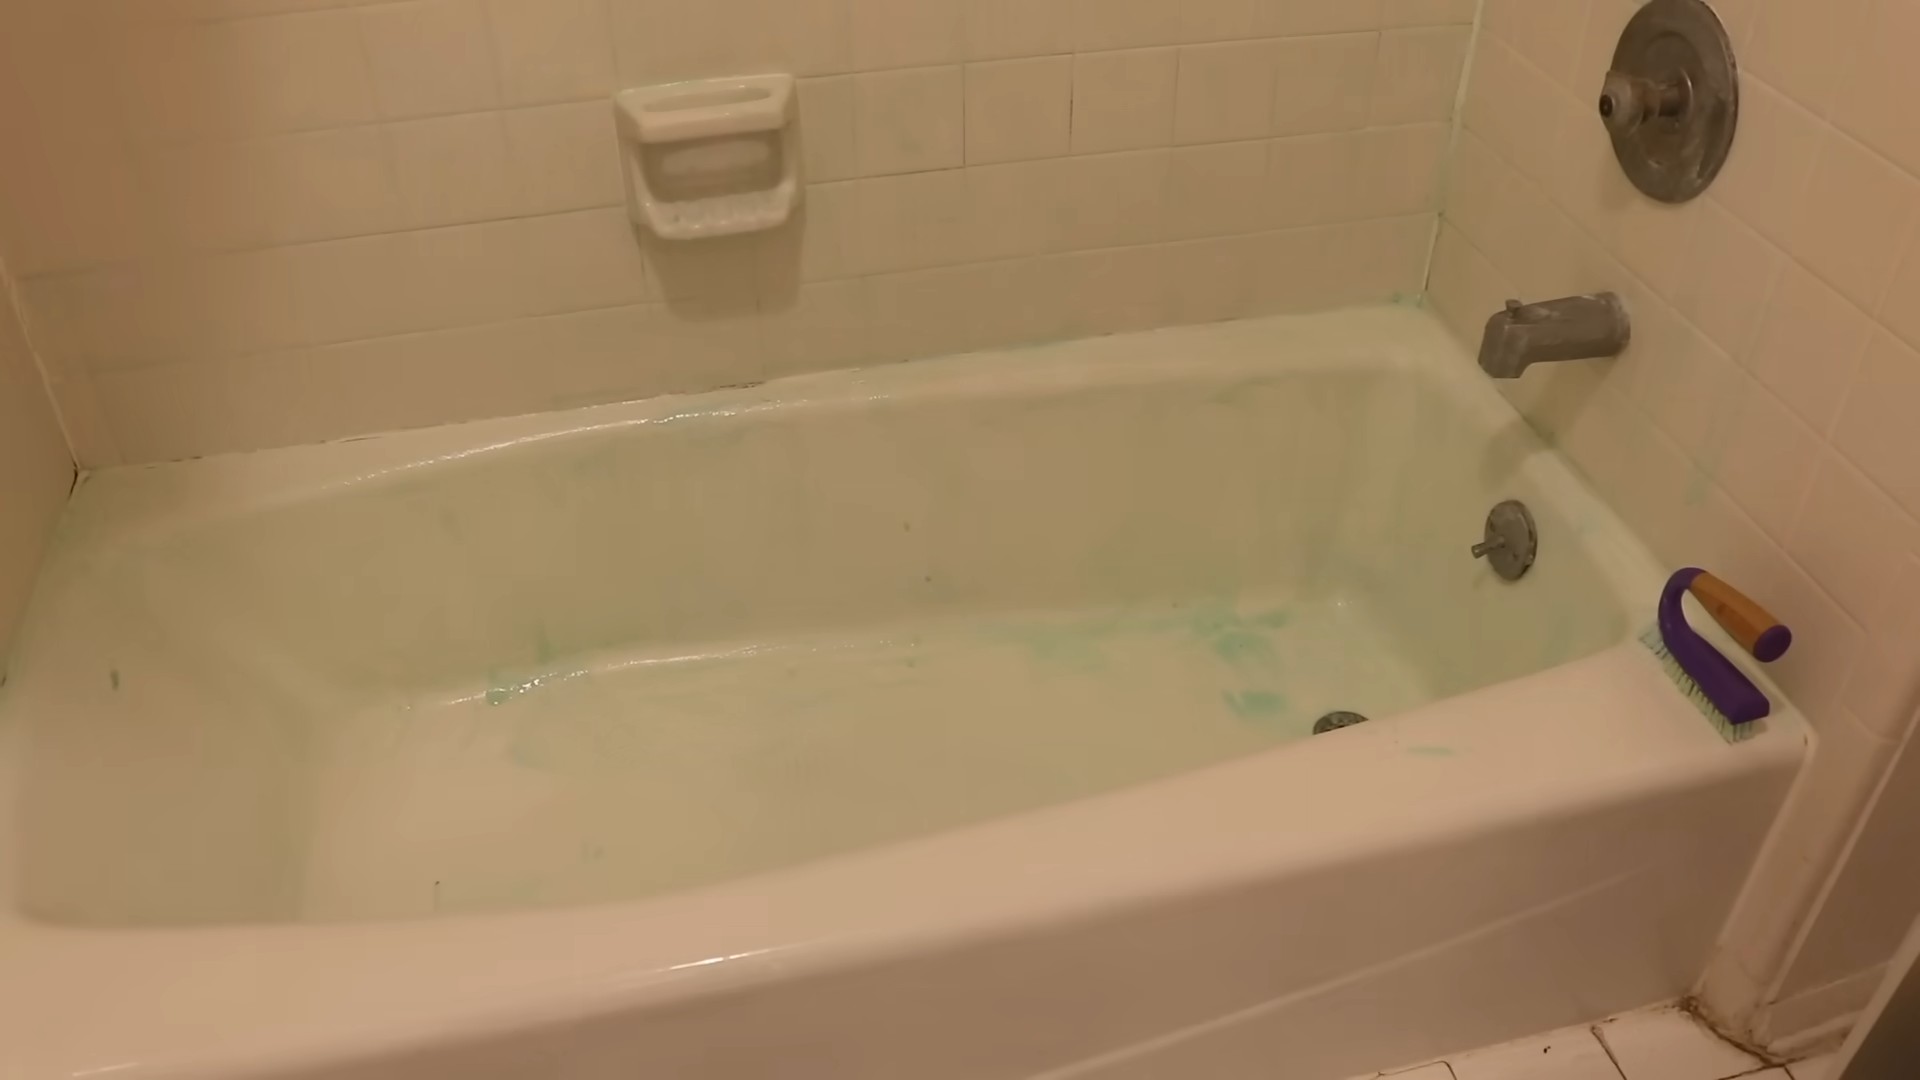
Method 1: Natural Mold Removal with Vinegar and Baking Soda
This is my go-to method for mild mold problems. It’s eco-friendly and doesn’t involve harsh chemicals.
1. Vinegar Spray: Fill a spray bottle with undiluted white vinegar. Spray the moldy areas thoroughly. Let it sit for at least an hour. Vinegar is a natural acid that helps kill mold.
2. Baking Soda Paste: In a small container, mix baking soda with a little water to form a paste. The consistency should be thick enough to stick to the mold.
3. Apply the Paste: Apply the baking soda paste to the moldy areas. Let it sit for another hour. Baking soda is a mild abrasive and helps absorb moisture.
4. Scrub and Rinse: Use a scrub brush or old toothbrush to scrub the moldy areas. The vinegar and baking soda should have loosened the mold, making it easier to remove.
5. Rinse Thoroughly: Rinse the shower walls and floor with water to remove all traces of vinegar and baking soda.
6. Dry the Shower: Use a clean towel or sponge to dry the shower. You can also use a fan to speed up the drying process.
Method 2: Hydrogen Peroxide Power
Hydrogen peroxide is another great natural alternative to bleach. It’s a mild disinfectant and can help kill mold and mildew.
1. Spray with Hydrogen Peroxide: Pour 3% hydrogen peroxide into a spray bottle. Spray the moldy areas thoroughly.
2. Let it Sit: Let the hydrogen peroxide sit for 10-15 minutes. This allows it to penetrate the mold and kill it.
3. Scrub and Rinse: Use a scrub brush or sponge to scrub the moldy areas.
4. Rinse Thoroughly: Rinse the shower walls and floor with water.
5. Dry the Shower: Dry the shower with a clean towel or sponge.
Method 3: Bleach for Stubborn Mold (Use with Caution!)
Bleach is a powerful mold killer, but it should be used with caution. It can be harmful if inhaled or ingested, and it can also damage some surfaces. Always wear gloves, eye protection, and a mask when using bleach. Never mix bleach with ammonia or other cleaning products, as this can create toxic fumes.
1. Dilute the Bleach: Mix one part bleach with ten parts water in a spray bottle or bucket.
2. Apply the Bleach Solution: Spray or apply the bleach solution to the moldy areas.
3. Let it Sit: Let the bleach solution sit for 10-15 minutes.
4. Scrub and Rinse: Use a scrub brush or sponge to scrub the moldy areas.
5. Rinse Thoroughly: Rinse the shower walls and floor with water.
6. Dry the Shower: Dry the shower with a clean towel or sponge.
7. Ventilate the Area: Keep the bathroom well-ventilated for several hours after using bleach.
Dealing with Mold in Grout
Grout is a notorious breeding ground for mold. Its porous nature makes it easy for mold to take hold. Here’s how to tackle grout mold:
1. Apply Your Chosen Solution: Whether you’re using vinegar, baking soda paste, hydrogen peroxide, or bleach, apply your chosen solution directly to the grout lines.
2. Let it Sit: Let the solution sit for at least 30 minutes, or even longer for stubborn mold.
3. Scrub with a Toothbrush: Use an old toothbrush to scrub the grout lines. The bristles will help get into the small crevices.
4. Rinse Thoroughly: Rinse the grout lines with water.
5. Dry the Grout: Dry the grout with a clean towel or sponge. You can also use a hairdryer on a low setting to speed up the drying process.
Replacing Caulk (If Necessary)
If the mold is deeply embedded in the caulk, you may need to replace it. This is a bit more involved, but it’s worth it to get rid of the mold completely.
1. Remove the Old Caulk: Use a caulk remover tool or a putty knife to carefully remove the old caulk. Be careful not to damage the surrounding surfaces.
2. Clean the Area: Clean the area where the caulk was with a damp cloth and a mild detergent. Make sure the area is completely dry before applying new caulk.
3. Apply New Caulk: Load a caulking gun with a tube of new caulk. Apply a smooth, even bead of caulk along the joint.
4. Smooth the Caulk: Use a wet finger or a caulk smoothing tool to smooth the caulk. This will create a watertight seal.
5. Let it Dry: Let the caulk dry completely according to the manufacturer’s instructions. This usually takes 24-48 hours.
Preventing Future Mold Growth
Now that you’ve gotten rid of the mold, let’s talk about how to prevent it from coming back.
* Ventilate the Bathroom: Always run the bathroom fan or open a window when showering or bathing. This will help remove moisture from the air.
* Dry the Shower After Use: Use a squeegee or towel to dry the shower walls and floor after each use. This will prevent water from sitting on surfaces and creating a breeding ground for mold.
* Clean Regularly: Clean your shower regularly with a mold-killing cleaner. This will help prevent mold from building up.
* Fix Leaks: Repair any leaks in your shower or bathroom. Leaks can create a constant source of moisture, which can lead to mold growth.
* Use Mold-Resistant Products: When renovating your bathroom, use mold-resistant paint, grout, and caulk.
* Consider a Dehumidifier: If you live in a humid climate, consider using a dehumidifier in your bathroom to help reduce moisture levels.
* Proper Airflow: Ensure proper airflow in your bathroom. Avoid blocking vents or covering surfaces with items that can trap moisture.
Commercial Mold Removers: A Word of Caution
While I’ve focused on DIY solutions, commercial mold removers are also an
Conclusion
So, there you have it – a simple, effective, and budget-friendly way to tackle that unsightly shower mold. We’ve walked you through the steps, explained the science (or lack thereof!), and hopefully, instilled in you the confidence to reclaim your shower space. But why is this DIY trick a must-try?
Firstly, it’s about health. Mold isn’t just an eyesore; it can trigger allergies, asthma, and other respiratory issues. Eliminating it creates a healthier environment for you and your family. Secondly, it’s about saving money. Commercial mold removers can be expensive and often contain harsh chemicals. This DIY solution utilizes ingredients you likely already have in your pantry, making it a cost-effective alternative. Thirdly, it’s about control. You know exactly what’s going into your cleaning solution, avoiding potentially harmful additives found in store-bought products.
This Shower Mold Removal DIY method is more than just a quick fix; it’s a sustainable solution that empowers you to maintain a clean and healthy bathroom.
Now, let’s talk variations. While the baking soda and vinegar paste is a powerhouse, you can adapt it to suit your specific needs and preferences. For instance, if you’re dealing with particularly stubborn mold, consider adding a few drops of tea tree oil to the paste. Tea tree oil is a natural antifungal agent that can boost the cleaning power of the mixture. Another option is to use hydrogen peroxide instead of vinegar. Hydrogen peroxide is a gentler alternative that’s still effective at killing mold. Remember to always test any new solution in an inconspicuous area first to ensure it doesn’t damage your shower surfaces.
For grout lines, a toothbrush or grout brush is your best friend. The bristles can get into those tight spaces and scrub away the mold effectively. After cleaning, consider applying a grout sealant to prevent future mold growth. Proper ventilation is also crucial. Always run the exhaust fan during and after showering to reduce moisture buildup.
We understand that tackling mold can feel daunting, but with this DIY trick, you’re armed with the knowledge and tools to succeed. Don’t let mold take over your shower any longer. Take action today and enjoy a cleaner, healthier bathroom.
We’re confident that this method will work wonders for you. But don’t just take our word for it! We encourage you to try this Shower Mold Removal DIY method and share your experience with us. Let us know what worked best for you, any variations you tried, and the results you achieved. Your feedback will help us refine this guide and empower others to conquer their shower mold problems. Share your before-and-after photos, tips, and tricks in the comments section below. Let’s create a community of mold-fighting champions!
Remember, a clean shower is a happy shower, and a happy shower leads to a happy you! So, grab your baking soda, vinegar, and a little elbow grease, and get ready to say goodbye to shower mold for good.
FAQ
Frequently Asked Questions About Shower Mold Removal
1. Is baking soda and vinegar really effective against shower mold?
Yes, baking soda and vinegar are effective against shower mold, especially for mild to moderate cases. Baking soda is a mild abrasive that helps to scrub away the mold, while vinegar is an acid that kills mold spores. The combination creates a powerful cleaning action. However, for severe mold infestations, you might need stronger solutions or professional help. The key is to be consistent with your cleaning and address the mold as soon as you see it.
2. Can I use bleach to remove shower mold?
While bleach is a strong disinfectant, it’s not always the best option for removing mold, especially on porous surfaces like grout. Bleach primarily removes the color of the mold, making it appear gone, but it doesn’t always kill the roots. This means the mold can quickly return. Additionally, bleach can be harmful to your health and the environment. If you choose to use bleach, always dilute it properly, wear protective gear, and ensure adequate ventilation. Our recommended baking soda and vinegar method is a safer and often more effective alternative.
3. How often should I clean my shower to prevent mold growth?
Ideally, you should wipe down your shower after each use to remove excess water and soap scum, which mold thrives on. A more thorough cleaning with a mold-killing solution, like the baking soda and vinegar paste, should be done at least once a week. The frequency depends on how often you use your shower and how well-ventilated your bathroom is. If you live in a humid climate, you may need to clean more frequently.
4. What are the best ways to improve ventilation in my bathroom?
Good ventilation is crucial for preventing mold growth. Always run the exhaust fan during and after showering for at least 20 minutes. If you don’t have an exhaust fan, open a window to allow fresh air to circulate. You can also consider investing in a dehumidifier to reduce moisture levels in your bathroom. Ensure that your shower curtain or door is fully open after use to allow it to dry completely.
5. Are there any natural alternatives to vinegar for killing mold?
Yes, several natural alternatives to vinegar can be effective against mold. Tea tree oil is a powerful antifungal agent. Dilute a few drops of tea tree oil in water and spray it on the affected areas. Let it sit for a few hours, then wipe it clean. Hydrogen peroxide is another good option. Spray a 3% solution of hydrogen peroxide on the mold, let it sit for 10 minutes, then scrub and rinse. Grapefruit seed extract is also known for its antifungal properties.
6. How do I prevent mold from coming back after cleaning?
Preventing mold from returning requires a multi-pronged approach. First, ensure proper ventilation in your bathroom. Second, wipe down your shower after each use to remove excess moisture. Third, regularly clean your shower with a mold-killing solution. Fourth, consider using a grout sealant to protect your grout lines. Fifth, address any leaks or plumbing issues promptly to prevent water damage. Finally, keep your bathroom clean and dry to create an environment that’s less hospitable to mold.
7. What if the mold is in the caulk? Can I still remove it?
Mold in the caulk can be challenging to remove completely, especially if it’s deeply embedded. You can try applying the baking soda and vinegar paste or a commercial mold remover specifically designed for caulk. Let it sit for an extended period, then scrub thoroughly. If the mold persists, you may need to remove the old caulk and replace it with new caulk. Ensure the area is completely dry before applying new caulk to prevent future mold growth.
8. Is black mold in the shower dangerous?
While not all black mold is toxic, some species, like Stachybotrys chartarum, can produce mycotoxins that can be harmful to your health. If you suspect you have black mold in your shower, it’s important to address it promptly. If the mold infestation is extensive or you experience health symptoms, consult a professional mold remediation specialist.
9. Can I use this DIY method on other surfaces besides the shower?
Yes, the baking soda and vinegar method can be used on other surfaces affected by mold, such as tiles, sinks, and even some fabrics. However, always test the solution in an inconspicuous area first to ensure it doesn’t damage the surface. Avoid using it on delicate or porous materials that could be stained or damaged by the vinegar.
10. What safety precautions should I take when removing shower mold?
When removing shower mold, it’s important to protect yourself from potential health risks. Wear gloves to prevent skin contact with mold spores. Wear a mask to avoid inhaling mold spores. Ensure adequate ventilation in the bathroom by opening a window or running the exhaust fan. If you’re using stronger cleaning solutions, such as bleach, wear eye protection to prevent splashes. Wash your hands thoroughly after cleaning.

Leave a Comment