
Sparkling bathroom cleaning tips – who doesn’t dream of a bathroom that gleams? Let’s face it, the bathroom is often the most dreaded room to clean. But what if I told you that achieving a sparkling clean bathroom doesn’t have to be a Herculean task? Forget spending hours scrubbing away at stubborn stains and grime. I’m here to share some game-changing DIY tricks and hacks that will transform your bathroom cleaning routine from a chore into a breeze!
Throughout history, cultures have valued cleanliness, and the bathroom, as a space dedicated to hygiene, has always been a focal point. From ancient Roman bathhouses to modern minimalist designs, the desire for a clean and refreshing bathroom experience has remained constant. But the cleaning products? Not so much! Many commercial cleaners are packed with harsh chemicals that can be harmful to both your health and the environment. That’s where these DIY solutions come in.
Why do you need these sparkling bathroom cleaning tips? Because life’s too short to spend all day scrubbing! These DIY hacks are not only effective and eco-friendly, but they’re also incredibly budget-friendly. I’ll show you how to use common household ingredients to tackle everything from soap scum and hard water stains to mildew and musty odors. Get ready to unlock the secrets to a bathroom that’s not just clean, but truly sparkling!
DIY Sparkling Bathroom Cleaning: My Secret Weapon!
Okay, friends, let’s talk bathrooms. We all have them, we all use them, and let’s be honest, they can get pretty gross. But fear not! I’m going to share my tried-and-true method for achieving a sparkling clean bathroom using mostly stuff you probably already have at home. Get ready to say goodbye to grime and hello to gleaming surfaces!
Gather Your Supplies: The Arsenal of Clean
Before we dive in, let’s make sure we have everything we need. Trust me, having all your supplies ready will make the whole process much smoother. Here’s my go-to list:
* Spray Bottles (at least 2): One for your all-purpose cleaner and one for your vinegar solution.
* Microfiber Cloths: These are my absolute favorite! They’re super absorbent and won’t scratch surfaces. Get a bunch!
* Old Toothbrush: Perfect for scrubbing those hard-to-reach places like grout and around faucets.
* Squeegee: Essential for streak-free shower doors and mirrors.
* Rubber Gloves: Protect those precious hands!
* Baking Soda: A natural abrasive that’s great for tackling tough stains.
* White Vinegar: My secret weapon! It’s a natural disinfectant and descaler.
* Dish Soap: A little goes a long way for cutting through grease and grime.
* Toilet Bowl Cleaner: Choose your favorite brand.
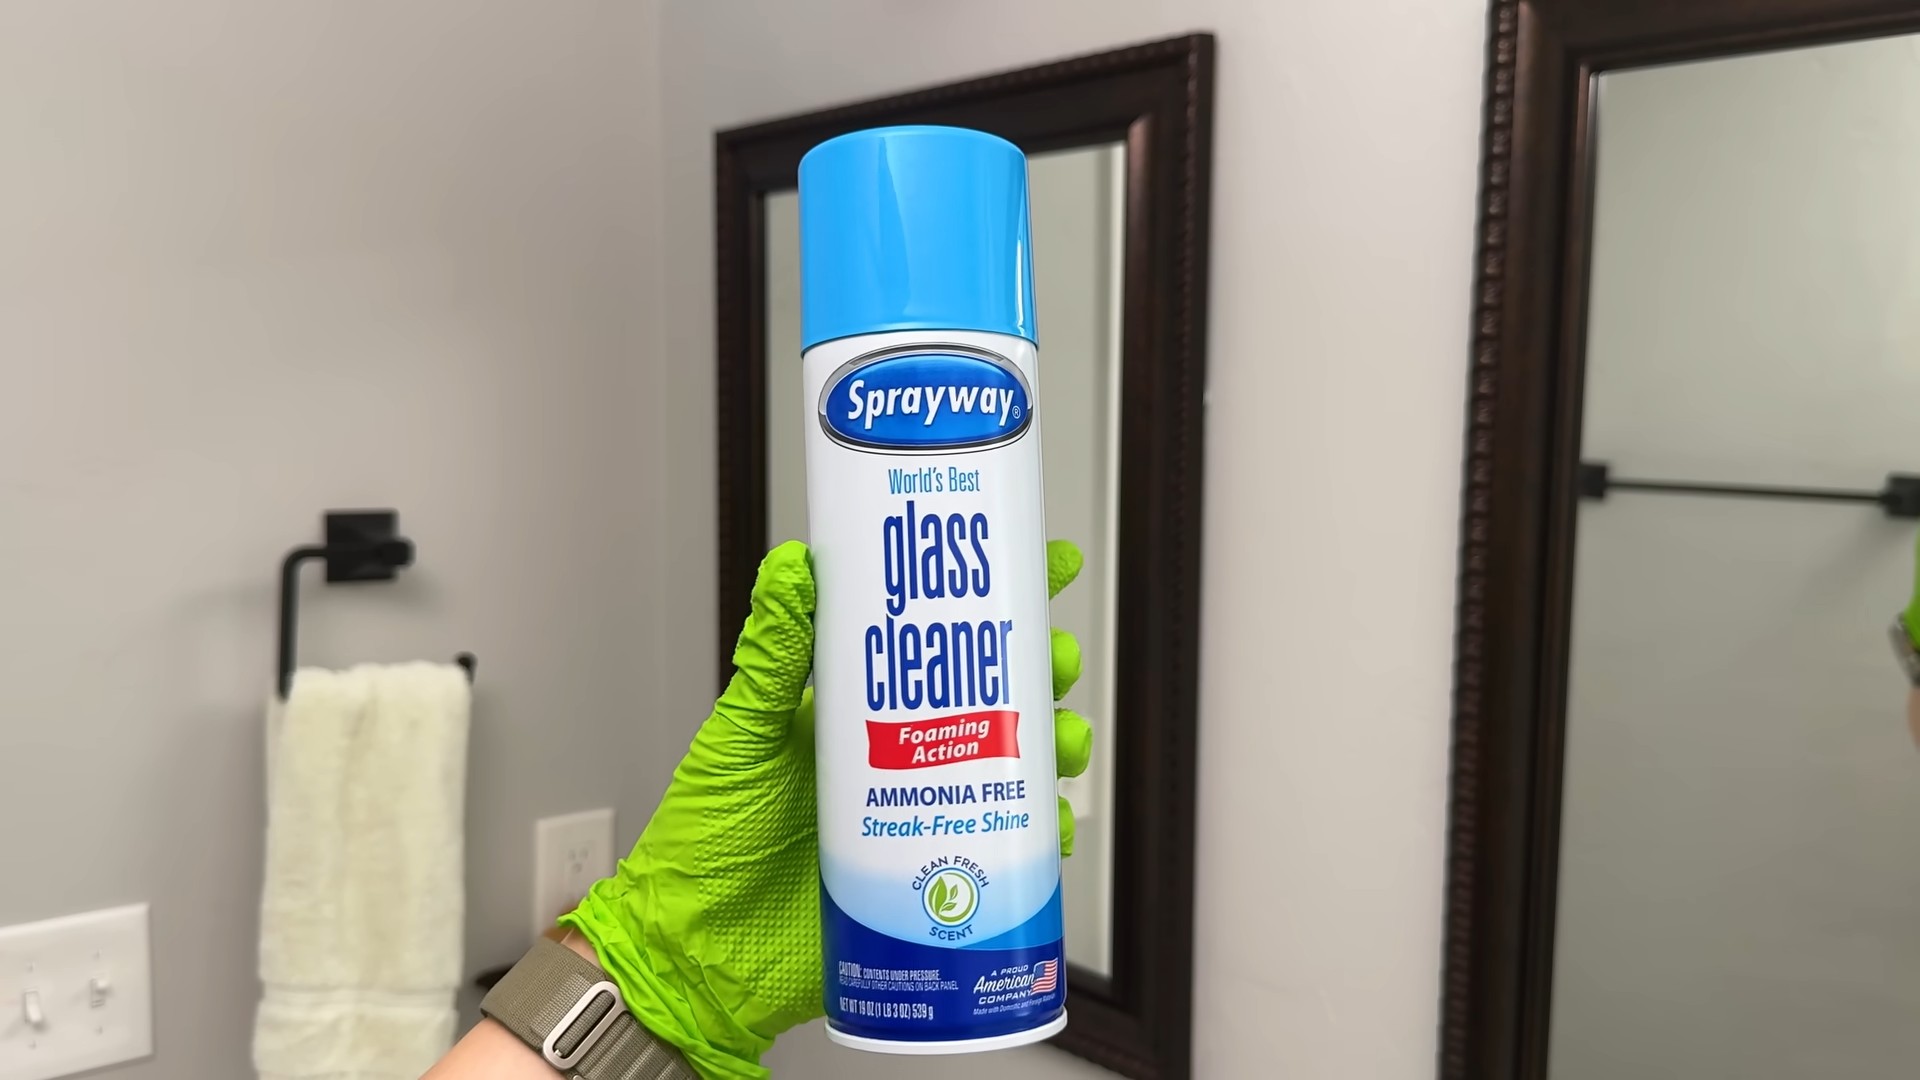
* Glass Cleaner (Optional): If you prefer a dedicated glass cleaner, grab one.
* Essential Oils (Optional): A few drops can add a pleasant scent to your cleaning solutions. Lavender, tea tree, or eucalyptus are great choices.
* Spray Mop (Optional): For quick and easy floor cleaning.
Making Your Cleaning Solutions: Natural Powerhouses
I’m a big fan of using natural cleaning solutions whenever possible. They’re effective, eco-friendly, and often cheaper than store-bought products. Here are my favorite recipes:
* All-Purpose Cleaner: In a spray bottle, combine 1 cup of white vinegar, 1 cup of water, and a few drops of your favorite essential oil (optional).
* Grout Cleaner: Make a paste of baking soda and water.
* Shower Door Cleaner: Equal parts white vinegar and water in a spray bottle.
Cleaning the Shower and Tub: Banishing Soap Scum
This is often the most dreaded part, but with the right approach, it doesn’t have to be a nightmare.
1. Rinse the Shower/Tub: Start by giving the shower or tub a good rinse with hot water. This will help loosen any loose dirt and grime.
2. Spray with All-Purpose Cleaner: Generously spray the shower walls, tub, and shower door with your all-purpose cleaner. Let it sit for about 10-15 minutes to allow the vinegar to work its magic.
3. Scrub, Scrub, Scrub: Using a microfiber cloth or sponge, scrub all surfaces thoroughly. Pay special attention to areas with soap scum buildup. For stubborn spots, use the baking soda paste and an old toothbrush.
4. Tackle the Grout: Apply the baking soda paste to the grout lines and let it sit for a few minutes. Then, use the old toothbrush to scrub the grout clean. Rinse well.
5. Clean the Showerhead: If your showerhead has mineral buildup, you can soak it in a bag filled with white vinegar. Simply fill a plastic bag with vinegar, secure it around the showerhead with a rubber band, and let it soak for a few hours or overnight. Rinse thoroughly.
6. Squeegee the Shower Door: After rinsing, use a squeegee to remove excess water from the shower door. This will help prevent water spots and keep your shower door looking sparkling clean.
7. Dry with a Microfiber Cloth: Finally, dry all surfaces with a clean microfiber cloth to prevent water spots and leave a gleaming finish.
Cleaning the Toilet: A Throne Fit for a Queen (or King!)
Let’s face it, cleaning the toilet isn’t glamorous, but it’s a necessary evil.
1. Flush the Toilet: Start by flushing the toilet to remove any waste.
2. Apply Toilet Bowl Cleaner: Apply your favorite toilet bowl cleaner under the rim of the bowl and let it sit for the recommended time (usually 10-15 minutes).
3. Clean the Exterior: While the toilet bowl cleaner is working, clean the exterior of the toilet with your all-purpose cleaner and a microfiber cloth. Don’t forget to clean the base, the seat, and the lid.
4. Scrub the Bowl: Use a toilet brush to scrub the inside of the bowl, paying special attention to any stains or buildup.
5. Flush Again: Flush the toilet again to rinse away the cleaner and any loosened debris.
6. Wipe Down: Wipe down the exterior of the toilet again with a clean microfiber cloth to remove any remaining cleaner or water.
Cleaning the Sink and Countertop: Sparkling Surfaces
The sink and countertop are often the first things people see, so let’s make sure they’re looking their best.
1. Remove Items: Clear the countertop of any items, such as soap dispensers, toothbrush holders, and makeup.
2. Spray with All-Purpose Cleaner: Spray the sink and countertop with your all-purpose cleaner.
3. Scrub: Use a microfiber cloth or sponge to scrub the sink and countertop, paying special attention to any stains or buildup.
4. Clean the Faucet: Use the old toothbrush to clean around the faucet and drain.
5. Rinse: Rinse the sink and countertop with water.
6. Dry: Dry the sink and countertop with a clean microfiber cloth.
7. Polish the Faucet: For extra shine, polish the faucet with a dry microfiber cloth.
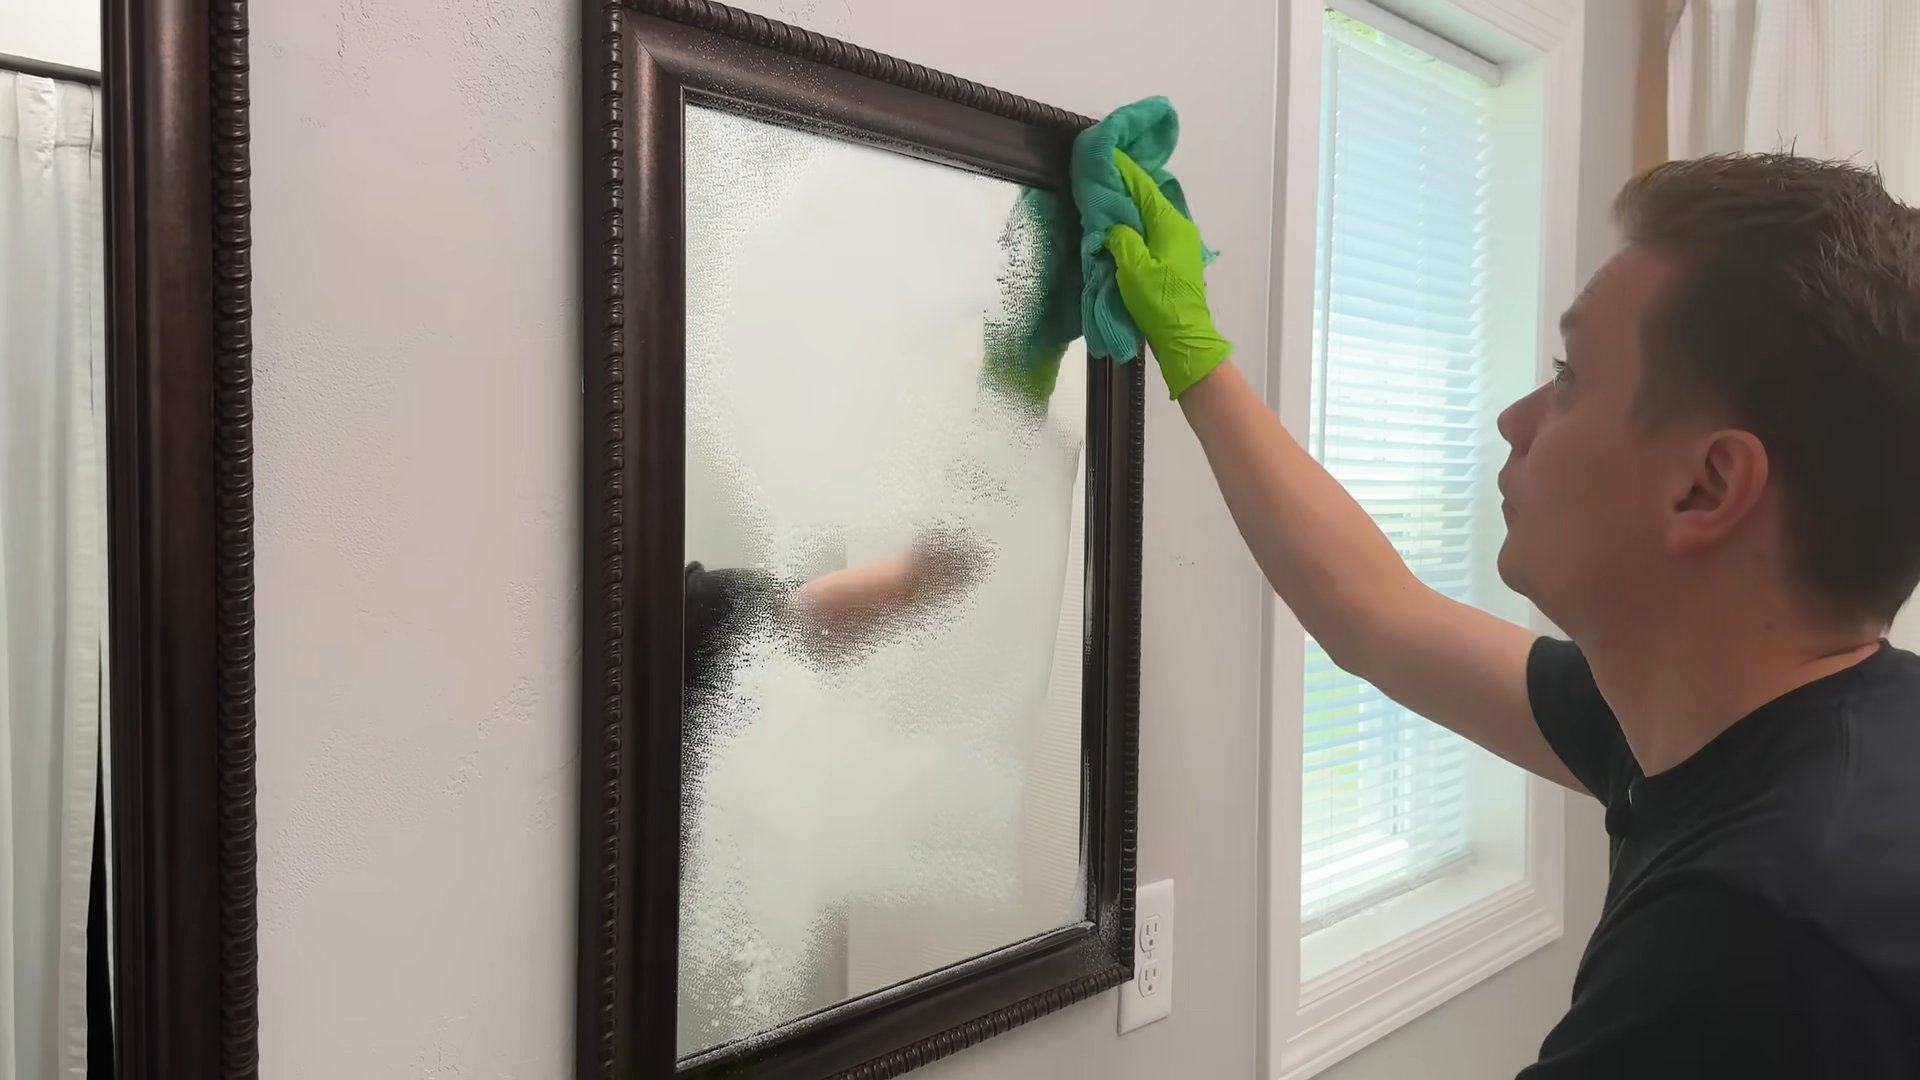
Cleaning the Mirror: Streak-Free Shine
A sparkling mirror can make a huge difference in the overall appearance of your bathroom.
1. Spray with Glass Cleaner (or Vinegar Solution): Spray the mirror with your glass cleaner or vinegar solution.
2. Wipe with a Microfiber Cloth: Wipe the mirror with a clean, dry microfiber cloth. Use a circular motion to remove any streaks.
3. Buff: Buff the mirror with a clean, dry microfiber cloth to achieve a streak-free shine.
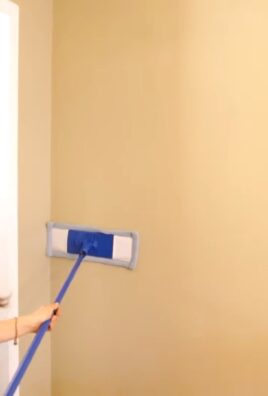
Cleaning the Floor: The Final Touch
Don’t forget the floor! A clean floor is the perfect finishing touch to a sparkling bathroom.
1. Sweep or Vacuum: Start by sweeping or vacuuming the floor to remove any loose dirt and debris.
2. Mop: Use a spray mop or a traditional mop and bucket to mop the floor with your all-purpose cleaner.
3. Rinse (if necessary): If you’re using a traditional mop and bucket, you may need to rinse the floor with clean water after mopping.
4. Dry: Allow the floor to air dry or dry it with a clean microfiber cloth.
Extra Tips for a Sparkling Bathroom: Going the Extra Mile
* Ventilate: Always ventilate your bathroom while cleaning to prevent the buildup of fumes. Open a window or turn on the exhaust fan.
* Regular Cleaning: The key to maintaining a sparkling bathroom is to clean it regularly. A quick wipe-down once a week can prevent grime from building up.
* Prevent Mold and Mildew: To prevent mold and mildew, keep your bathroom well-ventilated and dry. Wipe down shower walls and doors after each use.
* Organize: A cluttered bathroom can look dirty, even if it’s clean. Take some time to organize your bathroom and declutter any unnecessary items.
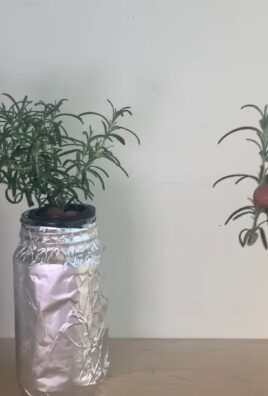
* Add a Touch of Green: A small plant can add a touch of freshness and life to your bathroom.
And there you have it! My complete guide to achieving a sparkling clean bathroom. It might seem like a lot of work, but trust me, the results are worth it. With a little elbow grease and the right tools, you can transform your bathroom into a clean and inviting space. Happy cleaning!
Conclusion
So, there you have it! Transforming your bathroom into a sparkling sanctuary doesn’t require harsh chemicals or a hefty cleaning bill. This simple, yet incredibly effective, DIY trick for achieving a sparkling bathroom is a game-changer for anyone looking to maintain a clean and fresh space without the fuss. We’ve shown you how to harness the power of readily available ingredients to combat soap scum, hard water stains, and general grime, leaving your bathroom surfaces gleaming.
Why is this a must-try? Because it’s not just about cleaning; it’s about creating a healthier and more pleasant environment. Harsh chemicals can irritate skin, damage surfaces over time, and contribute to indoor air pollution. This DIY method offers a gentler, more sustainable approach that’s kind to your family, your bathroom, and the planet. Plus, let’s be honest, the satisfaction of creating a powerful cleaning solution from scratch is pretty rewarding!
Looking to personalize your cleaning experience? Consider these variations:
* Essential Oil Boost: Add a few drops of your favorite essential oil, like tea tree (known for its antibacterial properties), lavender (for a calming scent), or lemon (for extra cleaning power and a fresh aroma). Just be sure to test a small, inconspicuous area first to ensure the oil doesn’t damage the surface.
* Vinegar Infusion: For particularly stubborn stains, infuse your vinegar with citrus peels (lemon, orange, grapefruit) for a week or two before using it in the cleaning solution. This will add extra cleaning power and a pleasant scent.
* Baking Soda Scrub: For grout lines and other hard-to-reach areas, create a paste of baking soda and water. Apply the paste, let it sit for a few minutes, and then scrub with a brush. Rinse thoroughly.
* Adjust the Ratio: Depending on the severity of the grime in your bathroom, you might need to adjust the ratio of ingredients. If you find the solution isn’t strong enough, try adding a bit more vinegar or baking soda.
We are confident that this DIY trick will revolutionize your bathroom cleaning routine. It’s easy, affordable, and effective. But the real test is in the doing! We wholeheartedly encourage you to give this method a try and experience the difference for yourself.
Don’t just take our word for it. We want to hear about your experiences! Did you find this DIY trick helpful? Did you try any of the variations? What were your results? Share your tips, tricks, and before-and-after photos in the comments below. Let’s build a community of sparkling bathroom enthusiasts! Your feedback will not only help others but also inspire us to create even more helpful and innovative cleaning solutions. So go ahead, give your bathroom the spa treatment it deserves, and let us know how it goes! We can’t wait to hear from you.
Frequently Asked Questions (FAQ)
What exactly makes this DIY bathroom cleaning solution so effective?
The effectiveness of this DIY solution lies in the synergistic action of its ingredients. Vinegar, a mild acid, helps to dissolve hard water stains, soap scum, and mildew. Baking soda, a gentle abrasive, aids in scrubbing away grime and deodorizing surfaces. The combination creates a powerful cleaning agent that is both effective and safe for most bathroom surfaces. The addition of dish soap helps to cut through grease and grime, lifting it away from surfaces for easy removal.
Is this DIY cleaning solution safe for all bathroom surfaces?
While this solution is generally safe for most bathroom surfaces, it’s always best to test it in an inconspicuous area first, especially on delicate materials like natural stone (marble, granite), certain types of tile, or painted surfaces. Vinegar, being acidic, can etch or dull some surfaces if left on for too long. Avoid using it on these surfaces or dilute it further with water. For natural stone, consider using a pH-neutral cleaner specifically designed for those materials. Always rinse thoroughly after cleaning.
How often should I use this DIY cleaning solution in my bathroom?
The frequency of cleaning depends on how often your bathroom is used and how quickly it gets dirty. For a bathroom used daily, a weekly cleaning with this solution is generally sufficient to maintain a sparkling clean. However, you may need to clean more frequently if you notice buildup of soap scum, hard water stains, or mildew. For less frequently used bathrooms, a bi-weekly or monthly cleaning may be adequate.
Can I store the leftover cleaning solution? If so, how long will it last?
Yes, you can store the leftover cleaning solution in a sealed container. It’s best to use a spray bottle for easy application. The solution should remain effective for several weeks, but it’s best to use it within a month for optimal results. Over time, the baking soda may settle to the bottom of the container, so be sure to shake well before each use. Store the solution in a cool, dark place away from direct sunlight.
What if I don’t have vinegar or baking soda? Are there any substitutes?
While vinegar and baking soda are key ingredients in this DIY cleaning solution, there are some substitutes you can use in a pinch. For vinegar, you can try using lemon juice, which also contains citric acid and has similar cleaning properties. For baking soda, you can try using washing soda (sodium carbonate), which is a stronger alkaline cleaner. However, washing soda can be more abrasive, so use it with caution and test it in an inconspicuous area first. Keep in mind that the results may not be as effective as using vinegar and baking soda.
The solution seems to leave a residue on my surfaces. What am I doing wrong?
If you’re experiencing residue after using the cleaning solution, it could be due to a few factors. First, make sure you’re rinsing the surfaces thoroughly after cleaning. Any leftover solution can dry and leave a residue. Second, you may be using too much dish soap in the solution. A little goes a long way. Try reducing the amount of dish soap you’re using. Finally, hard water can sometimes react with the cleaning solution and leave a residue. If you have hard water, consider using distilled water to make the solution.
How do I tackle stubborn stains or mildew with this DIY solution?
For stubborn stains or mildew, you may need to pre-treat the affected areas. For stains, create a paste of baking soda and water, apply it to the stain, and let it sit for several minutes before scrubbing. For mildew, spray the affected area with undiluted vinegar, let it sit for 15-20 minutes, and then scrub with a brush. You can also try using a toothbrush to get into hard-to-reach areas. After scrubbing, rinse thoroughly with water. You might need to repeat the process for particularly stubborn stains or mildew.
Can I use this solution to clean my toilet bowl?
Yes, this DIY cleaning solution can be used to clean your toilet bowl. Pour about a cup of the solution into the toilet bowl, let it sit for 15-20 minutes, and then scrub with a toilet brush. Flush the toilet to rinse. For extra cleaning power, you can add a cup of baking soda to the toilet bowl before pouring in the vinegar. The mixture will fizz, helping to loosen grime and stains.
Is this DIY cleaning solution environmentally friendly?
Yes, this DIY cleaning solution is much more environmentally friendly than many commercial cleaning products. It uses readily available, biodegradable ingredients that are less harmful to the environment. By making your own cleaning solution, you can reduce your reliance on harsh chemicals and plastic packaging, contributing to a more sustainable lifestyle.
Leave a Comment