
Sparkling clean kitchen sink – who doesn’t dream of one? Let’s be honest, the kitchen sink is often the unsung hero (or victim!) of our daily lives. It battles food scraps, greasy pans, and countless coffee cups. But achieving that gleaming, spotless sink doesn’t have to involve harsh chemicals or hours of scrubbing.
For generations, resourceful homemakers have passed down clever tips and tricks for keeping their sinks pristine. Think back to your grandmother’s era – before fancy cleaning products lined every store shelf. They relied on simple, natural ingredients and a little elbow grease to maintain a sparkling clean kitchen sink. These time-tested methods are not only effective but also often more environmentally friendly and budget-conscious.
In today’s busy world, we’re all looking for ways to simplify our routines and create a more inviting home. A clean sink instantly elevates the look and feel of your kitchen, making it a more pleasant space to be in. Plus, a properly maintained sink is less likely to harbor bacteria and unpleasant odors. That’s why I’m so excited to share these easy DIY tricks and hacks that will help you achieve a sparkling clean kitchen sink with minimal effort. Get ready to say goodbye to stubborn stains and hello to a gleaming, fresh-smelling sink!
DIY Sparkling Clean Kitchen Sink: My Secret Weapon!
Hey everyone! I’m so excited to share my go-to method for getting a sparkling clean kitchen sink. I know, cleaning isn’t always the most thrilling topic, but trust me, a gleaming sink can make a huge difference in how your whole kitchen feels. Plus, this method is super easy, uses mostly things you probably already have, and avoids harsh chemicals. Let’s get started!
What You’ll Need:
* Baking Soda
* White Vinegar
* Dish Soap (I prefer a natural one, but any will do!)
* Lemon (optional, but adds a lovely scent!)
* Salt (coarse salt is best)
* Old Toothbrush or Scrub Brush
* Microfiber Cloth or Sponge
* Boiling Water (be careful!)
* Rubber Gloves (optional, but recommended if you have sensitive skin)
Phase 1: The Initial Scrub Down
This phase focuses on removing the initial grime and food particles.
1. Clear the Sink: First things first, remove everything from your sink – dishes, sponges, dish rack, everything! You want a completely empty canvas to work with.
2. Rinse Thoroughly: Give the entire sink a good rinse with warm water. This will loosen any stuck-on food and debris. Make sure to rinse the sides and the drain area well.
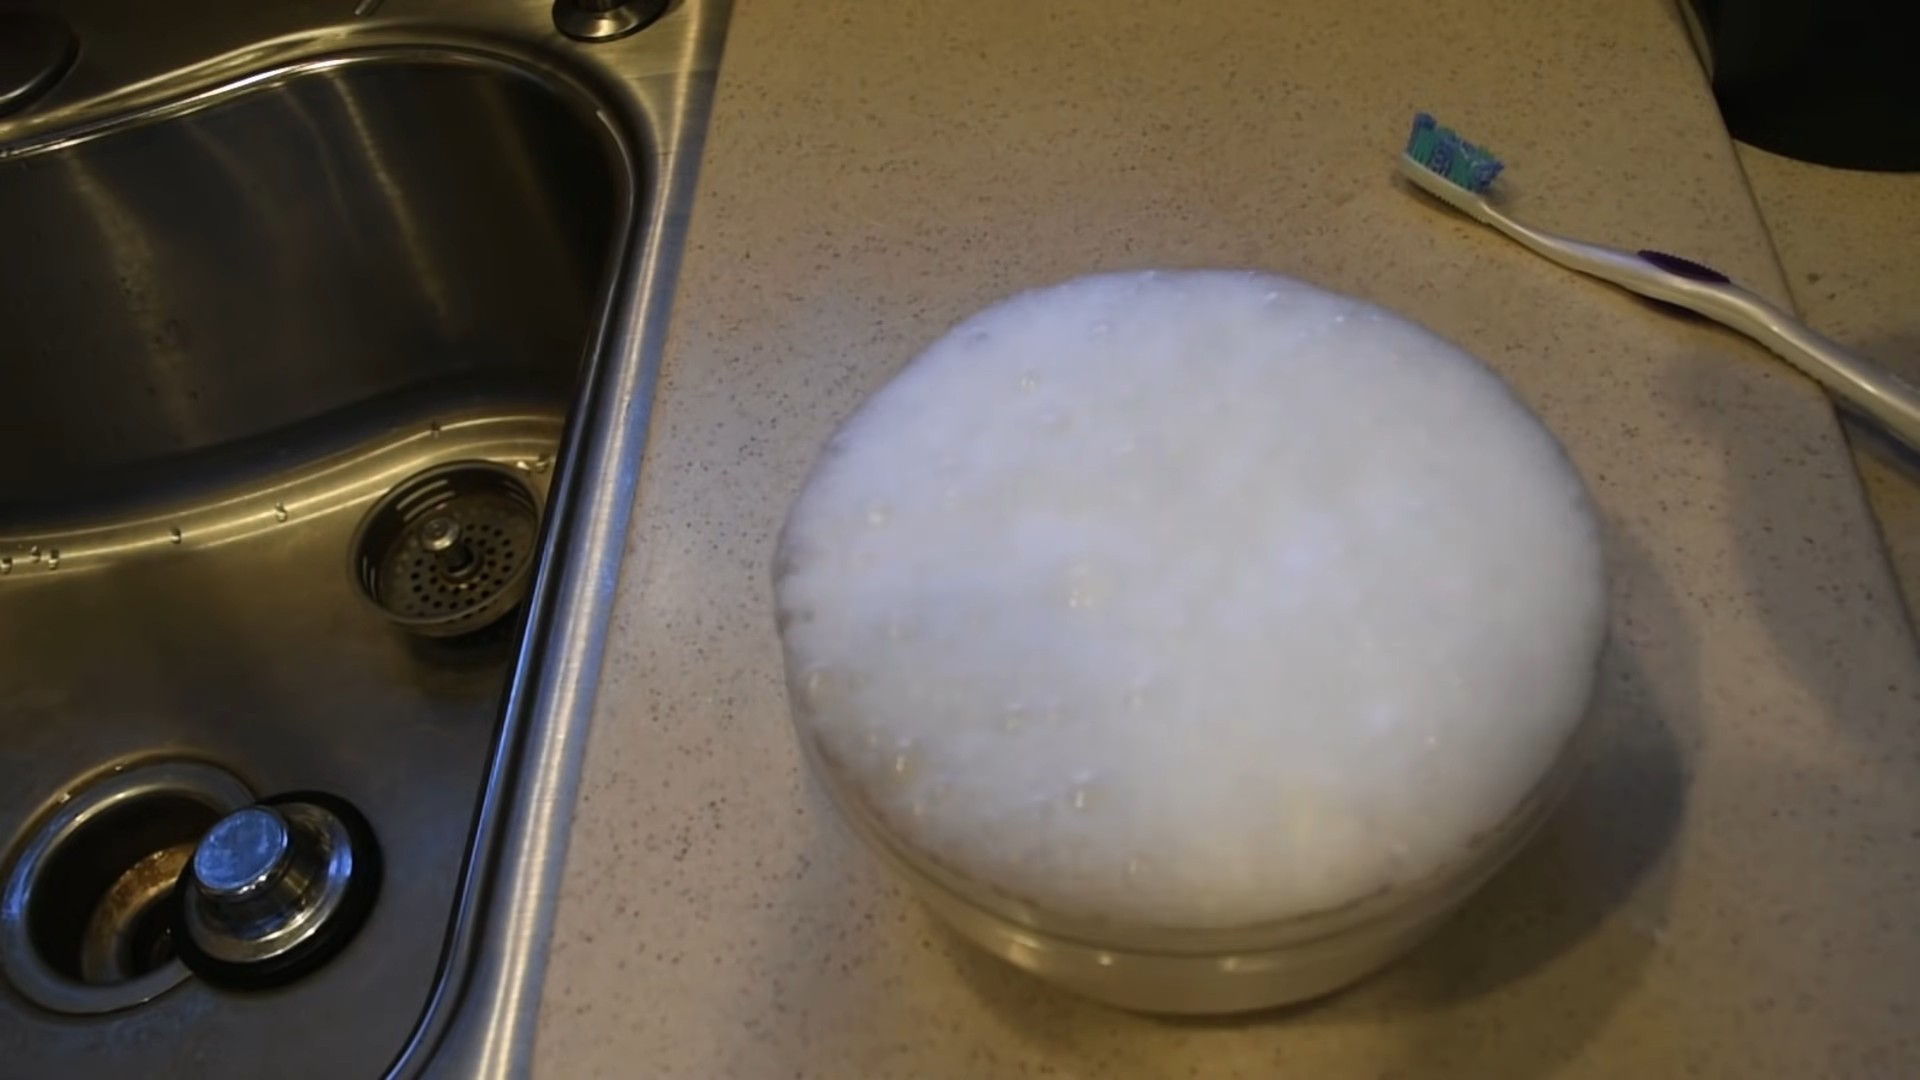
3. Baking Soda Power: Now, sprinkle a generous amount of baking soda all over the sink. Don’t be shy! Cover the entire surface, including the sides and the area around the drain. Baking soda is a fantastic natural abrasive and deodorizer.
4. Gentle Scrub: Using your damp sponge or microfiber cloth, gently scrub the baking soda into the sink. Focus on areas with visible stains or grime. I like to use circular motions for a more thorough clean.
5. Rinse Again: Rinse away the baking soda with warm water. You should already see a noticeable difference!
Phase 2: Vinegar’s Magic Touch
Vinegar is my secret weapon for tackling hard water stains and mineral buildup.
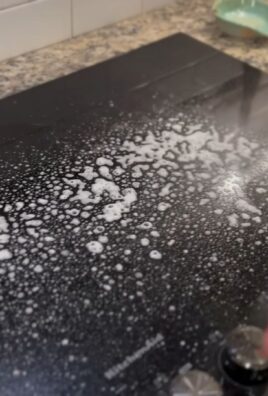
1. Vinegar Flood: Pour white vinegar all over the sink, covering all surfaces. You’ll notice it will start to fizz when it comes into contact with the remaining baking soda. This is a good thing! It means it’s working.
2. Let it Sit: Let the vinegar sit for about 10-15 minutes. This allows the vinegar to break down any stubborn stains and mineral deposits. I usually use this time to do something else, like unload the dishwasher or wipe down the countertops.
3. Scrub Again: After the vinegar has had its time to work, give the sink another scrub with your sponge or microfiber cloth. Pay extra attention to areas that still have stains or buildup.
4. Rinse Thoroughly: Rinse the sink completely with warm water, making sure to remove all traces of vinegar.
Phase 3: Deep Cleaning the Drain
A clean sink isn’t complete without a clean drain! This is where things can get a little smelly, so let’s tackle it head-on.
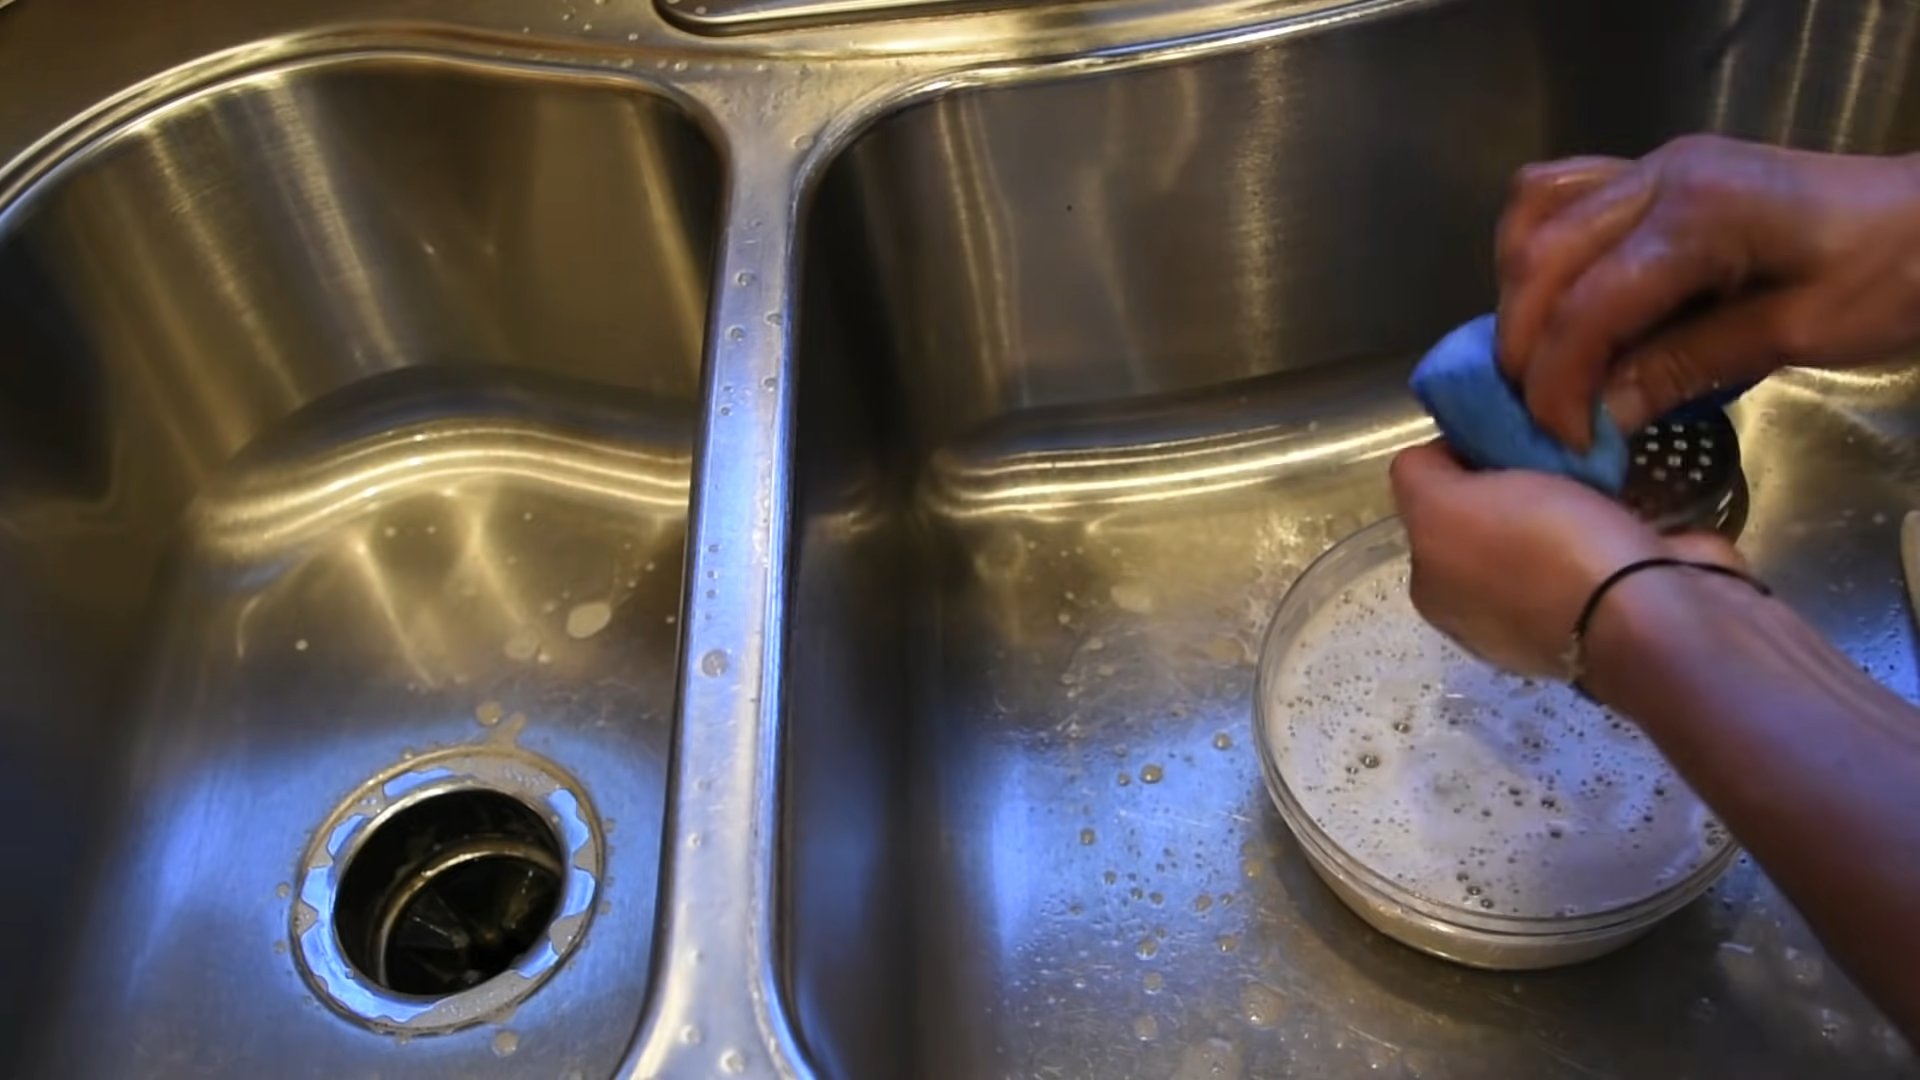
1. Baking Soda and Vinegar Volcano: Pour about 1/2 cup of baking soda down the drain. Then, slowly pour 1 cup of white vinegar down the drain. Stand back! It will fizz and bubble quite a bit.
2. Let it Fizz: Let the mixture fizz and bubble for about 30 minutes. This will help to loosen any gunk and grime that’s built up in the drain. I usually cover the drain with a stopper during this time to contain the fizz and maximize its cleaning power.
3. Boiling Water Flush: After 30 minutes, carefully pour a pot of boiling water down the drain. This will flush away all the loosened debris and leave your drain smelling fresh. Be extremely careful when handling boiling water to avoid burns.
4. Salt Scrub (Optional): If your drain is particularly smelly or clogged, you can add a salt scrub. Pour about 1/2 cup of coarse salt down the drain, followed by a cup of warm water. Let it sit for a few minutes, then flush with more warm water. The salt acts as a natural abrasive to help scrub away any remaining buildup.
Phase 4: Polishing and Finishing Touches
This is where we add the final sparkle and shine!
1. Dish Soap Wash: Squirt a small amount of dish soap onto your sponge or microfiber cloth. Wash the entire sink with the dish soap, paying attention to any areas that might have been missed.
2. Final Rinse: Rinse the sink thoroughly with warm water until all traces of soap are gone.
3. Lemon Scent (Optional): If you want to add a fresh, citrusy scent, cut a lemon in half and rub it all over the sink. The lemon juice will also help to remove any lingering water spots.
4. Dry Thoroughly: Use a clean, dry microfiber cloth to dry the entire sink. This is crucial for preventing water spots and keeping your sink looking its best.
5. Polish with Oil (Optional): For stainless steel sinks, you can add a final polish with a tiny amount of olive oil or baby oil. Put a few drops of oil on a clean microfiber cloth and buff the sink until it shines. This will help to protect the sink from water spots and keep it looking new.
Extra Tips and Tricks:
* Preventative Measures: To keep your sink clean longer, try to rinse it out after each use and wipe it down with a dry cloth.
* Hard Water Stains: If you have hard water, you may need to repeat the vinegar treatment more often. You can also try using a commercial hard water stain remover.
* Stubborn Stains: For really stubborn stains, you can try making a paste of baking soda and water and applying it to the stain. Let it sit for a few hours, then scrub and rinse.
* Drain Maintenance: To prevent clogs, avoid pouring grease down the drain. You can also use a drain strainer to catch food particles.
* Regular Cleaning: I try to do a deep clean of my sink at least once a week to keep it looking its best.
Maintaining Your Sparkling Sink:
* Daily Rinse: After each use, give your sink a quick rinse to remove any food particles or soap residue.
* Weekly Wipe Down: Once a week, wipe down your sink with a damp cloth and a mild dish soap.
* Monthly Deep Clean: Follow the steps outlined above for a more thorough cleaning once a month.
And that’s it! With a little bit of elbow grease and these simple ingredients, you can have a sparkling clean kitchen sink that you’ll be proud to show off. Happy cleaning! I hope you found this helpful! Let me know in the comments if you have any questions or other tips for keeping a kitchen sink clean!
Conclusion
So, there you have it! Achieving a sparkling clean kitchen sink doesn’t require harsh chemicals or expensive cleaning services. This simple, DIY trick, using ingredients you likely already have in your pantry, is a game-changer for maintaining a hygienic and aesthetically pleasing kitchen. We’ve shown you how easy it is to banish grime, eliminate odors, and restore the shine to your sink, all with minimal effort and maximum impact.
Why is this DIY method a must-try? Because it’s effective, eco-friendly, and budget-friendly. Commercial cleaners often contain harsh chemicals that can be harmful to your health and the environment. This DIY approach utilizes the natural cleaning power of ingredients like baking soda, vinegar, and lemon, offering a safer and more sustainable alternative. Plus, think of all the money you’ll save by ditching those expensive store-bought products!
But the benefits extend beyond just cleanliness and cost savings. A sparkling clean kitchen sink contributes to a more pleasant and inviting kitchen environment. It’s a small detail that can make a big difference in your overall sense of well-being and pride in your home. Imagine stepping into your kitchen each morning and being greeted by a gleaming sink, free from stains and unpleasant odors. It’s a simple pleasure that can brighten your day.
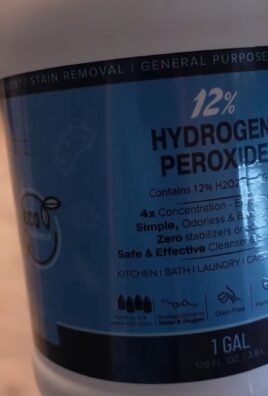
Looking for variations? Absolutely! For stubborn stains, try making a paste of baking soda and hydrogen peroxide and letting it sit on the affected area for a few minutes before scrubbing. If you have a stainless steel sink, you can use a microfiber cloth and a small amount of olive oil to polish it after cleaning, leaving it with a brilliant shine. For a refreshing scent, add a few drops of your favorite essential oil, like lemon or lavender, to the baking soda mixture. You can also use a grapefruit half instead of a lemon for a slightly different, but equally effective, cleaning experience. Experiment and find what works best for your sink and your preferences.
We are confident that once you try this DIY trick for a sparkling clean kitchen sink, you’ll be amazed by the results. It’s a simple, effective, and affordable way to keep your kitchen looking its best. So, ditch the harsh chemicals, embrace the power of natural ingredients, and get ready to transform your sink from drab to fab!
Now, we want to hear from you! Give this DIY trick a try and share your experience in the comments below. Let us know what variations you tried, what worked best for you, and any tips or tricks you discovered along the way. We’re excited to learn from your experiences and build a community of clean-sink enthusiasts! Don’t forget to share this article with your friends and family so they can enjoy the benefits of a sparkling clean kitchen sink too.
FAQ
Q: How often should I clean my kitchen sink using this DIY method?
A: The frequency of cleaning depends on how often you use your sink and how prone it is to staining. As a general guideline, we recommend cleaning your sink using this DIY method at least once a week. If you notice stains or odors developing more frequently, you may need to clean it more often. For heavily used sinks, consider a quick daily rinse with soap and water to prevent buildup. A deep clean once a week will maintain its shine.
Q: What if I have a garbage disposal? How does this DIY method affect it?
A: This DIY method is generally safe for garbage disposals. In fact, the baking soda and vinegar combination can help to freshen and clean your disposal. After cleaning your sink, run the disposal with cold water for a minute or two to flush out any remaining debris. You can also add a few ice cubes to the disposal while it’s running to help sharpen the blades. Avoid pouring grease or oil down the drain, as this can clog your disposal and lead to unpleasant odors. Periodically, you can grind lemon or lime peels in the disposal to freshen it up.
Q: Can I use this DIY method on all types of kitchen sinks?
A: This DIY method is generally safe for most types of kitchen sinks, including stainless steel, porcelain, and composite sinks. However, it’s always a good idea to test a small, inconspicuous area first to ensure that the ingredients don’t damage the surface. Avoid using abrasive scrubbers on delicate surfaces like porcelain, as this can scratch the finish. For cast iron sinks, be sure to dry them thoroughly after cleaning to prevent rust. If you have a copper sink, consult the manufacturer’s instructions for cleaning, as copper requires special care.
Q: What if I don’t have vinegar? Can I use something else?
A: While vinegar is a key ingredient in this DIY method, you can substitute it with lemon juice in a pinch. Lemon juice has similar acidic properties and can help to dissolve grime and eliminate odors. However, vinegar is generally more effective at removing stubborn stains and mineral deposits. If you don’t have either vinegar or lemon juice, you can try using a mild dish soap and warm water, but it may not be as effective as the baking soda and vinegar combination.
Q: The baking soda and vinegar mixture fizzes up a lot. Is that normal?
A: Yes, the fizzing is perfectly normal! It’s a chemical reaction between the baking soda (a base) and the vinegar (an acid). This reaction helps to loosen dirt and grime, making it easier to scrub away. Just be sure to work quickly and efficiently while the mixture is fizzing to maximize its cleaning power. The fizzing will subside after a few minutes, so don’t be alarmed if it stops.
Q: How do I get rid of hard water stains in my kitchen sink?
A: Hard water stains can be particularly stubborn. For hard water stains, soak a paper towel in vinegar and place it directly on the affected area for 30 minutes to an hour. The vinegar will help to dissolve the mineral deposits. After soaking, scrub the area with a non-abrasive sponge and rinse thoroughly with water. You may need to repeat this process several times for stubborn stains. You can also purchase commercial hard water stain removers, but be sure to choose a product that is safe for your sink material.
Q: My sink has a lingering odor even after cleaning. What can I do?
A: If your sink has a lingering odor even after cleaning, it could be coming from your garbage disposal or drain. Try pouring a cup of baking soda down the drain, followed by a cup of vinegar. Let it fizz for 30 minutes, then flush with hot water. This can help to eliminate odors and clear any blockages in the drain. You can also try grinding lemon or lime peels in the disposal to freshen it up. If the odor persists, you may need to call a plumber to inspect your drain for any underlying issues.
Q: Can I use bleach to clean my kitchen sink?
A: While bleach is a powerful disinfectant, we generally don’t recommend using it to clean your kitchen sink on a regular basis. Bleach can be harsh on certain sink materials, such as stainless steel and porcelain, and can cause discoloration or damage over time. It can also release harmful fumes when mixed with other cleaning products, such as ammonia. If you do choose to use bleach, be sure to dilute it properly and wear gloves and eye protection. Rinse the sink thoroughly with water after cleaning to remove any residual bleach.
Q: What type of sponge or scrubber should I use?
A: The type of sponge or scrubber you use depends on the material of your sink. For stainless steel sinks, use a non-abrasive sponge or microfiber cloth to avoid scratching the surface. For porcelain sinks, use a soft sponge or brush. Avoid using steel wool or abrasive scrubbers on delicate surfaces. For composite sinks, you can use a slightly more abrasive scrubber, but be sure to test it in an inconspicuous area first. Always rinse your sponge or scrubber thoroughly after each use to prevent the buildup of bacteria.

Leave a Comment