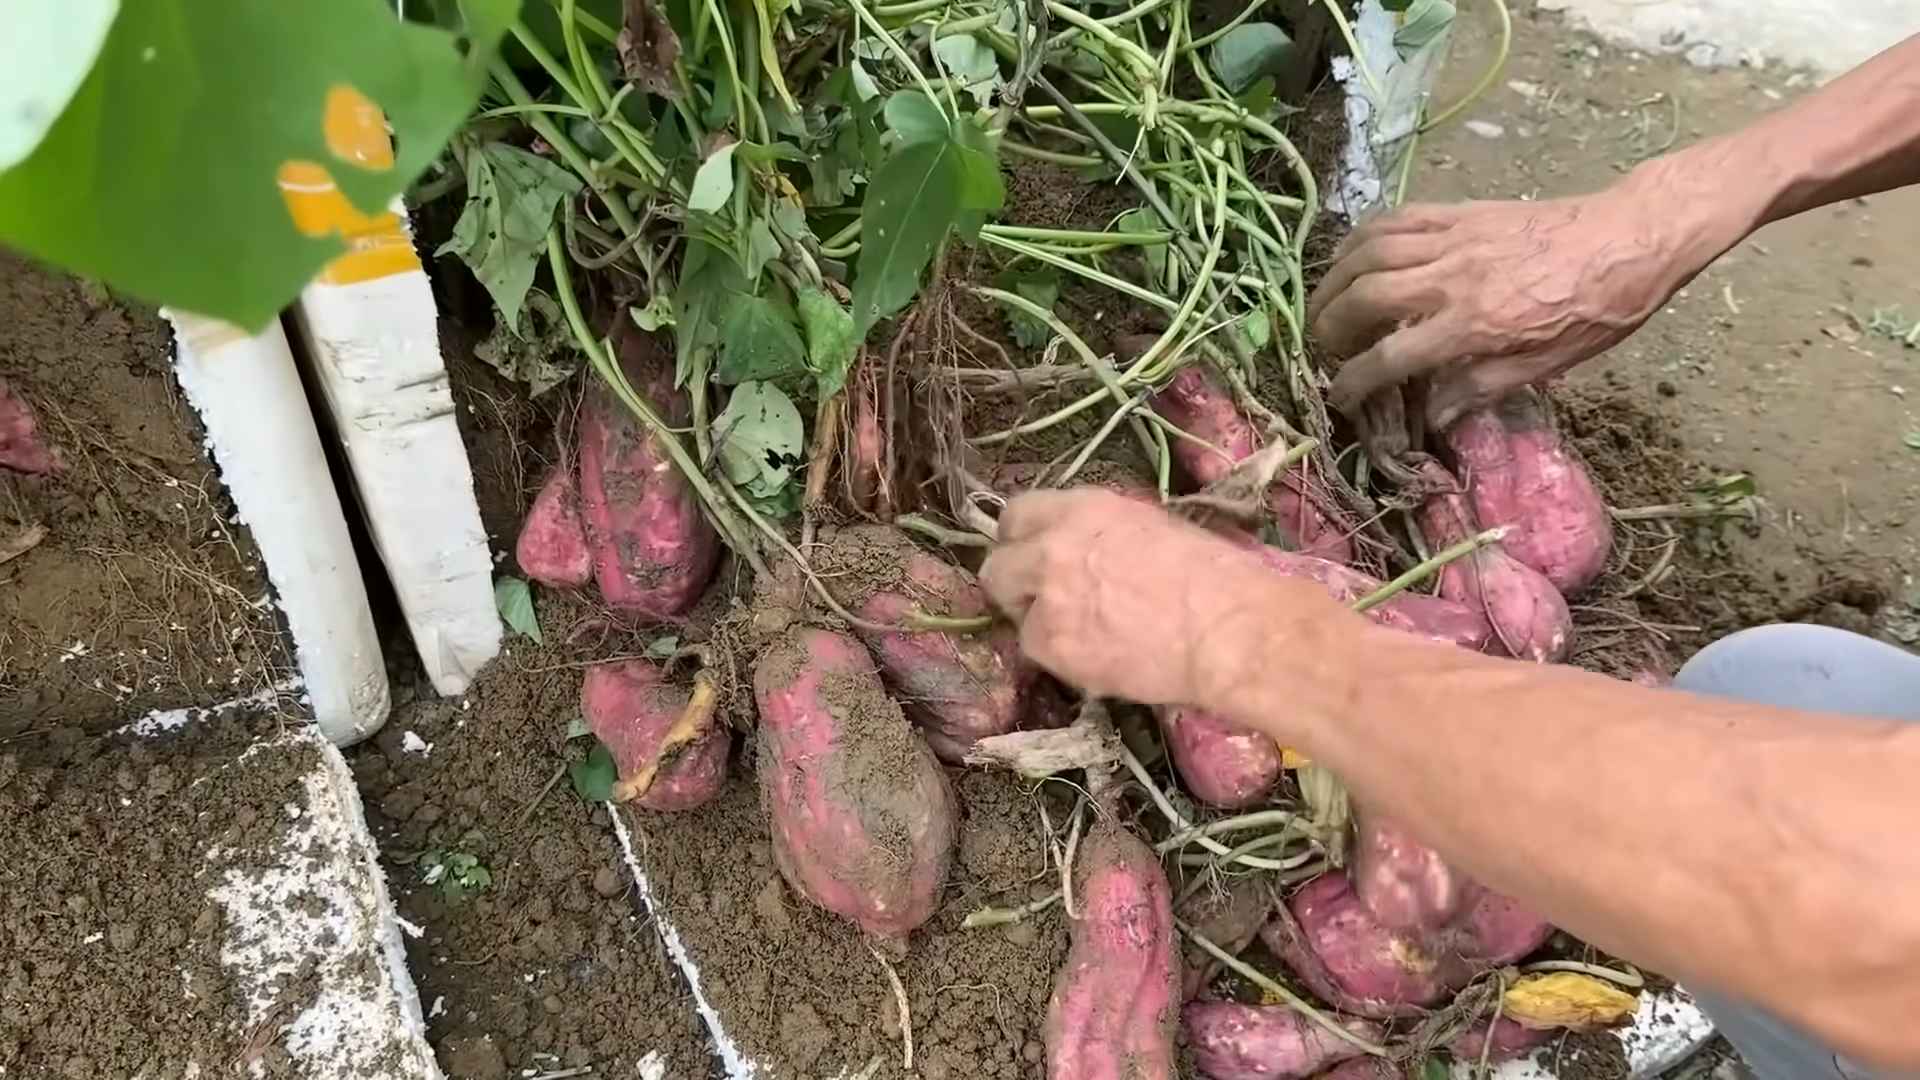
Sweet potato cooking method – ever wondered how to unlock the full potential of this vibrant, nutrient-packed root vegetable? I know I have! For generations, sweet potatoes have been a staple in cuisines around the world, from the Southern United States to Asia, revered not only for their delicious flavor but also for their impressive health benefits. But let’s be honest, sometimes getting that perfect texture and flavor can feel like a culinary challenge.
Are you tired of sweet potatoes that are either mushy or undercooked? Do you dream of fluffy, caramelized perfection every time? Well, you’re in the right place! This article is your ultimate guide to mastering the sweet potato cooking method, with easy DIY tricks and hacks that will transform your sweet potato game forever. We’ll explore various techniques, from baking and roasting to microwaving and even grilling, ensuring you achieve mouthwatering results no matter your preferred method or time constraints.
In today’s fast-paced world, convenience is key, but so is healthy eating. That’s why I’m sharing these simple yet effective DIY tricks. They’ll help you enjoy the goodness of sweet potatoes without spending hours in the kitchen. Get ready to impress your family and friends with your newfound sweet potato expertise!

DIY: The Ultimate Guide to Perfectly Cooked Sweet Potatoes Every Time!
Hey there, fellow food enthusiasts! I’m about to share my foolproof method for cooking sweet potatoes. Forget those mushy, unevenly cooked spuds – we’re aiming for sweet, tender perfection every single time. I’ve experimented with all sorts of techniques, and this is the one that consistently delivers the best results. Whether you’re roasting, microwaving, or even using your slow cooker, I’ve got you covered. Let’s dive in!
Section 1: Roasting Sweet Potatoes for Maximum Flavor
Roasting is, in my opinion, the absolute best way to bring out the natural sweetness and caramelization of sweet potatoes. It takes a little longer, but the flavor payoff is HUGE.
What you’ll need:
* Sweet potatoes (any size or variety will work!)
* Olive oil (or coconut oil for a slightly different flavor)
* Salt
* Pepper (optional, but I like a little kick!)
* Baking sheet
* Parchment paper (optional, for easier cleanup)
Step-by-step instructions:
1. Preheat your oven: Set your oven to 400°F (200°C). This temperature is the sweet spot for roasting sweet potatoes – high enough to caramelize the sugars, but not so high that they burn.
2. Wash and scrub the sweet potatoes: Give those potatoes a good scrub under running water to remove any dirt or debris. You can leave the skin on (it’s nutritious and adds a nice texture), or peel them if you prefer. I usually leave the skin on.
3. Cut the sweet potatoes: This is where you have some options. You can roast them whole (more on that later), cut them into cubes, or slice them into wedges. For even cooking, aim for pieces that are roughly the same size. I usually go for 1-inch cubes.
4. Toss with oil and seasonings: In a large bowl, toss the sweet potato pieces with olive oil, salt, and pepper. Make sure every piece is coated evenly. Don’t be shy with the oil – it helps with caramelization.
5. Arrange on a baking sheet: Spread the sweet potato pieces in a single layer on a baking sheet. Avoid overcrowding the pan, as this will steam the potatoes instead of roasting them. If necessary, use two baking sheets. Parchment paper makes cleanup a breeze, but it’s not essential.
6. Roast in the oven: Place the baking sheet in the preheated oven and roast for 20-30 minutes, or until the sweet potatoes are tender and slightly caramelized. Flip them halfway through to ensure even browning. You’ll know they’re done when you can easily pierce them with a fork.
7. Let them cool slightly: Remove the baking sheet from the oven and let the sweet potatoes cool for a few minutes before serving. This allows the flavors to meld and prevents you from burning your mouth!
Roasting Sweet Potatoes Whole:
If you’re roasting whole sweet potatoes, the process is slightly different:
1. Preheat your oven: Same as above, 400°F (200°C).
2. Wash and scrub the sweet potatoes: Again, give them a good scrub.
3. Pierce the sweet potatoes: Use a fork to pierce the sweet potatoes several times. This allows steam to escape and prevents them from exploding in the oven (trust me, it’s happened!).
4. Rub with oil and salt: Rub the sweet potatoes with olive oil and sprinkle with salt.
5. Bake: Place the sweet potatoes directly on the oven rack (or on a baking sheet for easier cleanup) and bake for 45-60 minutes, or until they are very soft and easily pierced with a fork. The cooking time will depend on the size of the potatoes.
6. Let them cool slightly: Let them cool slightly before handling. You can then slice them open and top them with your favorite toppings.
Section 2: Microwaving Sweet Potatoes for a Quick and Easy Meal
Sometimes, you just need a sweet potato fix FAST. That’s where the microwave comes in. While it doesn’t produce the same caramelized flavor as roasting, it’s a super convenient option for a quick lunch or side dish.
What you’ll need:
* Sweet potato
* Fork
* Microwave-safe plate
Step-by-step instructions:
1. Wash and scrub the sweet potato: Just like with roasting, start by giving your sweet potato a good scrub.
2. Pierce the sweet potato: This is crucial! Use a fork to pierce the sweet potato several times. This prevents it from exploding in the microwave.
3. Microwave: Place the sweet potato on a microwave-safe plate and microwave on high for 5-8 minutes, or until it is soft and easily pierced with a fork. The cooking time will depend on the size of the potato and the power of your microwave. Start with 5 minutes and add more time as needed.
4. Let it cool slightly: Carefully remove the sweet potato from the microwave (it will be hot!). Let it cool for a few minutes before handling.
5. Enjoy! Slice it open and top with your favorite toppings. I love a little butter, cinnamon, and a drizzle of maple syrup.
Section 3: Slow Cooker Sweet Potatoes: Set It and Forget It!
The slow cooker is another fantastic option for cooking sweet potatoes, especially if you want to come home to a warm and comforting meal. This method is incredibly easy and requires minimal effort.
What you’ll need:
* Sweet potatoes
* Slow cooker
* Optional: a little water
Step-by-step instructions:
1. Wash and scrub the sweet potatoes: You know the drill! Give those potatoes a good scrub.
2. Pierce the sweet potatoes (optional): While not strictly necessary, I like to pierce the sweet potatoes a few times with a fork. It might help them cook a little faster.
3. Place in the slow cooker: Place the sweet potatoes in the slow cooker. You can add a little water (about 1/4 cup) to the bottom of the slow cooker to help create steam, but it’s not essential.
4. Cook on low: Cook on low for 6-8 hours, or until the sweet potatoes are very soft and easily pierced with a fork. The cooking time will depend on the size of the potatoes and your slow cooker.
5. Enjoy! Remove the sweet potatoes from the slow cooker and let them cool slightly before handling. They’ll be incredibly tender and sweet.
Section 4: Sweet Potato Topping Ideas to Elevate Your Dish
Okay, so you’ve got perfectly cooked sweet potatoes. Now what? The possibilities are endless! Here are some of my favorite topping ideas:
* Savory: Butter, salt, pepper, sour cream, chives, crumbled bacon, chili, black beans, salsa, guacamole, shredded cheese.
* Sweet: Butter, cinnamon, brown sugar, maple syrup, honey, pecans, walnuts, marshmallows, shredded coconut, chocolate chips.
* Spicy: Chili powder, cayenne pepper, sriracha, hot sauce.
Don’t be afraid to experiment and find your own favorite combinations!
Section 5: Storing Leftover Sweet Potatoes
If you have any leftover cooked sweet potatoes (which is rare in my house!), you can store them in an airtight container in the refrigerator for up to 3-5 days. Reheat them in the microwave, oven, or skillet.
Reheating Tips:
* Microwave: Reheat for 1-2 minutes, or until heated through.
* Oven: Reheat at 350°F (175°C) for 10-15 minutes, or until heated through.
* Skillet: Sauté in a little butter or oil until heated through.
And there you have it! My ultimate guide to cooking sweet potatoes. I hope you found this helpful. Now go forth and create some delicious sweet potato dishes! Happy cooking!

Conclusion
So, there you have it! This simple yet effective DIY trick for perfectly cooked sweet potatoes is a game-changer. Forget about uneven cooking, hard spots, or overly mushy textures. This method delivers consistently delicious, tender, and flavorful sweet potatoes every single time. It’s a must-try for anyone who loves this versatile vegetable, whether you’re a seasoned chef or a kitchen novice.
Why is this method a must-try? Because it simplifies the entire process. No more babysitting the oven, constantly checking for doneness. This technique allows you to set it and (almost) forget it, freeing you up to focus on other aspects of your meal. Plus, the consistent results mean you can confidently incorporate sweet potatoes into your favorite recipes, knowing they’ll be cooked to perfection.
But the beauty of this DIY sweet potato cooking method lies in its adaptability. Feel free to experiment with different seasonings before cooking. A sprinkle of cinnamon and nutmeg adds warmth and sweetness, while a dash of chili powder brings a delightful kick. You can also try different types of sweet potatoes, such as Japanese sweet potatoes or garnet yams, to discover your favorite flavor profile.
Consider roasting them with other vegetables like Brussels sprouts, onions, or bell peppers for a complete and satisfying sheet pan meal. Drizzle with a balsamic glaze after roasting for an extra touch of sweetness and tang. Or, mash them with a little butter, cream, and maple syrup for a decadent side dish. The possibilities are truly endless!
We wholeheartedly encourage you to give this DIY trick a try. It’s a simple, effective, and delicious way to elevate your sweet potato game. Once you’ve experienced the ease and consistency of this method, we’re confident you’ll never go back to your old ways.
Don’t just take our word for it, though. We want to hear about your experiences! Share your photos, tips, and variations in the comments below. Let us know what seasonings you tried, what dishes you incorporated your perfectly cooked sweet potatoes into, and any other insights you have to offer. Your feedback will not only help other readers but also inspire us to continue sharing valuable cooking tips and tricks. So, go ahead, get cooking, and let us know what you think! We’re excited to see what culinary creations you come up with using this fantastic DIY sweet potato cooking method.
Frequently Asked Questions (FAQ)
Q: What type of sweet potatoes work best with this method?
A: This method works well with virtually all types of sweet potatoes! Whether you prefer the classic orange-fleshed varieties like Jewel or Garnet, or the white-fleshed Japanese sweet potatoes (Satsumaimo), you’ll achieve excellent results. The key is to adjust the cooking time slightly based on the size and density of the sweet potatoes. Smaller sweet potatoes will cook faster than larger ones.
Q: How do I know when the sweet potatoes are done?
A: The best way to check for doneness is to insert a fork or knife into the center of the sweet potato. It should slide in easily with little to no resistance. The sweet potato should be soft and tender throughout. If you encounter any resistance, continue cooking for a few more minutes and check again.
Q: Can I use this method for other root vegetables?
A: While this method is specifically tailored for sweet potatoes, it can be adapted for other root vegetables like potatoes, carrots, and parsnips. However, you may need to adjust the cooking time accordingly. Root vegetables with higher water content may require a slightly longer cooking time. Keep a close eye on them and check for doneness frequently.
Q: Can I cook multiple sweet potatoes at once using this method?
A: Absolutely! You can cook as many sweet potatoes as will comfortably fit in your oven without overcrowding. Just make sure to arrange them in a single layer on the baking sheet to ensure even cooking. If you’re cooking a large batch, you may need to increase the cooking time slightly.
Q: What if I don’t have parchment paper?
A: Parchment paper helps prevent the sweet potatoes from sticking to the baking sheet and makes cleanup easier. However, if you don’t have parchment paper, you can lightly grease the baking sheet with cooking oil or non-stick spray. Be sure to monitor the sweet potatoes closely to prevent them from burning.
Q: Can I add seasonings before cooking the sweet potatoes?
A: Yes, definitely! Adding seasonings before cooking is a great way to enhance the flavor of your sweet potatoes. Some popular options include cinnamon, nutmeg, brown sugar, chili powder, garlic powder, and smoked paprika. Simply sprinkle your desired seasonings over the sweet potatoes before placing them in the oven.
Q: How should I store leftover cooked sweet potatoes?
A: Leftover cooked sweet potatoes can be stored in an airtight container in the refrigerator for up to 3-5 days. You can reheat them in the microwave, oven, or skillet. They’re also delicious cold in salads or as a snack.
Q: Can I freeze cooked sweet potatoes?
A: Yes, cooked sweet potatoes freeze well. Allow them to cool completely before transferring them to a freezer-safe container or bag. They can be frozen for up to 2-3 months. When ready to use, thaw them in the refrigerator overnight or in the microwave. Keep in mind that the texture may change slightly after freezing.
Q: What are some creative ways to use cooked sweet potatoes?
A: The possibilities are endless! You can mash them and serve them as a side dish, add them to soups and stews, use them as a filling for tacos or enchiladas, or even incorporate them into baked goods like muffins and breads. They’re also delicious in salads, grain bowls, and breakfast bowls. Get creative and experiment with different flavor combinations!
Q: Why is this DIY sweet potato cooking method better than other methods?
A: This method offers several advantages over other cooking methods. It ensures even cooking, resulting in tender and flavorful sweet potatoes every time. It’s also relatively hands-off, freeing you up to focus on other tasks. Plus, it’s simple and straightforward, making it accessible to cooks of all skill levels. The consistent results and ease of use make it a superior choice for anyone who loves sweet potatoes.


Leave a Comment