
Toothpaste faucet cleaning: it’s not just a quirky hack; it’s a game-changer for sparkling clean faucets! Let’s face it, we’ve all been there – staring at a dull, water-stained faucet, wondering how to restore its original shine. You might think you need harsh chemicals or expensive cleaners, but I’m here to tell you that the solution is probably already sitting in your bathroom cabinet.
Believe it or not, using toothpaste to clean faucets isn’t a new trick. For generations, resourceful homemakers have relied on its mild abrasive properties to gently remove grime and restore luster. Think of it as a gentle polishing agent, working its magic without damaging the delicate finish of your fixtures. It’s a testament to the power of simple, readily available ingredients!
Why is toothpaste faucet cleaning so essential? Well, beyond the obvious aesthetic appeal of gleaming faucets, regular cleaning prevents the buildup of mineral deposits that can eventually clog your fixtures and reduce water flow. Plus, a clean faucet is a more hygienic faucet, free from bacteria and grime. In this DIY guide, I’ll walk you through the simple steps to achieve a sparkling clean faucet using just toothpaste and a few other common household items. Get ready to say goodbye to dullness and hello to a brighter, cleaner bathroom!
DIY Faucet Sparkle: The Toothpaste Trick That Works!
Okay, let’s be honest, cleaning faucets isn’t exactly on anyone’s list of favorite chores. But a sparkling faucet can really elevate the look of your bathroom or kitchen! And guess what? You probably already have the secret weapon sitting right on your bathroom counter: toothpaste! Yes, you read that right. Toothpaste isn’t just for your teeth; it’s a surprisingly effective and gentle cleaner for chrome and stainless steel faucets. I’ve been using this trick for years, and I’m excited to share it with you.
Why Toothpaste?
You might be wondering, “Why toothpaste? What’s so special about it?” Well, toothpaste contains mild abrasives that help to gently scrub away grime, water spots, and even light rust without scratching the surface. Plus, it’s readily available, inexpensive, and smells minty fresh! It’s a win-win-win!
What You’ll Need
Before we dive in, let’s gather our supplies. This is a pretty low-key project, so you won’t need much:
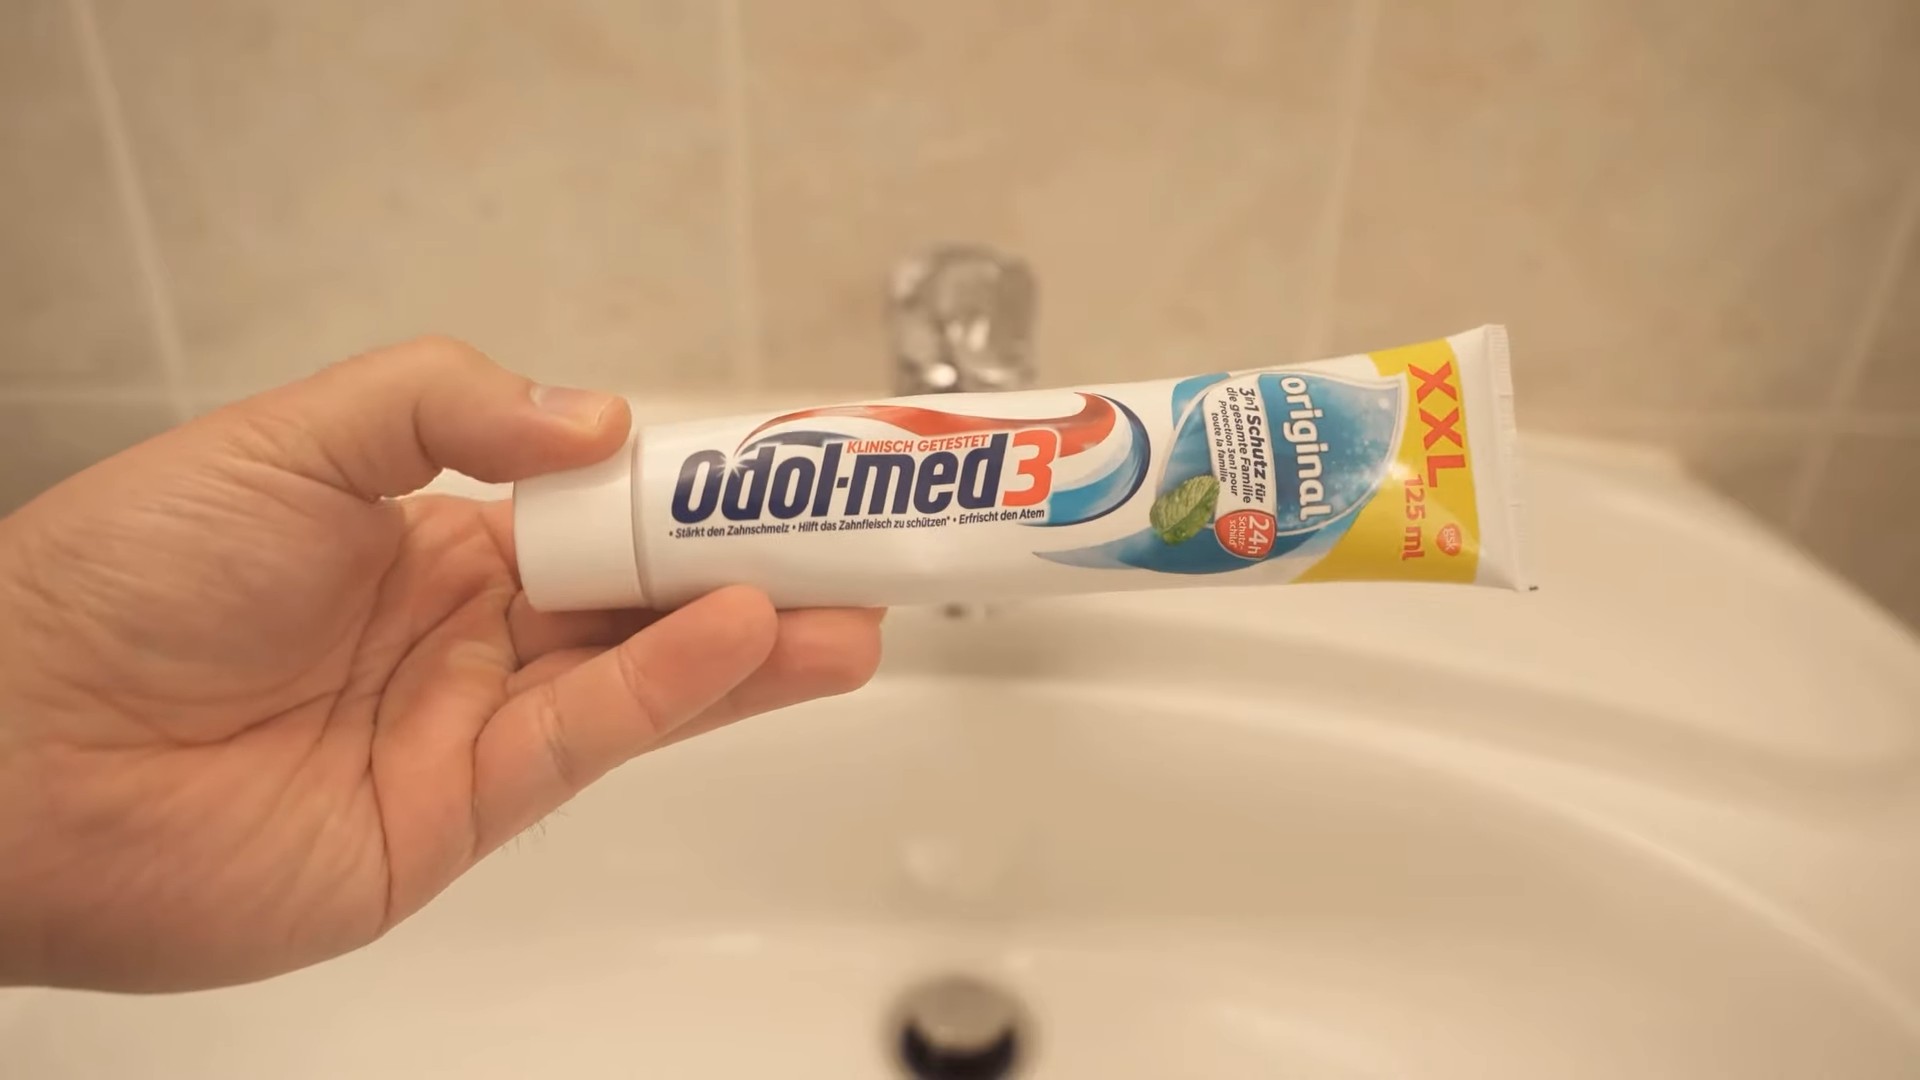
* Toothpaste: Plain white toothpaste works best. Avoid gel toothpastes or those with added colors or whitening agents, as they might not be as effective or could potentially stain. Think classic, basic toothpaste.
* Soft Cloth or Sponge: Microfiber cloths are my go-to for cleaning, but any soft cloth or sponge will do. Just make sure it’s clean!
* Old Toothbrush (Optional): An old toothbrush is perfect for getting into those hard-to-reach areas around the base of the faucet and around handles.
* Water: For rinsing, of course!
* Dry Cloth: For buffing and drying the faucet after cleaning.
* Optional: Baking Soda: For extra tough stains, we can make a paste with baking soda.
Step-by-Step Instructions: Faucet Cleaning with Toothpaste
Alright, let’s get down to business! Here’s how to transform your dull, grimy faucet into a sparkling masterpiece:
1. Prepare the Faucet: Start by giving your faucet a quick rinse with water to remove any loose debris or dirt. This will prevent you from just smearing the grime around when you apply the toothpaste.
2. Apply the Toothpaste: Squeeze a small amount of toothpaste (about the size of a pea) onto your soft cloth or sponge. You don’t need a ton; a little goes a long way.
3. Clean the Faucet: Gently rub the toothpaste all over the faucet, paying special attention to areas with water spots, soap scum, or grime. Use circular motions to help loosen the dirt.
4. Reach the Nooks and Crannies: This is where the old toothbrush comes in handy! Use it to scrub around the base of the faucet, around the handles, and in any other tight spots where grime tends to accumulate. Be gentle, but thorough.
5. Let it Sit (Optional): For particularly stubborn stains or buildup, you can let the toothpaste sit on the faucet for a few minutes (5-10 minutes should do the trick). This will give the mild abrasives in the toothpaste more time to work their magic.
6. Rinse Thoroughly: Once you’ve scrubbed the faucet and let the toothpaste sit (if you chose to), rinse it thoroughly with water. Make sure to remove all traces of toothpaste, as any residue can leave a dull film.
7. Dry and Buff: Now for the final step: drying and buffing! Use a clean, dry cloth to dry the faucet completely. As you dry it, buff the surface to bring out the shine. This step is crucial for achieving that sparkling, like-new look.
Dealing with Stubborn Stains: The Baking Soda Boost
Sometimes, toothpaste alone isn’t enough to tackle really tough stains or rust. That’s where baking soda comes in! Baking soda is a natural abrasive that can help to lift stubborn grime without damaging the faucet’s finish.
1. Make a Baking Soda Paste: In a small bowl, mix together baking soda and water to form a thick paste. The consistency should be similar to toothpaste.
2. Apply the Paste: Apply the baking soda paste to the affected areas of the faucet.
3. Scrub Gently: Using a soft cloth or sponge, gently scrub the paste into the stains. Avoid using too much pressure, as baking soda can be abrasive.
4. Rinse Thoroughly: Rinse the faucet thoroughly with water to remove all traces of the baking soda paste.
5. Dry and Buff: As with the toothpaste method, dry and buff the faucet with a clean, dry cloth to bring out the shine.
Tips and Tricks for Faucet Cleaning Success
Here are a few extra tips to help you achieve the best results:
* Test in an Inconspicuous Area: Before applying toothpaste or baking soda paste to the entire faucet, test it in a small, inconspicuous area to make sure it doesn’t damage the finish. This is especially important for faucets with special finishes or coatings.
* Don’t Use Abrasive Cleaners: Avoid using harsh abrasive cleaners, scouring pads, or steel wool on your faucets, as these can scratch the surface and damage the finish.
* Clean Regularly: The best way to keep your faucets sparkling is to clean them regularly. A quick wipe-down with a damp cloth after each use can help to prevent buildup and make cleaning easier in the long run.
* Vinegar for Hard Water Stains: If you have hard water, you may notice stubborn white stains on your faucets. These stains are caused by mineral deposits. To remove them, soak a cloth in white vinegar and wrap it around the affected area. Let it sit for 30 minutes to an hour, then rinse and dry.
* Lemon Juice for Extra Shine: For an extra boost of shine, you can rub a lemon wedge over the faucet after cleaning. The citric acid in lemon juice will help to remove any remaining residue and leave your faucet looking extra sparkly. Just be sure to rinse thoroughly after using lemon juice.
* Consider Your Faucet Finish: While this method works well on chrome and stainless steel, be cautious with other finishes. For example, brushed nickel can be more delicate. Always test in an inconspicuous area first.
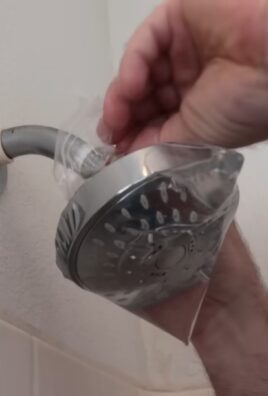
* Don’t Forget the Aerator: The aerator is the little screen at the end of your faucet. It can get clogged with mineral deposits and debris, which can reduce water flow. To clean it, unscrew the aerator and soak it in white vinegar for a few hours. Then, rinse it thoroughly and reattach it to the faucet.
Maintaining Your Sparkling Faucet
Once you’ve achieved that sparkling clean faucet, you’ll want to keep it that way! Here are a few tips for maintaining your faucet’s shine:
* Wipe Down After Each Use: Make it a habit to wipe down your faucet with a clean, dry cloth after each use. This will help to prevent water spots and soap scum from building up.
* Use a Water Softener: If you have hard water, consider installing a water softener. This will help to reduce mineral deposits on your faucets and other fixtures.
* Apply a Protective Coating: You can apply a protective coating to your faucets to help prevent water spots and stains. There are many commercially available products designed for this purpose.
* Regular Cleaning: Even with regular maintenance, you’ll still need to clean your faucets periodically. Aim to clean them at least once a week to keep them looking their best.
Troubleshooting
* Toothpaste Not Working? If the toothpaste isn’t working as well as you’d hoped, try using a slightly more abrasive toothpaste or increasing the amount of time you let it sit on the faucet. You can also try the baking soda paste method.
* Streaks After Cleaning? If you’re seeing streaks after cleaning, it’s likely due to toothpaste residue. Make sure to rinse the faucet thoroughly with water and dry it completely with a clean, dry cloth.
* Finish Damaged? If you notice any damage to the faucet’s finish, stop using the toothpaste or baking soda method immediately. Consult a professional plumber or cleaning expert for advice on how to repair the damage.
Final Thoughts
So there you have it! A simple, effective, and affordable way to clean your faucets using toothpaste. I hope you found this guide helpful. With a little elbow grease and a few simple supplies, you can transform your dull, grimy faucets into sparkling focal points of your bathroom or kitchen. Happy cleaning!

Conclusion
So, there you have it! This simple yet incredibly effective DIY trick using toothpaste to clean your faucets is a game-changer. We’ve walked you through the process, highlighting how readily available toothpaste can transform your dull, stained faucets into sparkling fixtures that look brand new. Forget expensive, harsh chemical cleaners that often leave behind unpleasant odors and can even damage your faucet’s finish. This method is gentle, affordable, and uses a product you likely already have in your bathroom.
Why is this a must-try? Because it’s efficient, eco-friendly, and delivers visible results with minimal effort. The mild abrasives in toothpaste gently scrub away water spots, soap scum, and mineral deposits without scratching the surface. Plus, the minty scent leaves your bathroom smelling fresh and clean. It’s a win-win!
But don’t stop there! Feel free to experiment with variations to suit your specific needs and preferences. For instance, if you’re dealing with particularly stubborn stains, consider letting the toothpaste sit on the affected area for a longer period, perhaps 15-20 minutes, before scrubbing. You can also use an old toothbrush with softer bristles for delicate finishes to avoid any potential scratches. Another variation is to add a tiny amount of baking soda to the toothpaste for extra cleaning power, creating a potent yet still gentle scrubbing paste. For colored faucets, test the toothpaste on an inconspicuous area first to ensure it doesn’t affect the finish.
We’re confident that once you try this toothpaste faucet cleaning method, you’ll be amazed by the results. It’s a quick and easy way to maintain the shine and cleanliness of your faucets, extending their lifespan and enhancing the overall appearance of your bathroom or kitchen.
Now, it’s your turn! We highly encourage you to give this DIY trick a try. We’re eager to hear about your experiences and see the before-and-after transformations. Share your results, tips, and any variations you discover in the comments below. Let’s create a community of sparkling faucet enthusiasts! Don’t forget to tag us in your social media posts – we can’t wait to see your gleaming faucets! Happy cleaning!
Frequently Asked Questions (FAQ)
1. What kind of toothpaste is best for cleaning faucets?
The best type of toothpaste to use for cleaning faucets is a plain, white, non-gel toothpaste. Avoid using heavily abrasive toothpastes or those with added whitening agents, as these could potentially scratch or damage the faucet’s finish, especially on more delicate or coated faucets. A standard fluoride toothpaste is generally the safest and most effective option. Gel toothpastes tend to be less effective at removing stubborn stains and mineral deposits due to their smoother consistency.
2. Can I use this toothpaste cleaning method on all types of faucets?
While this method is generally safe for most types of faucets, it’s always a good idea to exercise caution, especially with specialty finishes. For chrome, stainless steel, and brushed nickel faucets, toothpaste is usually perfectly safe and effective. However, for faucets with more delicate finishes like oil-rubbed bronze, gold plating, or painted surfaces, it’s best to test the toothpaste on a small, inconspicuous area first to ensure it doesn’t cause any discoloration or damage. If you’re unsure, consult the manufacturer’s instructions for your specific faucet.
3. How often should I clean my faucets with toothpaste?
The frequency of cleaning depends on how often your faucets are used and how prone they are to water spots and soap scum buildup. As a general guideline, cleaning your faucets with toothpaste once a week should be sufficient to maintain their shine and prevent the accumulation of stubborn stains. However, if you live in an area with hard water or notice buildup more frequently, you may need to clean them more often, perhaps every few days. Conversely, if your faucets stay relatively clean, you can clean them less frequently.
4. What if the toothpaste doesn’t remove all the stains?
If the toothpaste alone isn’t enough to remove all the stains, there are a few things you can try. First, let the toothpaste sit on the stained area for a longer period, up to 20-30 minutes, to allow it to penetrate the buildup. You can also try adding a small amount of baking soda to the toothpaste to create a more abrasive cleaning paste. For particularly stubborn stains, you might consider using a specialized faucet cleaner designed for your specific faucet finish, but always follow the manufacturer’s instructions carefully. In extreme cases, you may need to consult a professional plumber.
5. Will toothpaste scratch my faucets?
While toothpaste is generally considered a gentle abrasive, there is a slight risk of scratching, especially on delicate finishes. To minimize this risk, use a soft cloth or an old toothbrush with soft bristles to apply and scrub the toothpaste. Avoid using abrasive sponges or scouring pads, as these can definitely scratch the surface. Also, be sure to rinse the faucet thoroughly after cleaning to remove any residual toothpaste particles that could potentially cause scratches over time. As mentioned before, testing on an inconspicuous area is always recommended.
6. Can I use this method to clean other bathroom fixtures besides faucets?
Yes, you can often use this toothpaste cleaning method on other bathroom fixtures with similar finishes, such as showerheads, sink drains, and even some parts of the toilet. However, always exercise caution and test the toothpaste on a small, hidden area first to ensure it doesn’t damage the finish. Avoid using toothpaste on porous surfaces like natural stone, as it can be difficult to remove and may stain the material.
7. Is there anything else I can use besides toothpaste to clean my faucets?
Yes, there are several other natural and commercial cleaning solutions you can use to clean your faucets. White vinegar is a popular natural option that can effectively dissolve mineral deposits and soap scum. You can also use a mixture of baking soda and water to create a gentle abrasive paste. For commercial cleaners, look for products specifically designed for cleaning faucets and follow the manufacturer’s instructions carefully. Always avoid using harsh chemicals or abrasive cleaners that could damage the faucet’s finish.
8. How do I prevent water spots and soap scum buildup on my faucets?
Preventing water spots and soap scum buildup is key to keeping your faucets clean and shiny. After each use, wipe down your faucets with a clean, dry cloth to remove any water droplets or soap residue. You can also apply a water repellent spray specifically designed for bathroom fixtures to help prevent water spots from forming. Regularly cleaning your faucets with a mild cleaning solution, such as diluted vinegar or dish soap, can also help prevent buildup. Consider installing a water softener if you live in an area with hard water.
9. What if my faucet has a special finish, like oil-rubbed bronze?
Faucets with special finishes like oil-rubbed bronze require extra care. Avoid using abrasive cleaners or harsh chemicals, as these can strip the finish and damage the faucet. Instead, use a mild soap and water solution and a soft cloth to clean the faucet. You can also use a specialized cleaner designed specifically for oil-rubbed bronze finishes. Always follow the manufacturer’s instructions carefully.
10. My faucet is leaking. Will cleaning it with toothpaste fix the leak?
No, cleaning your faucet with toothpaste will not fix a leak. A leaking faucet is usually caused by a worn-out washer, O-ring, or other internal component. In this case, you’ll need to repair or replace the faulty part. If you’re not comfortable doing this yourself, it’s best to call a professional plumber. Cleaning the faucet may improve its appearance, but it won’t address the underlying cause of the leak.

Leave a Comment