
Vinegar cleaning hacks – who knew this humble kitchen staple could be your secret weapon to a sparkling clean home? I’m always on the lookout for simple, effective, and budget-friendly ways to keep my house looking its best, and let me tell you, vinegar has become my go-to solution for so many cleaning challenges.
For centuries, vinegar has been more than just a condiment. Ancient civilizations, from the Egyptians to the Romans, recognized its potent cleaning and preserving properties. They used it to disinfect wounds, preserve food, and even clean their homes! Talk about a multi-tasker!
In today’s world, we’re bombarded with expensive, chemical-laden cleaning products. But what if I told you that you could achieve the same, or even better, results with something you probably already have in your pantry? That’s where these vinegar cleaning hacks come in. From tackling stubborn stains to deodorizing your fridge, vinegar offers a natural and effective alternative to harsh chemicals. Plus, it’s incredibly affordable and environmentally friendly.
I’m going to share my favorite DIY vinegar cleaning tricks that will save you time, money, and effort. Get ready to unlock the cleaning power of vinegar and transform your home into a sparkling oasis!
Unlocking the Cleaning Power of Vinegar: My Favorite DIY Hacks
Vinegar. It’s not just for salad dressing anymore! I’ve discovered that this humble kitchen staple is a powerhouse when it comes to cleaning. It’s cheap, readily available, and a fantastic eco-friendly alternative to harsh chemical cleaners. I’m going to share some of my favorite vinegar cleaning hacks that have seriously simplified my life and saved me a ton of money.
General Vinegar Cleaning Tips
Before we dive into specific projects, let’s cover some essential vinegar cleaning guidelines:
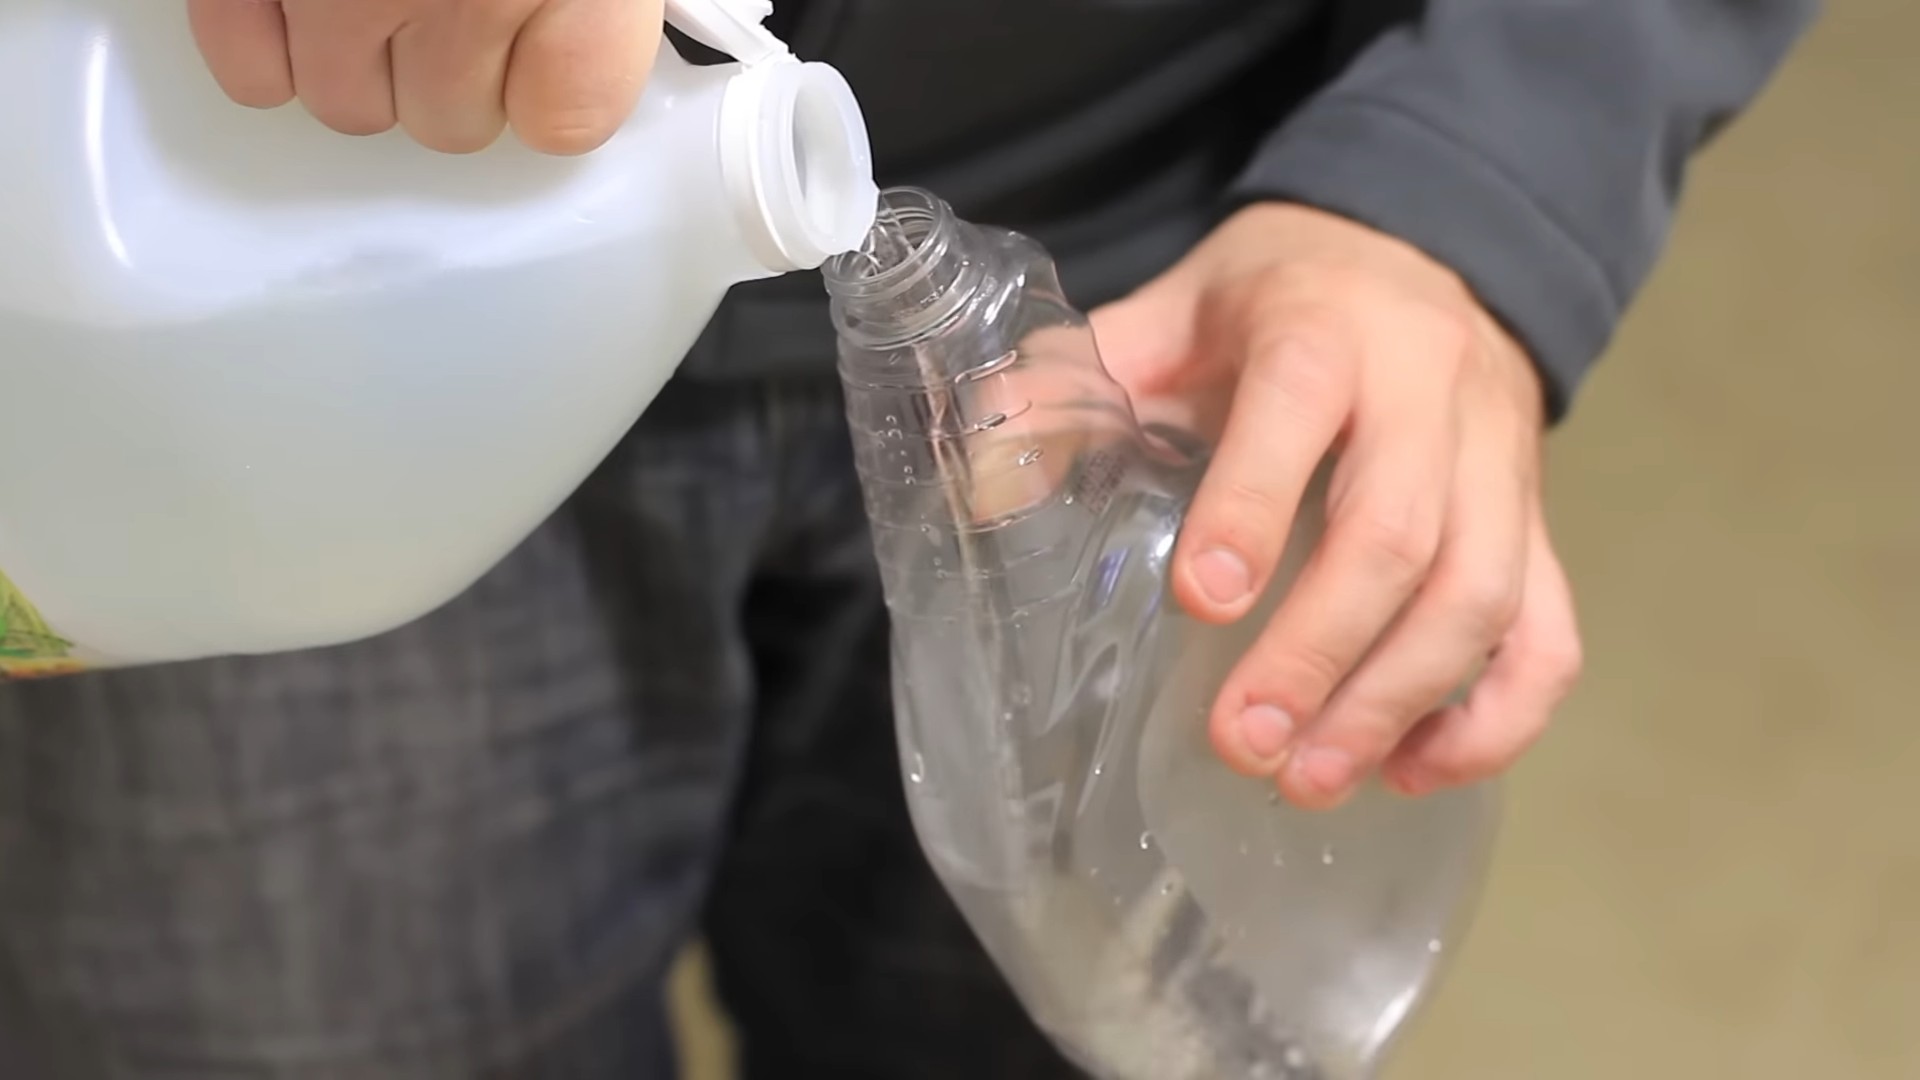
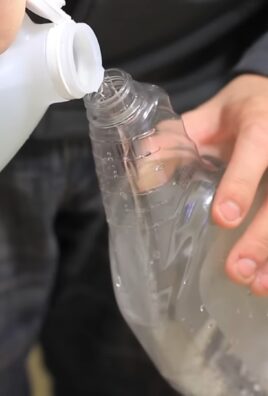
* Dilution is Key: Always dilute vinegar with water. A 50/50 solution is generally safe for most surfaces, but for delicate materials, start with a weaker concentration.
* Test First: Before applying vinegar to a large area, test it on an inconspicuous spot to ensure it doesn’t damage or discolor the surface. This is especially important for natural stone, wood, and painted surfaces.
* Ventilation Matters: Vinegar has a strong odor, so make sure to ventilate the area you’re cleaning by opening windows or turning on a fan.
* Don’t Mix with Bleach: This is crucial! Mixing vinegar with bleach creates toxic chlorine gas, which is extremely dangerous.
* Use White Distilled Vinegar: This is the best type of vinegar for cleaning because it’s clear and doesn’t contain any dyes that could stain surfaces.
Cleaning Your Microwave with Vinegar
Microwaves can get pretty gross, pretty quickly. Splattered food, lingering odors – it’s not a pretty sight. But fear not! Vinegar makes cleaning your microwave a breeze.
1. Prepare the Solution: In a microwave-safe bowl, mix 1 cup of water with 1/4 cup of white distilled vinegar.
2. Microwave the Mixture: Place the bowl in the microwave and heat it on high for 5-7 minutes. The mixture should boil and create steam.
3. Let it Sit: Leave the microwave door closed for another 2-3 minutes to allow the steam to loosen the grime.
4. Wipe it Clean: Carefully remove the bowl (it will be hot!). Use a clean cloth or sponge to wipe down the interior of the microwave. The loosened food particles should come off easily. For stubborn spots, dip the cloth in the vinegar solution and scrub gently.
5. Clean the Turntable: Remove the turntable and wash it with warm, soapy water. You can also wipe it down with the vinegar solution.
6. Dry and Enjoy: Dry the interior of the microwave and the turntable with a clean cloth. Your microwave should now be sparkling clean and odor-free!
Deodorizing Your Dishwasher with Vinegar
Dishwashers can also develop unpleasant odors over time. Vinegar is a fantastic natural deodorizer that will leave your dishwasher smelling fresh and clean.
1. Empty the Dishwasher: Make sure your dishwasher is completely empty.
2. Place Vinegar in a Bowl: Pour 1 cup of white distilled vinegar into a dishwasher-safe bowl.
3. Position the Bowl: Place the bowl on the top rack of the dishwasher.
4. Run a Hot Cycle: Run the dishwasher on a hot cycle without any detergent.
5. Enjoy the Freshness: Once the cycle is complete, your dishwasher should be deodorized and ready to use. I usually do this once a month to keep my dishwasher smelling its best.
Cleaning Your Coffee Maker with Vinegar
Coffee makers can accumulate mineral deposits and residue over time, which can affect the taste of your coffee. Vinegar is an excellent descaler that will keep your coffee maker running smoothly.
1. Prepare the Vinegar Solution: Fill the water reservoir of your coffee maker with a 50/50 solution of white distilled vinegar and water.
2. Run a Brewing Cycle: Start a brewing cycle as you normally would. Allow the coffee maker to brew halfway through the solution.
3. Let it Sit: Turn off the coffee maker and let the vinegar solution sit in the reservoir for about an hour. This will allow the vinegar to dissolve the mineral deposits.
4. Finish the Brewing Cycle: Turn the coffee maker back on and allow it to finish brewing the remaining vinegar solution.
5. Rinse Thoroughly: Run two or three cycles with fresh water to rinse out any remaining vinegar.
6. Enjoy Fresh Coffee: Your coffee maker should now be clean and ready to brew delicious coffee! I find that doing this every 1-2 months keeps my coffee tasting great.
Cleaning Windows and Mirrors with Vinegar
Say goodbye to streaks and smudges! Vinegar is a natural glass cleaner that will leave your windows and mirrors sparkling.
1. Prepare the Cleaning Solution: In a spray bottle, mix equal parts of white distilled vinegar and water. You can also add a few drops of your favorite essential oil for a pleasant scent (lemon or lavender work well).
2. Spray the Surface: Spray the vinegar solution onto the window or mirror.
3. Wipe Clean: Use a clean microfiber cloth to wipe the surface clean. Avoid using paper towels, as they can leave lint behind.
4. Buff to Shine: For extra shine, buff the surface with a dry microfiber cloth.
5. Admire Your Reflection: Enjoy your streak-free windows and mirrors!
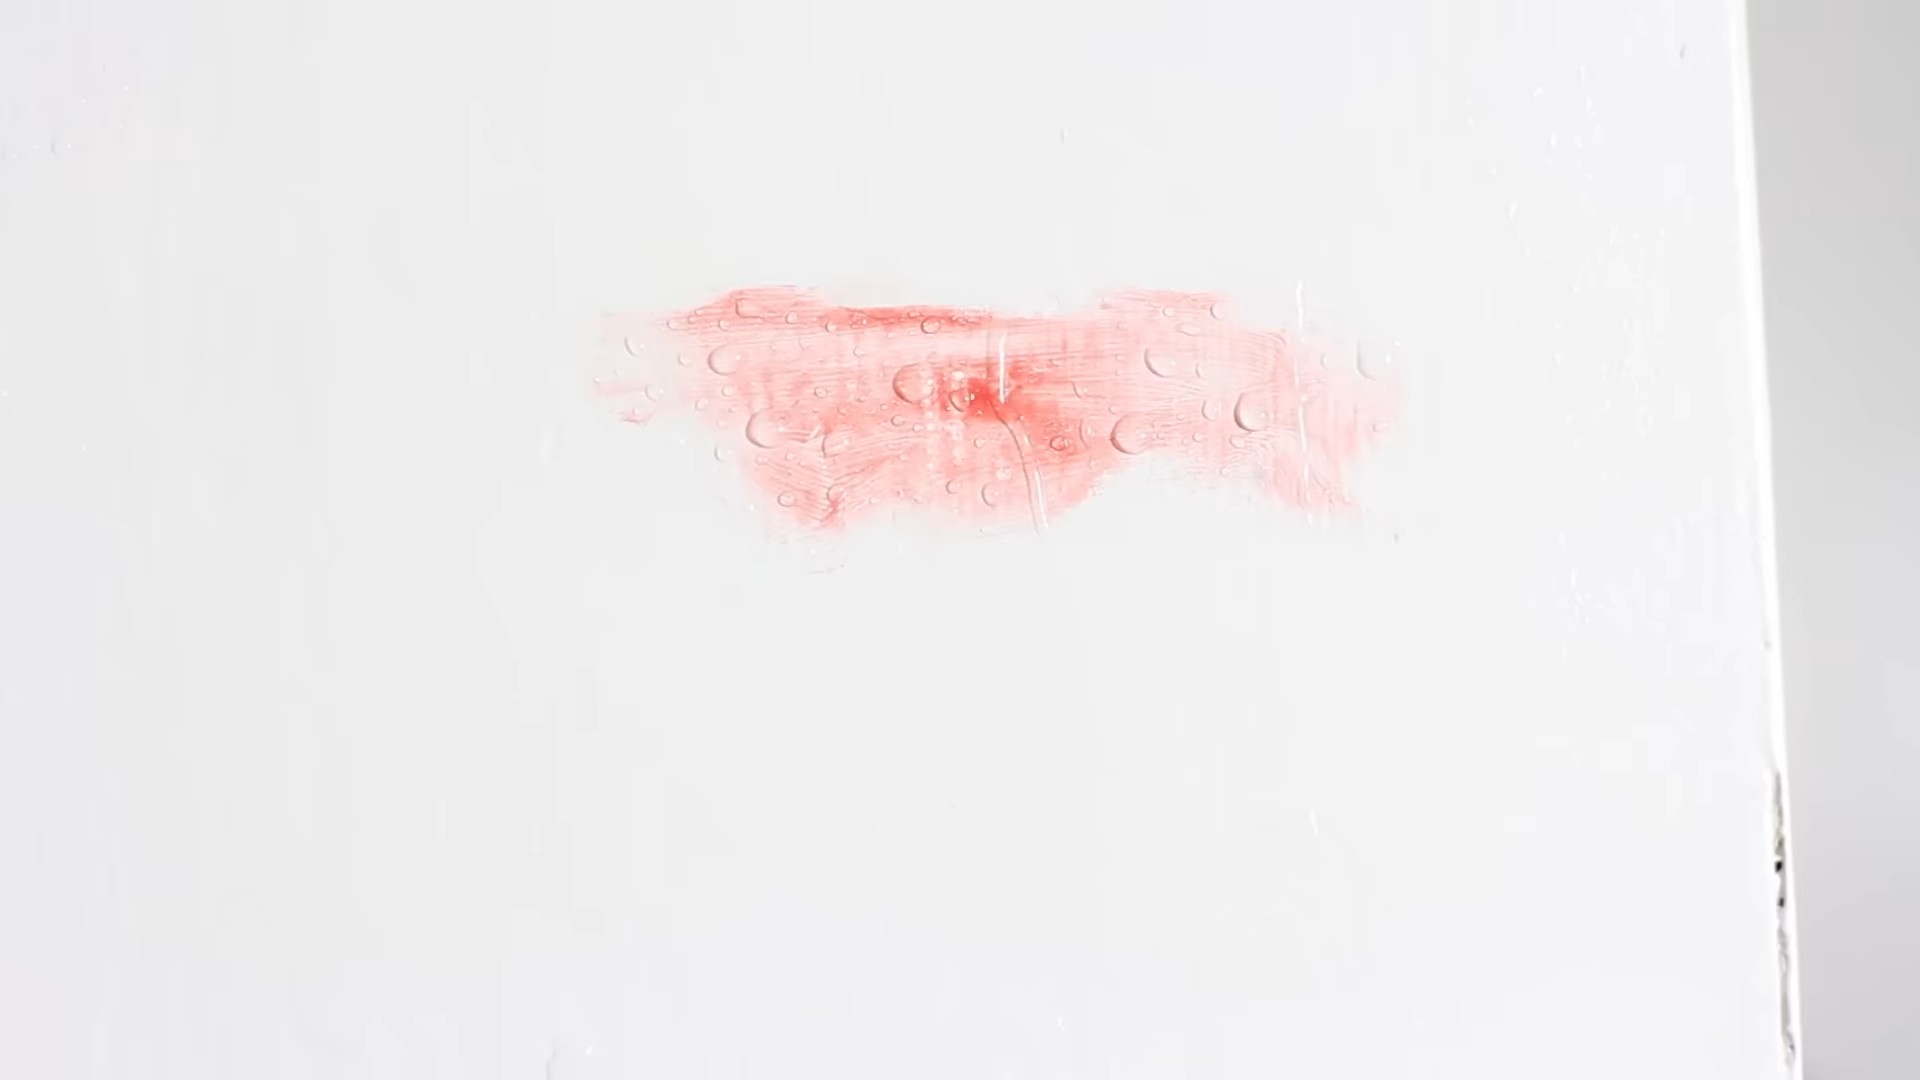
Removing Hard Water Stains with Vinegar
Hard water stains can be a real pain, especially in bathrooms. Vinegar is a powerful descaler that can effectively remove these stubborn stains.
1. Identify the Affected Areas: Identify the areas with hard water stains, such as faucets, showerheads, and tiles.
2. Soak with Vinegar: For faucets and showerheads, soak a cloth or paper towel in white distilled vinegar and wrap it around the affected area. Let it sit for at least an hour, or even overnight for stubborn stains. For tiles, spray the vinegar solution directly onto the stains.
3. Scrub Gently: After soaking, scrub the area gently with a non-abrasive sponge or brush.
4. Rinse Thoroughly: Rinse the area thoroughly with water.
5. Dry and Shine: Dry the surface with a clean cloth. Your fixtures should now be free of hard water stains and sparkling clean!
Cleaning Your Showerhead with Vinegar
A clogged showerhead can significantly reduce water pressure. Vinegar can dissolve mineral deposits and restore your showerhead to its former glory.
1. Remove the Showerhead (Optional): If possible, remove the showerhead from the shower arm. This will make it easier to clean. If you can’t remove it, you can still clean it in place.
2. Fill a Bag with Vinegar: Fill a plastic bag with white distilled vinegar.
3. Submerge the Showerhead: Submerge the showerhead in the bag of vinegar, ensuring that all the spray nozzles are covered. Secure the bag with a rubber band or twist tie.
4. Soak Overnight: Let the showerhead soak in the vinegar overnight.
5. Remove and Rinse: Remove the showerhead from the bag and rinse it thoroughly with water.
6. Remove Stubborn Deposits: If there are any stubborn deposits remaining, use a toothbrush or small brush to scrub them away.
7. Reinstall and Enjoy: Reinstall the showerhead (if you removed it) and enjoy a revitalized shower experience!
Cleaning Grout with Vinegar and Baking Soda
Grout can get discolored and stained over time. A paste of vinegar and baking soda can effectively clean and brighten grout lines.
1. Prepare the Paste: Mix equal parts of white distilled vinegar and baking soda to form a paste.
2. Apply the Paste: Apply the paste to the grout lines using a toothbrush or small brush.
3. Let it Sit: Let the paste sit on the grout for 15-20 minutes.
4. Scrub the Grout: Scrub the grout lines with the toothbrush or brush.
5. Rinse Thoroughly: Rinse the area thoroughly with water.
6. Dry and Admire: Dry the area with a clean cloth. Your grout should now be cleaner and brighter!
Removing Stickers and Adhesive Residue with Vinegar
Stubborn stickers and adhesive residue can be frustrating to remove. Vinegar can help loosen the adhesive and make it easier to peel off.
1. Soak the Sticker: Soak a cloth or paper towel in white distilled vinegar and apply it to the sticker or adhesive residue.
2. Let it Sit: Let the vinegar soak for 5-10 minutes.
3. Peel or Wipe Away: Gently peel the sticker or wipe away the adhesive residue with the cloth. For stubborn residue, you may need to scrub gently.
4. Clean the Surface: Clean the surface with a clean cloth and water to remove any remaining vinegar.
Freshening Laundry with Vinegar
Vinegar can be used as a natural laundry
Conclusion
So, there you have it! This deep dive into vinegar cleaning hacks proves that a single, humble ingredient can unlock a world of sparkling clean possibilities. We’ve explored how vinegar, a pantry staple, can replace a cabinet full of harsh chemicals, saving you money and reducing your environmental impact. From banishing hard water stains to deodorizing your home, the versatility of vinegar is truly remarkable.
But why is this DIY approach a must-try? Simply put, it’s effective, affordable, and eco-friendly. Commercial cleaners often contain ingredients that can irritate skin, trigger allergies, and pollute our waterways. Vinegar, on the other hand, is a natural and biodegradable alternative. Plus, the cost savings are significant. A gallon of vinegar costs a fraction of what you’d spend on specialized cleaning products.
Beyond the basics, there are countless ways to customize your vinegar cleaning routine. For a more pleasant scent, infuse your vinegar with citrus peels or herbs like lavender or rosemary. Add a few drops of essential oils, such as lemon, tea tree, or eucalyptus, for their antibacterial and antifungal properties. Experiment with different dilutions to find what works best for your specific cleaning needs. For tougher stains, create a paste of baking soda and vinegar for extra scrubbing power. Remember always to test in an inconspicuous area first, especially on delicate surfaces.
Don’t be afraid to get creative! Try using vinegar to clean your coffee maker, freshen your laundry, or even remove weeds from your garden. The possibilities are endless.
We’re confident that once you experience the power of vinegar cleaning hacks, you’ll be hooked. It’s a simple, sustainable, and satisfying way to keep your home clean and healthy.
Now, it’s your turn! We encourage you to try these vinegar cleaning hacks and see the amazing results for yourself. Share your experiences, tips, and variations in the comments below. We’d love to hear how vinegar is working for you and any unique ways you’ve found to use it. Let’s build a community of eco-conscious cleaners and spread the word about the incredible power of vinegar!
Frequently Asked Questions (FAQs)
Is vinegar safe to use on all surfaces?
No, vinegar is not safe to use on all surfaces. It’s crucial to understand its limitations to avoid damaging certain materials. Avoid using vinegar on natural stone surfaces like marble, granite, and travertine. The acidity in vinegar can etch and dull these surfaces over time. Similarly, avoid using vinegar on waxed wood furniture, as it can strip the wax finish. Cast iron cookware should also be avoided, as vinegar can cause rust. Electronics screens should not be cleaned with vinegar, as it can damage the anti-glare coating. Always test vinegar in an inconspicuous area before applying it to a larger surface. When in doubt, consult the manufacturer’s instructions for cleaning specific materials.
What type of vinegar is best for cleaning?
Distilled white vinegar is generally considered the best type of vinegar for cleaning. It’s inexpensive, readily available, and has a consistent acidity level, typically around 5%. This acidity is strong enough to kill most household germs and dissolve grime without being overly harsh. While other types of vinegar, such as apple cider vinegar, also have cleaning properties, they may contain pigments that could stain certain surfaces. Distilled white vinegar is clear and odorless, making it a versatile and reliable choice for a wide range of cleaning tasks.
Can I mix vinegar with bleach?
Absolutely not! Mixing vinegar with bleach is extremely dangerous and can create toxic chlorine gas. This gas can cause severe respiratory irritation, coughing, shortness of breath, and even death. Never, under any circumstances, mix vinegar with bleach or any other cleaning products containing bleach. Always use vinegar and bleach separately, and rinse surfaces thoroughly with water after using one before applying the other. Safety should always be your top priority when cleaning.
How do I get rid of the vinegar smell after cleaning?
The vinegar smell typically dissipates within a few hours. To speed up the process, you can open windows and doors to ventilate the area. You can also place bowls of baking soda around the room to absorb the odor. Another option is to simmer a pot of water with citrus peels or herbs like cinnamon or cloves to create a pleasant aroma. Adding a few drops of essential oils, such as lemon or lavender, to your cleaning solution can also help mask the vinegar smell. The key is to ensure proper ventilation and use natural odor absorbers to neutralize the scent.
Can vinegar kill mold?
Yes, vinegar can kill some types of mold. Vinegar is a mild acid that can effectively kill approximately 82% of mold species. To use vinegar for mold removal, spray undiluted white vinegar onto the affected area and let it sit for an hour. Then, scrub the area with a brush and wipe it clean with a damp cloth. However, it’s important to note that vinegar may not be effective against all types of mold, especially in cases of severe mold infestations. For extensive mold problems, it’s best to consult a professional mold remediation service. Also, ensure proper ventilation and address the source of moisture to prevent mold from returning.
How do I clean my coffee maker with vinegar?
Cleaning your coffee maker with vinegar is a simple and effective way to remove mineral buildup and improve its performance. Fill the water reservoir with a solution of equal parts white vinegar and water. Brew the solution halfway through a regular brewing cycle, then turn off the coffee maker and let it sit for 30 minutes to an hour. This allows the vinegar to dissolve mineral deposits. After soaking, finish brewing the remaining solution. Then, run two to three cycles of fresh water through the coffee maker to rinse away any residual vinegar. This process will leave your coffee maker clean and ready to brew delicious coffee.
Can I use vinegar to clean my laundry?
Yes, vinegar can be a great addition to your laundry routine. Adding half a cup of white vinegar to your washing machine’s fabric softener dispenser can help soften clothes, reduce static cling, and remove odors. Vinegar can also help brighten whites and prevent colors from fading. It’s a natural and eco-friendly alternative to commercial fabric softeners. However, avoid using vinegar with bleach, as this can create harmful fumes.
How often should I clean with vinegar?
The frequency of cleaning with vinegar depends on the specific area and your personal preferences. For high-traffic areas like kitchens and bathrooms, cleaning with vinegar once or twice a week can help maintain cleanliness and prevent the buildup of grime and bacteria. For less frequently used areas, such as guest rooms or storage spaces, cleaning with vinegar once a month may be sufficient. Regular cleaning with vinegar can help keep your home clean, fresh, and healthy.

Leave a Comment